· Underwater · 4 min read
Fiber Optic Cables on the cheap!
If you read my post on my Underwater Photography Rig and looked carefully at the pictures, you would be forgiven if you didn’t notice that I have some super cheap fiber optic cables on there. That’s right, they look like the ones you can buy for big money on retail sites but they aren’t. If you know what fiber optic cables are used for in underwater photography and want to get right to the good stuff, feel free to skip ahead.
Want a video instead of a bunch of text? Check out my pretty face on YouTube:
Background
First off, let’s back it up. What is a fiber optic cable? A fiber optic cable is a cable used to transmit light along its length, often with some amount of flexibility. This has many applications from toys you can buy at the amusement park to networking infrastructure. The ones we’re going to repurpose are used to transmit audio signals in home entertainment systems.
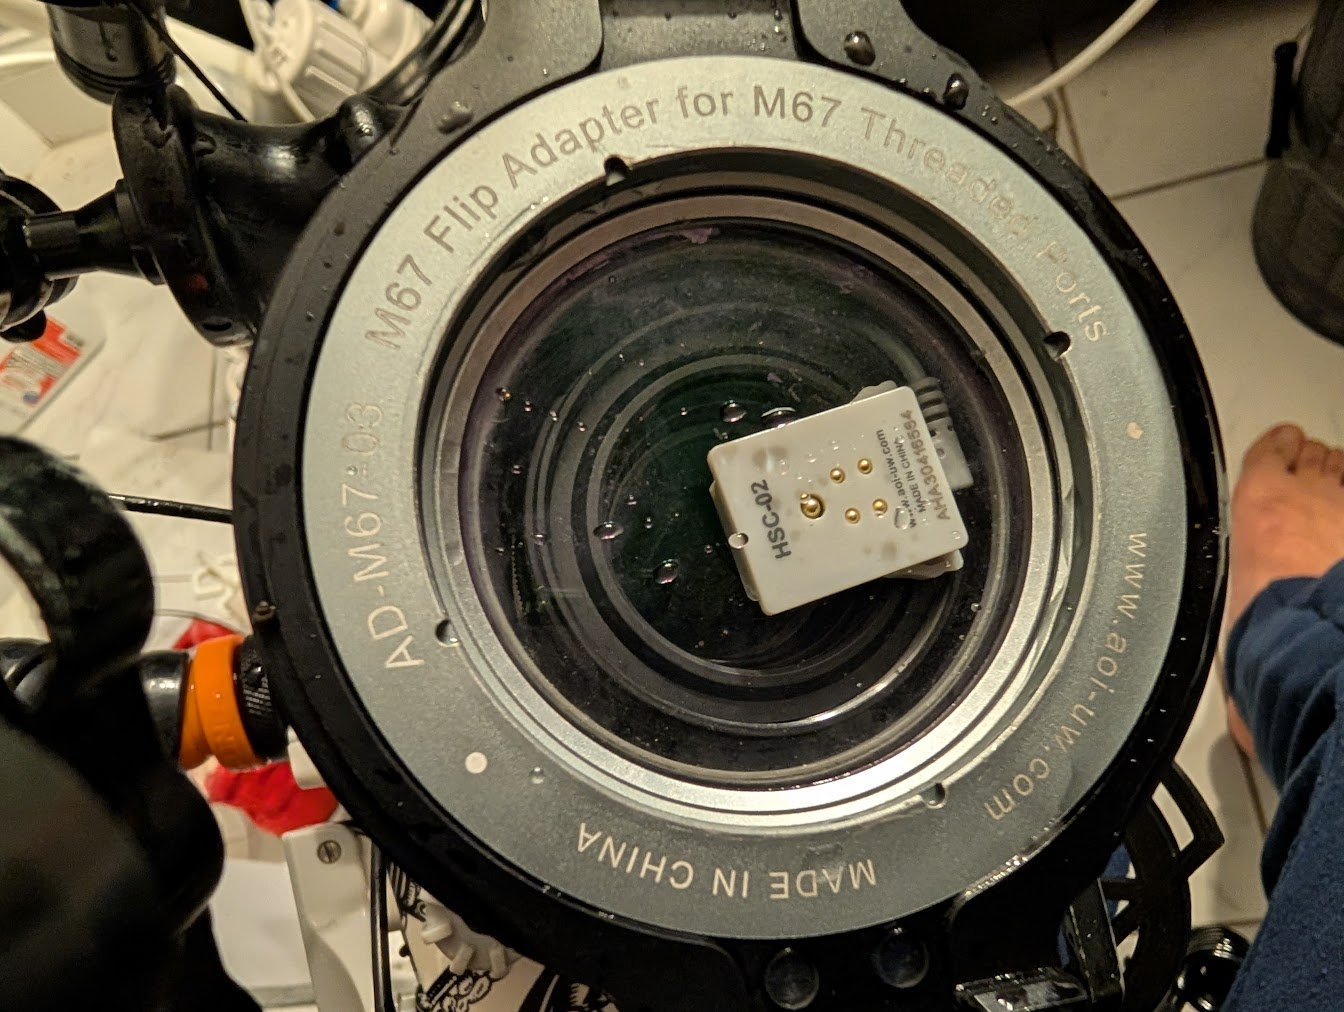
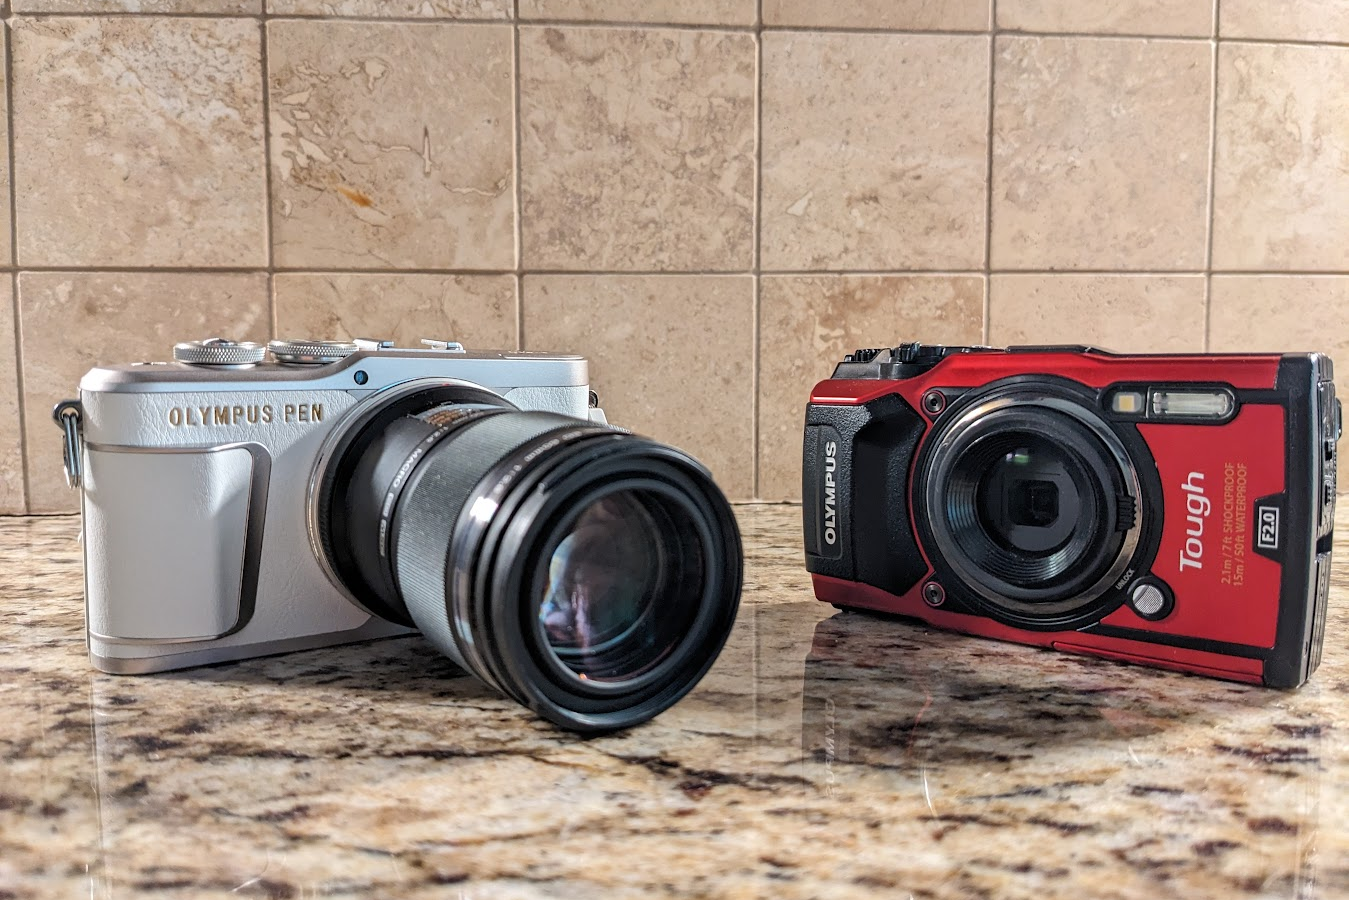
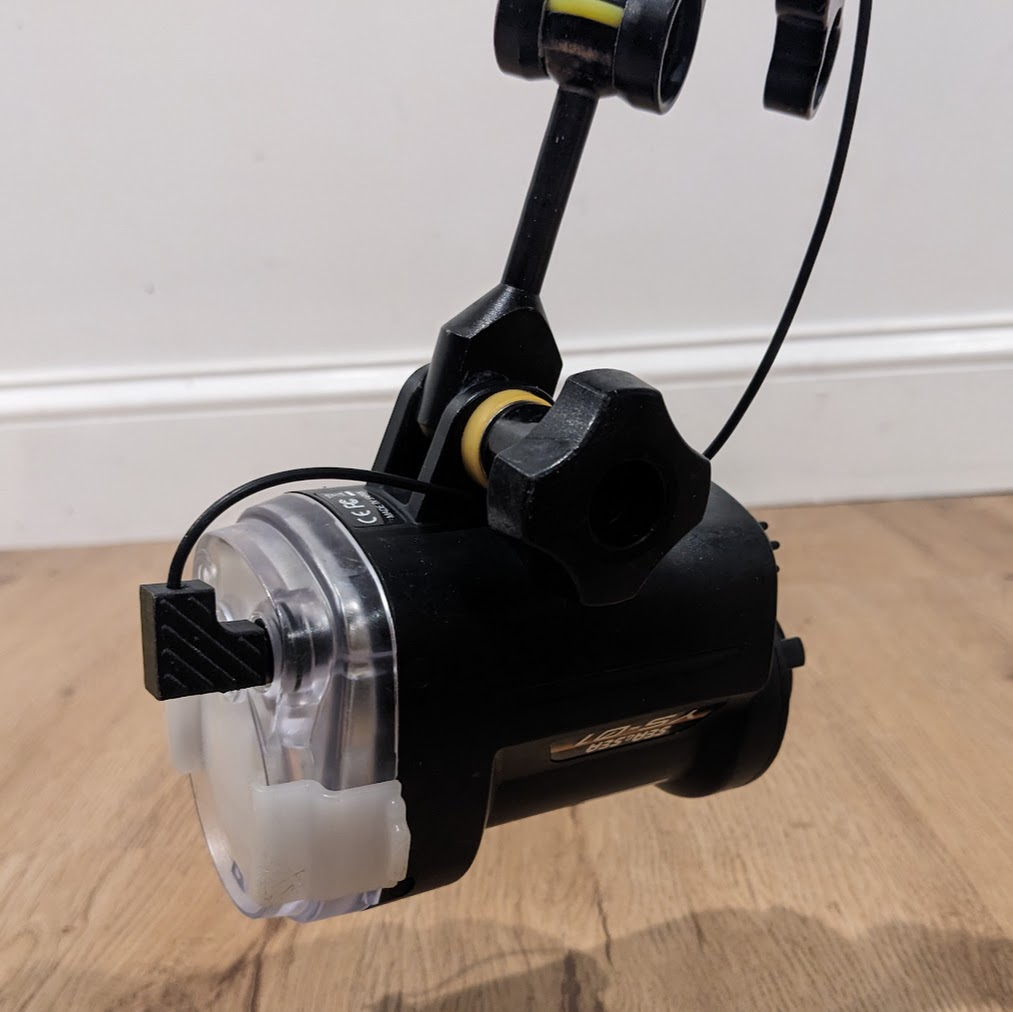
So, why do I need a fiber optic cable in my underwater photography rig? If you are using underwater strobes, you need some way to transmit the light signal from your camera to the sensor on the strobe. This is accomplished using a fiber optic cable. There are a couple mechanisms to communicate the camera flash I have encountered. The simplest is what the Olympus TG cameras do: the onboard flash on the camera fires inside the housing and fiber optic cables are positioned in front of a semi-transparent panel of the housing. My mirrorless camera uses a slightly different mechanism: the camera housing has a flash trigger that connects to the camera and illuminates some small LEDs on the outside of the housing when the strobe is supposed to fire.
So what makes those fiber optic cables so expensive? Some of them have multiple cores in the cable, which should help improve light transmission. This is a potentially justifiable expense if your strobe is not super sensitive. If they’re not multi-core, I don’t see any justification for charging more than $10. Keep reading to see why.
The Good Stuff
Alright, so we need a pipe to deliver the light signal to your strobe. TOSLINK audio cables are fiber optic cables with fancy plastic ends on them. As far as I can tell, they are single core, but they are also only a couple bucks for several feet. Here’s an example on MonoPrice: https://www.monoprice.com/product?p_id=1419. At the time of writing, it was $3.49 for 6 feet. Add in a couple bucks for shipping and you’re at $1 per foot. Make sure to get the skinny ones instead of the thicker ones - you’ll want the flexibility.
For cable end plugs, you can recover them from old cables, purchase something like this, or 3-D print something like this (if you don’t have a 3-D printer, check with your local library! I can email Thingiverse links and as long as they’re not too elaborate, they’ll print free of charge). If you’re in a pinch, a buddy used pencil erasers with a hole poked in the middle.
Supplies:
- TOSLINK audio cable
- Two end plugs for the cable
- A sharp razor blade
Steps:
- Place the cable on a hard, flat surface
- Use a sharp razor blade to cut the end off - make sure to push down sharply rather than saw
- You should have a nice clean end to work with. If the cut wasn’t clean, move in few millimeters and cut again.
- Measure out the length of cable you need - it won’t have the coil on it, so make sure to leave enough that it doesn’t pull tight as you’re moving your strobes around
- Cut the other end the same way you cut the first
- Insert each end into your end plugs
- Test it out!
I found these cables worked great on both my Sea & Sea YS-01 and my Backscatter MF-1. Both strobes worked with the bright onboard flash from my TG-5 and the much dimmer LED flash trigger on my mirrorless. With 6 feet of cable, I can make several cables so I’ve got spares in case I manage to break or lose one. I bring the extra cable and a few extra end plugs when I travel. Yay cheap cables!