· Underwater · 6 min read
DIY Dry Suit Seals
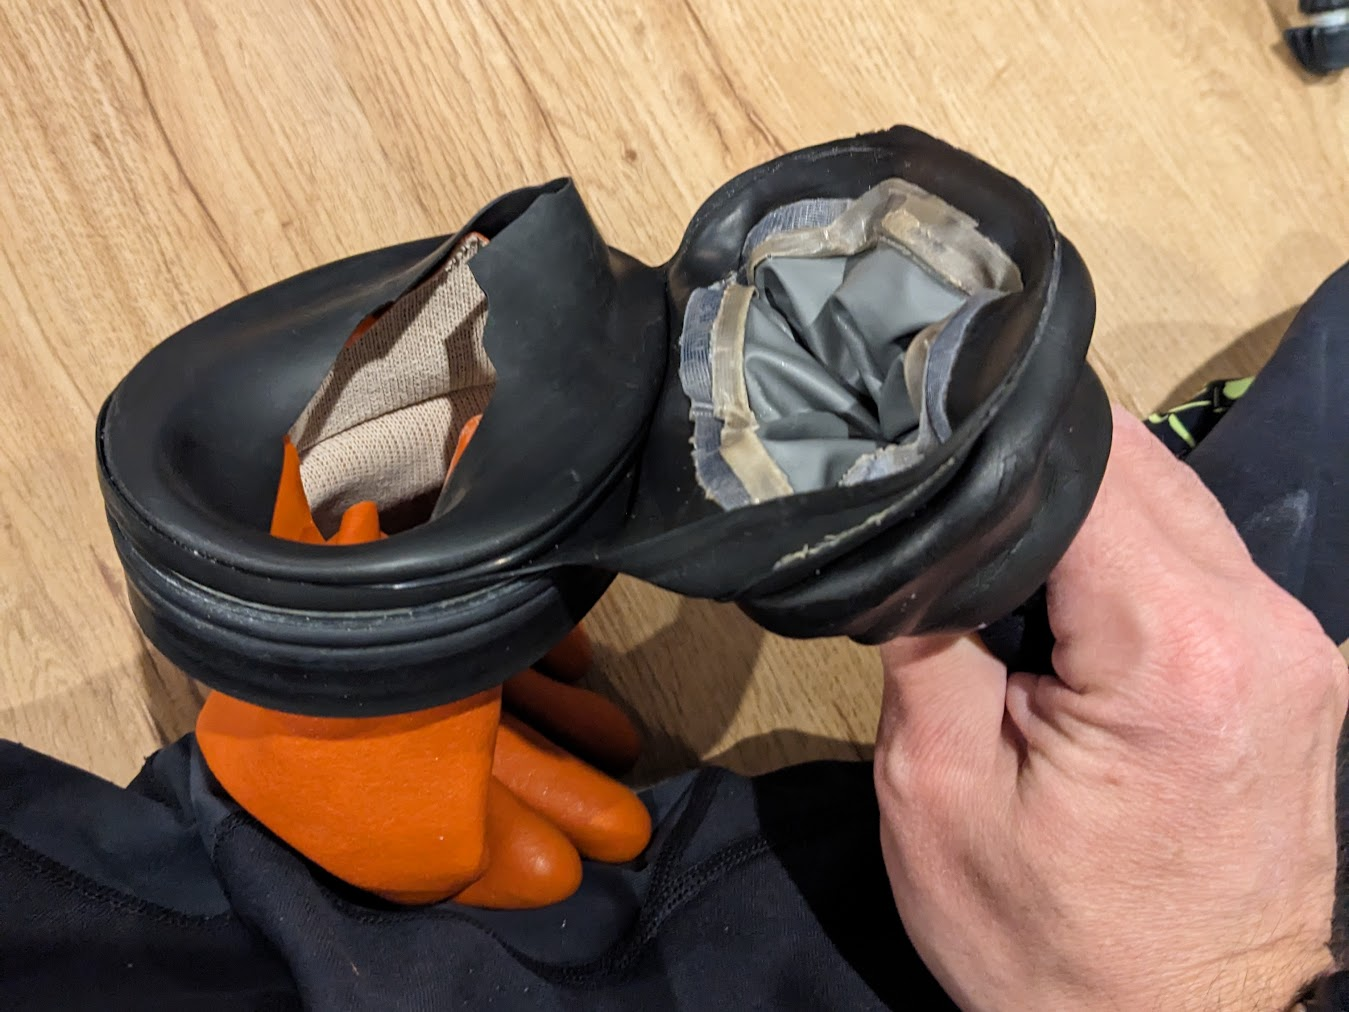
As a year-round New England diver, I spend quite a bit of time in my dry suit. I have an older Whites Fusion Tech dry suit with Thenar Dry Gloves. Dry gloves, as the name implies, seal your hands inside and are supposed to keep them totally dry. Unfortunately, I had a dive recently where my right hand and arm got totally soaked. I assumed I had failed to seal my dry glove properly or maybe there was some debris in the o-ring. The next dive out, I made sure to check the o-ring and sealed it up and had the same issue. Upon closer inspection, I found a hole in the seal below my dry glove ring. Nothing a little Aquaseal can’t fix! So I purchased some Aquaseal and figured I’d attempt to leak test the whole suit in case there were any other pin holes to seal up. I couldn’t find any other leaks, but when I went to remove the dry glove after the leak test, I ripped the whole wrist seal off the side with the hole. This job was too big for Aquaseal.
In the past, I have taken my dry suit up to Aquatic Escapes in New Hampshire. Mike does a great job replacing the seals and he turns them around quickly so I can get back out. Unfortunately, it’s a two-hour round trip for both drop-off and pick up so that’s a large time commitment. I watched some YouTube videos and asked some questions of knowledgable folks and concluded I would try it myself.
After some research, I decided to go with dry adhesive tape from Dive Right In Scuba. I purchased this combination with new seals and the tape and set about doing the replacement. I’m not a pro, but I’ll roughly outline my steps so you can decide for yourself if you want to attempt it.
Supplies
- New seals
- Dry adhesive tape (the alternative is to glue them - I might try that next time)
- A form to hold the suit cuff open - I printed one of these and had to Dremel a notch in it so I could squeeze it into my sleeve
- A roller - I printed one of these
- A heat gun to melt the glue - I got some advice that a hair dryer isn’t quite hot enough, so I went with the cheap heat gun from Harbor Freight. It was great.
- Fine grain sand paper or a Dremel with fine grain attachment
Notes before we start
- The heat gun gets very hot! That’s the point. Be careful of your skin and I imagine you could melt your suit if you apply too much heat.
- The dry adhesive tape seemed to handle heating and cooling several times quite well. I took advantage of this to check my work and then heat again to melt and roll
- Rolling firmly is key to a good seal - you need to make sure the seal is pressed firmly against the glue
- Take your time!
Replacement time
Please seek more complete advice before attempting - I’m just trying to show the rough process so you can decide if you’re up for it.
- Remove the old seal - heat will melt the old glue and then you can peel most of it off
- Remove the old glue - you need a reliable surface for the next glue to stick to. No need to obsess over removing every last bit of the old glue.
- Prep the surfaces - use sand paper or carefully Dremel the new seal and the spot on the suit you will be attaching to. Just roughing up the surfaces a bit is sufficient.
- Clean the surfaces - I used acetone nail polish remover to take off some of the remaining glue and remove any residue
- Insert the form into the sleeve and align so the cuff of the suit lays flat all the way around - this was tricky on my suit because there is an elastic cuff, velcro, and a seam. I did my best in this initial phase and made sure to check it.
- Wrap the dry adhesive tape around the cuff - you can use the heat gun to secure one end, let it cool so it stays put, wrap as much as you need to get all the way around the cuff, and then trim any extra.
- Heat the dry adhesive to stick it to the suit side
- Let the glue cool - this only takes a few minutes, but will let us position the new seal before we actually glue it.
- Position the new seal so it covers the tape. The seal should stay in place with the stretch from the form. Make sure the correct side of the seal will be exposed when done and ensure it is uniform all the way around.
- Roll the edge of the new seal outward to fully expose the dry adhesive tape
- Heat the glue with the heat gun until transparent
- Before the glue cools, unfold the edge of the new seal on top of the tape
- Work your way around with the roller - firmly roll the seal to press it onto the glue
- Let the glue cool
- Check your work - I had to reheat and roll a few areas
- Move your finger around the edge of the seal lightly trying to pull the edge up off the suit.
- If you find such spots, heat the glue through the seal and roll firmly. Let cool and repeat until that edge is secured. For me, there were several spots the first time.
- Turn the sleeve inside out and repeat the same steps on the edge where the suit and seal meet on the other side. If you find spots you can separate, you may need to put the form back in place or try to use your finger so the roller can press the seal into the glue.
- Perform a leak test
- Block the seals (I used my dry gloves for wrists and a bowl for the neck - you could also use cans for the seals)
- Hook up the inflator valve and fill the suit up
- Use a spray bottle with soapy water and spray around the new seal. If you see bubbles forming, you need to do some more heating and rolling.
- Go diving!
With a little luck and some diligent heating/rolling, you’ll be dry next time out! I dove mine for the first time today after the replacement and I was perfectly dry.
Useful resources
- This is a nice walkthrough - this timestamp shows the “outward roll” I referred to above.
- Quick overview of the dry adhesive tape
- If your suit is a little weird like mine, you might be able to find specific tips for your suit. I just kept at it with the heat gun and roller until it sealed up.