· Underwater · 7 min read
Underwater Compact to Mirrorless
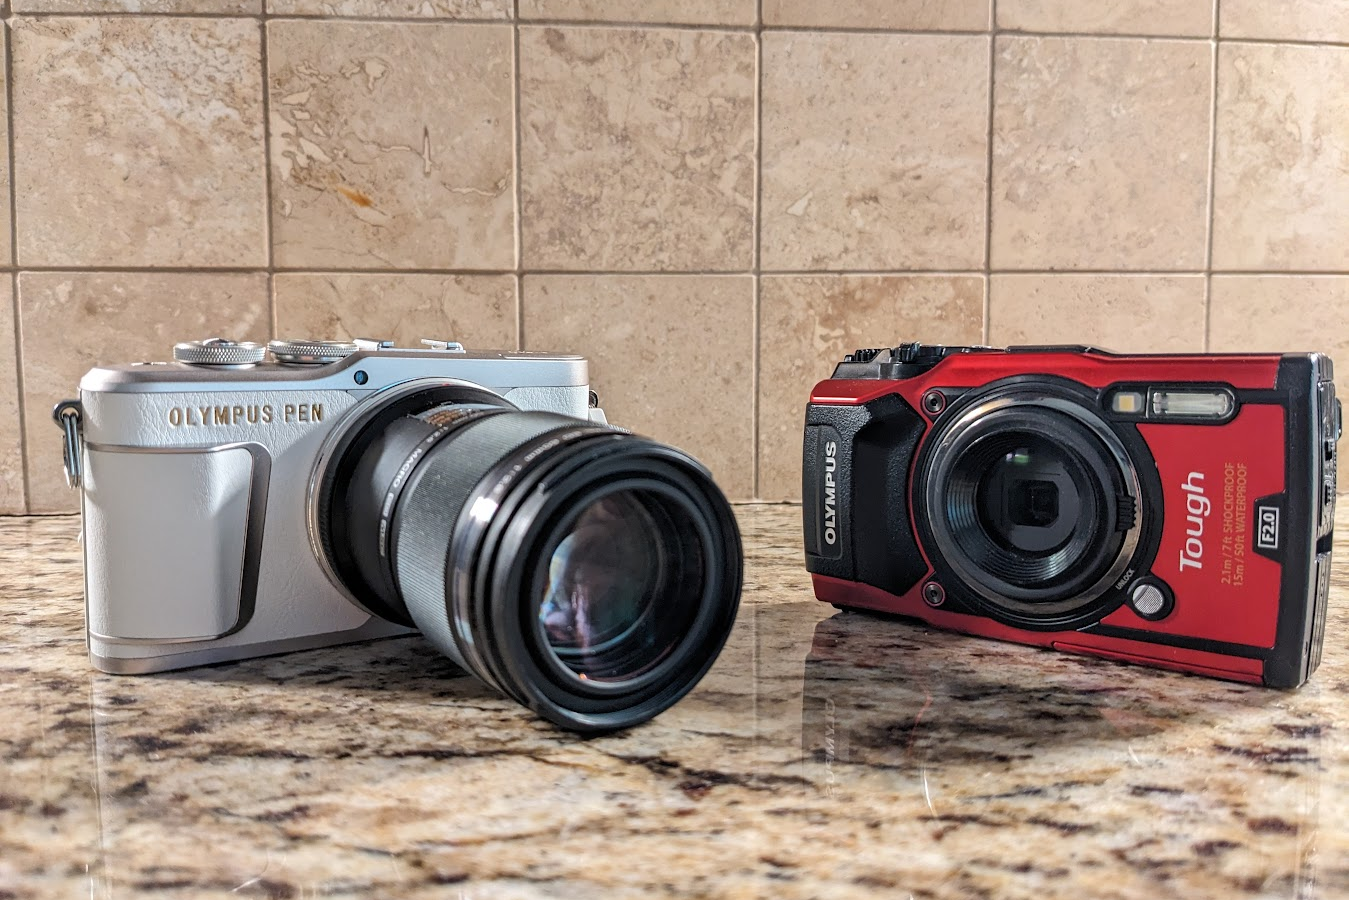
I upgraded from an Olympus TG-5 to an Olympus E-PL9 mirrorless about a year ago. I took the leap with a fair amount of hesitation as I used my TG-5 nearly weekly for 5 years. A reader suggested a blog post on my journey from the compact to mirrorless, so here’s my story. I hope you find it useful if you are considering a similar move.
Olympus TG-5
The TG series is very popular with underwater photographers and for good reason! It is compact (both for travel and in the water), waterproof even without a housing, inexpensive, easy to use, and is a macro beast. These attributes are why I bought it in the first place.
So what are the downsides? Why switch?
- Lack of manual control (the biggest factor for me): the TG does a solid job managing settings for you, but the TG-5 offers virtually no control over settings in microscope mode, which is used for macro. I have so many shots where the camera chose a slow shutter speed or made other dubious choices that ruined the shot. (Note: the TG-6 and beyond allow you to shoot macro in aperture priority, which is a nice improvement)
- Getting lighting into tight spaces: the minimum working distance in microscope mode is virtually zero. This means you can stick your camera right on top of subjects. If you do this, it can be challenging to get light into those small spaces.
- Image quality: I like many of the images I took with the TG, but the small sensor means the resolution isn’t great and you don’t have much wiggle room to crop.
What to buy?
I decided I was ready to make a change, but how did I decide which camera? There were a few important factors:
- Cost: I didn’t really want to spend a couple thousand dollars on just the housing, which is quite easy if you go the Nauticam route. I’m sure they are awesome, I just wasn’t really willing to make that big of a jump.
- Full manual: I knew I was jumping out of the compact market, so this was a given, but important.
- Travel size: I do a lot of local diving, but I also travel fairly often for diving, so I want something that isn’t going to cost me a huge amount to move to my destination.
Where I landed
With the factors above considered, I landed on the Backscatter Octo housing and an Olympus E-PL9. The housing fits either the E-PL9 or the E-PL10, but the cameras are identical other than some artsy filters I will never use, so I went to eBay and bought an E-PL9. This was nearly a disaster as Backscatter had discontinued the Octo housing for the E-PL9/10, but had not updated their website indicating that it was unorderable for several weeks. I had already purchased the E-PL9 on eBay when I realized this, so I scrambled to find a housing elsewhere so I wouldn’t have wasted $400. I managed to find one, so that crisis was averted. Had I realized the housing was unavailable, I might have waited a bit longer because they came out with a new Octo housing for the E-M10 Mark IV a few weeks later. This seems like an all around better camera and would have cost only a bit more. Oh well - on to the E-PL9 experience!
How does it differ from the TG?
The first major difference is the lenses. The E-PL9 uses interchangeable lenses and comes with a 14-42mm zoom lens. This is a fine little lens - 14mm is pretty wide (but not quite wide enough to be wide angle) and 42mm is decently zoomy (although not quite zoomy enough to take great macro images). Knowing full well that macro is my favorite underwater photography, I purchased a used 60mm macro lens as well.
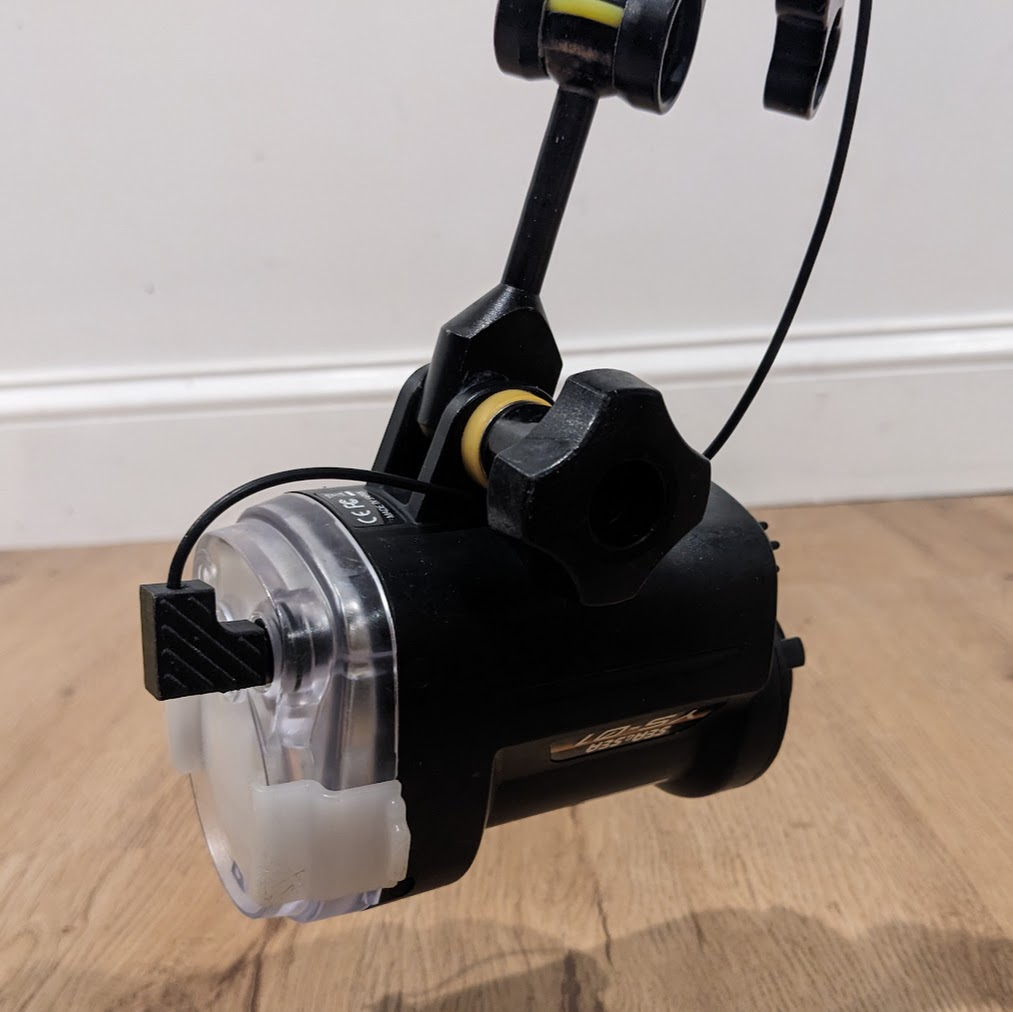
This leads me to the next difference: the housing. The housing is manufactured by AOI, who also makes the Olympus TG housings so the overall layout was familiar. The E-PL housing is a bit more sophisticated. Rather than using the onboard camera flash to fire external strobes, it uses an electronic flash trigger, which plugs into the hot shoe on the camera. This provides some nice battery savings, but is also another thing that needs to be charged.
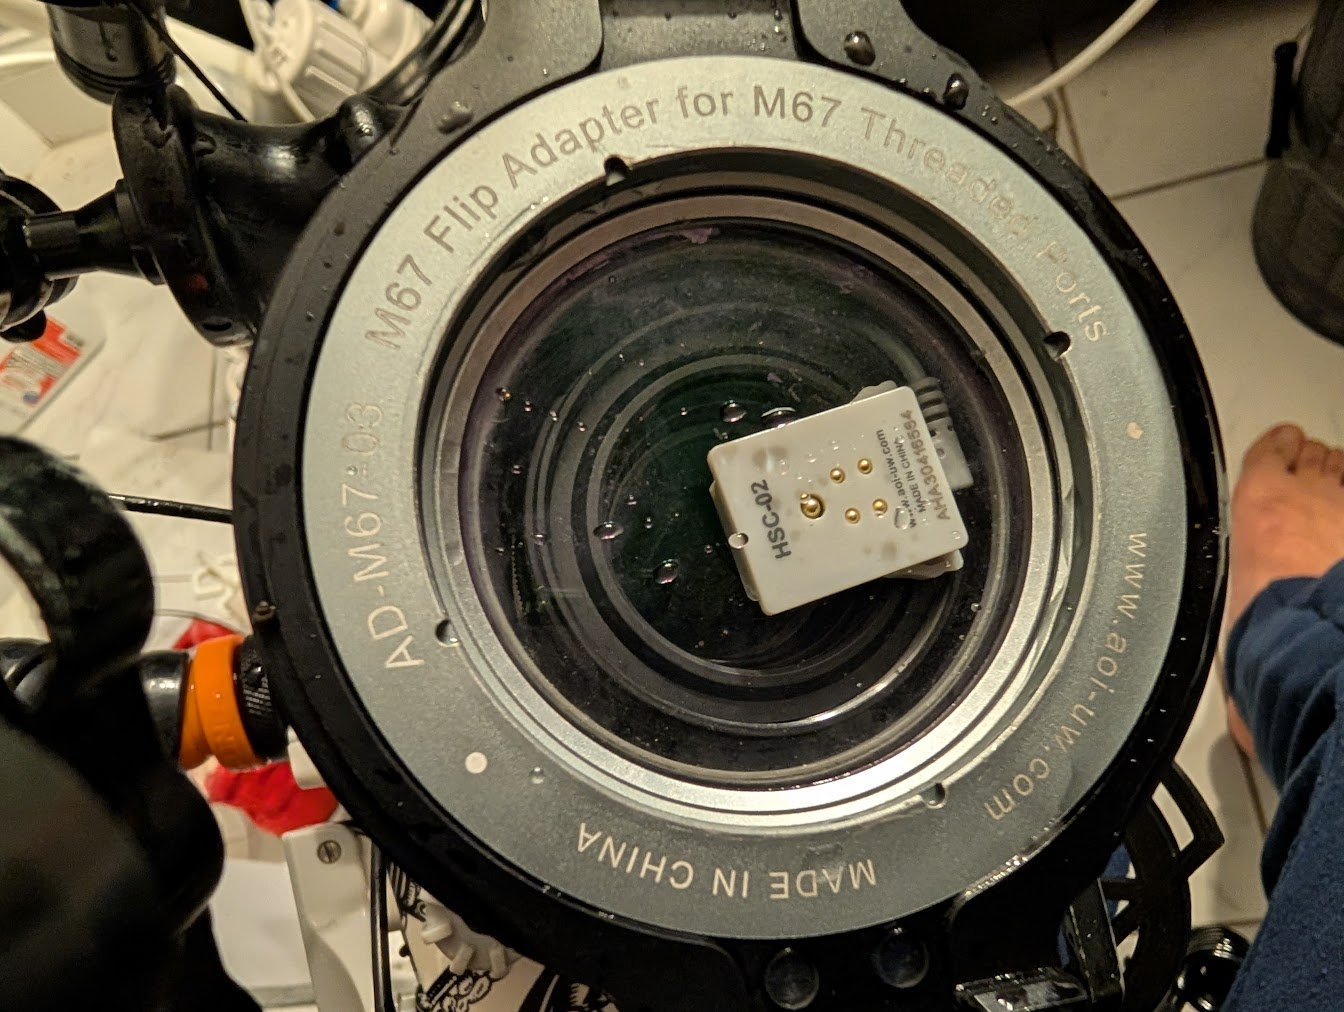
The housing electronics also contain a vacuum seal sensor. When you close the housing up before a dive, you use a provided pump to remove air from the housing to establish a vacuum. The sensor will then wait to detect if there is pressure loss indicating a leak. Once it detects that the seal is holding, you get a flashing green light for the rest of the dive as long as pressure is maintained. The housing also contains an electronic strip at the bottom that will detect any water intrusion and cause the LED to blink and a tone to sound. This is much more important for the E-PL since it is not at all waterproof.
Accessories
I already had strobes, fiber optic cables, a focus light, tray, and arms for my TG, so I just dropped my E-PL housing in and was off and running. From a lighting and mounting perspective. There were a few accessories I did need to purchase however:
- Ports: in order to accomodate different lenses, the housing has a port system. They have handy guides to help clarify what ports you need for which lenses, but they’re an additional expenditure to consider when buying a new lens. The housing comes with a flat port for the 14-42mm lens, but I purchased an extension that can be inserted for the 60mm lens.
- Wet diopter: the 60mm lens is great for macro, but when you get to those really tiny subjects, a wet diopter is very helpful. You will typically get a bit more magnification, but it also decreases the working distance. I recently picked up the Saga +5 and it seems solid. I recommend using some sort of system where you can easily add and remove the diopter mid-dive because it’s not really desirable to shoot it full time. Either a bayonet system for quick removal and storage or a flip system (which I use) will work nicely.
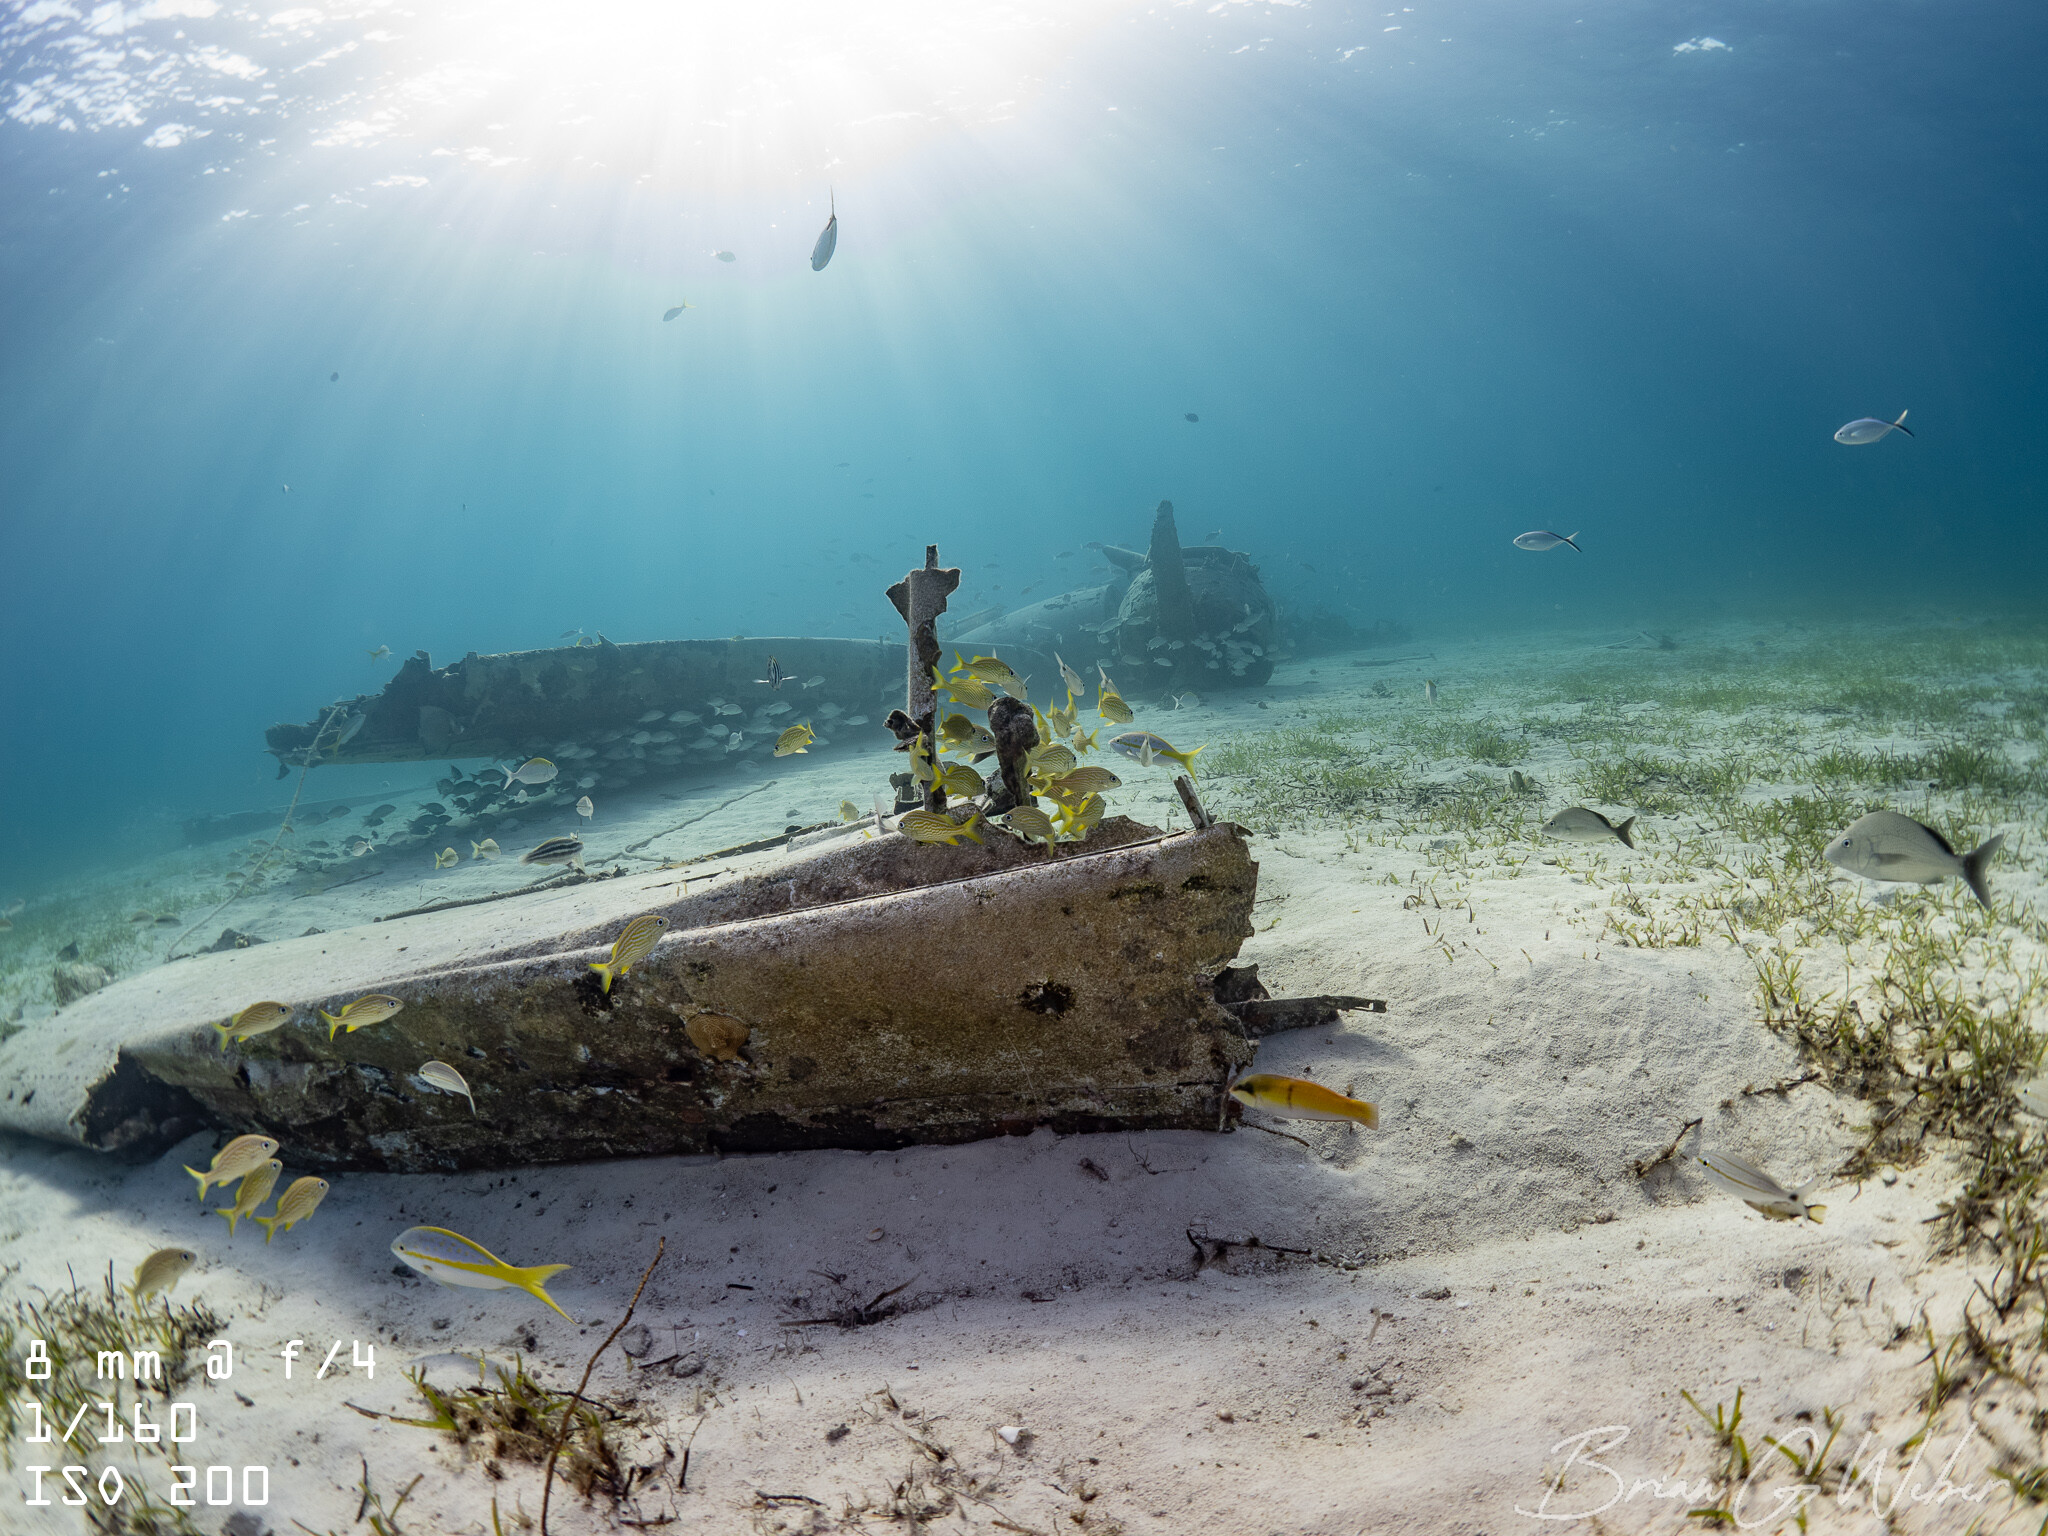
- Wide angle wet lens: as I mentioned earlier, the 14mm setting on the kit lens is pretty wide, but not quite wide enough for true wide angle. You can pair this with a wet lens for better results. I have the Backscatter M52 Wide Angle from my TG rig so I just use that, but there are other wider options out there that would probably be better suited. You could also get a dome port and dedicated wide angle lens, but I haven’t taken that plunge yet.
If you want to see more details about the configurations I image with, check out my blog post about my rig.
Conclusion
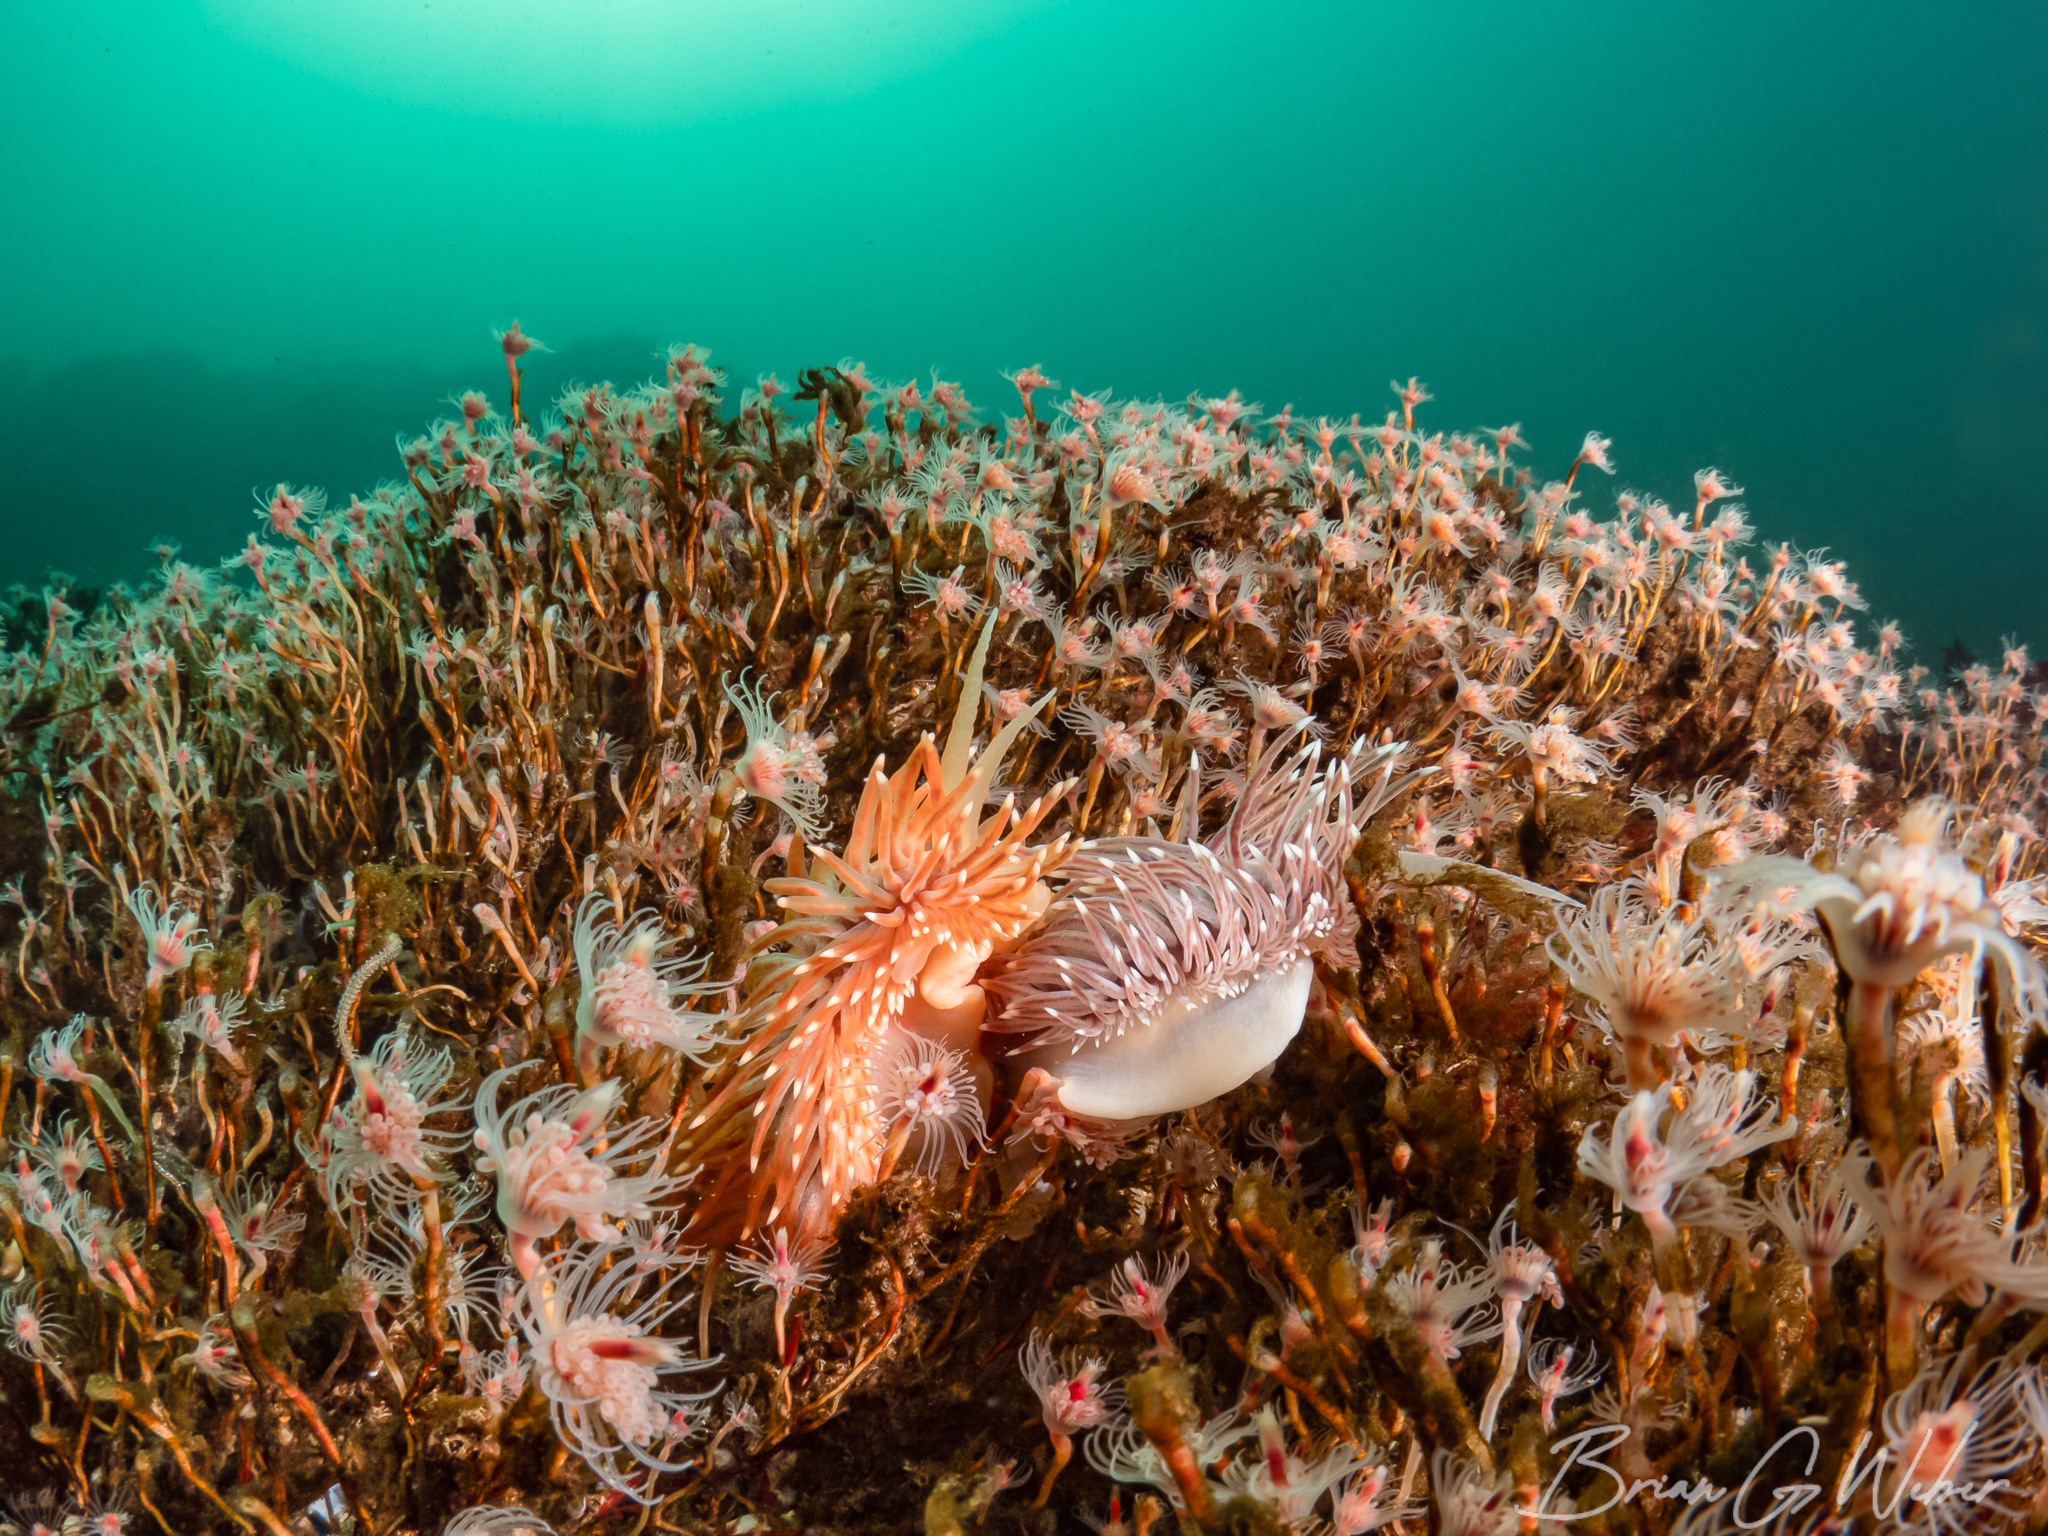
At the time of writing, I have taken nearly 6,000 images with this set up. I am very happy with my mirrorless experience overall. I’m really loving being able to pick my settings and not having them randomly move around on me as the camera decides.
That said, I have encountered a few bumps along the way. Sometime in the first handful of dives, a drop of salt water apparently dripped into the housing electronics and made them start behaving erratically. I sent it in and it cost me $200 to get them replaced. I have since discovered you can just purchase the parts and it is trivially easy to replace them. I’ve also been extra careful to dry the housing and open it with the lens port facing upwards so any small drips don’t hit the electronics.
I had a couple minor leaks in my first trip (after the electronics replacement), but I think that was the fine sand in Dumaguete getting into the o-ring and preventing a proper seal. I have since taken to rinsing the o-ring every time I open the housing and haven’t had any leak issues since.
I highly recommend an upgrade to a camera with full manual control if you want to take that next step in underwater photography. I hope this post was useful and feel free to come find me on social media (links at the top and bottom of the page) if you want to chat or have any questions. Happy imaging!