· Astrophotography · 4 min read
Creating a solar time lapse
I’ve been dabbling in solar photography for several months, mainly with ambitions of photographing the April 8th eclipse (I enjoyed it, but completely and utterly failed to photograph it!). My typical process goes like this:
- Leave my astrophotography rig out after imaging the night before - this means I don’t have to polar align it and can just start shooting
- Put the solar filter on my main telescope and make sure to cover my guide scope (not needed for solar imaging)
- Direct N.I.N.A. to point at the sun using the Orbitals plugin
- Locate the sun if pointing was not quite on it
- Disconnect the camera in N.I.N.A.
- Open up FireCapture
- Choose the “Sun” profile
- Tweak the exposure time if needed to achieve proper exposure
- Capture 2000 frames of video over a subset of my field of view
- Copy it off to my laptop
- Stack the images using AutoStakkert
- Sharpen and tweak the image using PixInsight - SolarToolbox and Curves are all I need
- Share it!
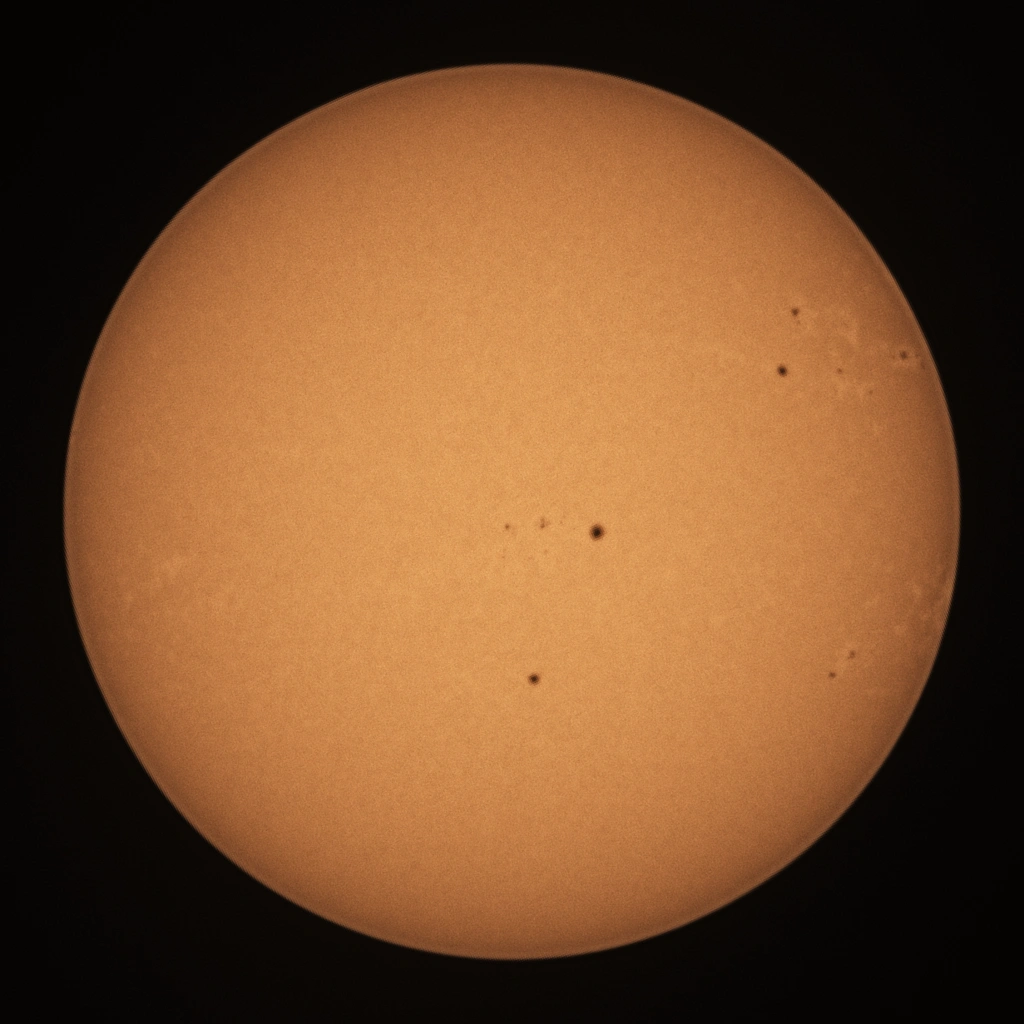
This is pretty quick and easy - I could probably go from start to finish in 20 minutes. The images are decent, with my simple solar film filter showing sunspots and a tiny bit of solar surface texture but I could certainly benefit from more focal length either via a larger scope or a Barlow lens.
With yesterday’s crystal clear forecast all day, I set out to capture a time lapse of the sun in an effort to see the rotation. The sun rotates incredibly slowly - it takes 27 days to do a full rotation! I knew that I would need to take images over the course of many hours to see noticeable rotation, so that’s what I did. I started imaging at 8 AM and used FireCapture’s AutoRun feature to take a 50-frame video every 5 minutes until the sun set behind the trees at around 5 PM. Around 1pm, I had to do a meridian flip to avoid hitting the tripod with my camera/telescope (I have mount limits in place, so it would have stopped short of that, but I needed to flip to keep imaging). To execute the flip, I used the Orbitals plugin again and told it to slew to the sun. The software knew it was past meridian, so it simply flipped the scope to the opposite side of the tripod and flipped the scope around. Alignment was dead on, so I hopped back to FireCapture and restarted the AutoRun. The result was 106 very short videos of the sun. Now to process!
For the most part, processing was the same just done in bulk. AutoStakkert has the option to select multiple videos when you hit “Open”, so I used that feature to load up the videos. I followed the normal process of hitting “Analyze”, resizing the AP grid to get around 20 alignment points, and then hit “Stack”. Most of the images came out great, but some had odd square artifacts. I could probably have salvaged those by re-running with some different parameters but I didn’t bother. In the end, I had 87 good images that needed to be processed.
I opened up one of the images in PixInsight and tweaked the settings in SolarToolbox to make it look good, made some adjustments in Curves and then used DynamicCrop to get the rotation and cropping I wanted. I loaded all of the images that I capture pre-flip into an ImageContainer and applied the series of changes to all of them. The post-flip images images needed an extra 180 degree rotation after the processing I ran on the pre-flip images, so I tested that process on one of the post-flip images and then applied it to all of them. Now I had 87 properly aligned and processed images.
The next step was to use DaVinci Resolve to create a video using the images and then set the speed right to get the duration video I wanted. I’m very happy with the result! I will definitely try this again, perhaps starting even earlier in the day to capture even more rotation.
Here’s the finished product - let me know what you think!
Update: Here’s another one!