· Astrophotography · 11 min read
N.I.N.A. Templates for Mono
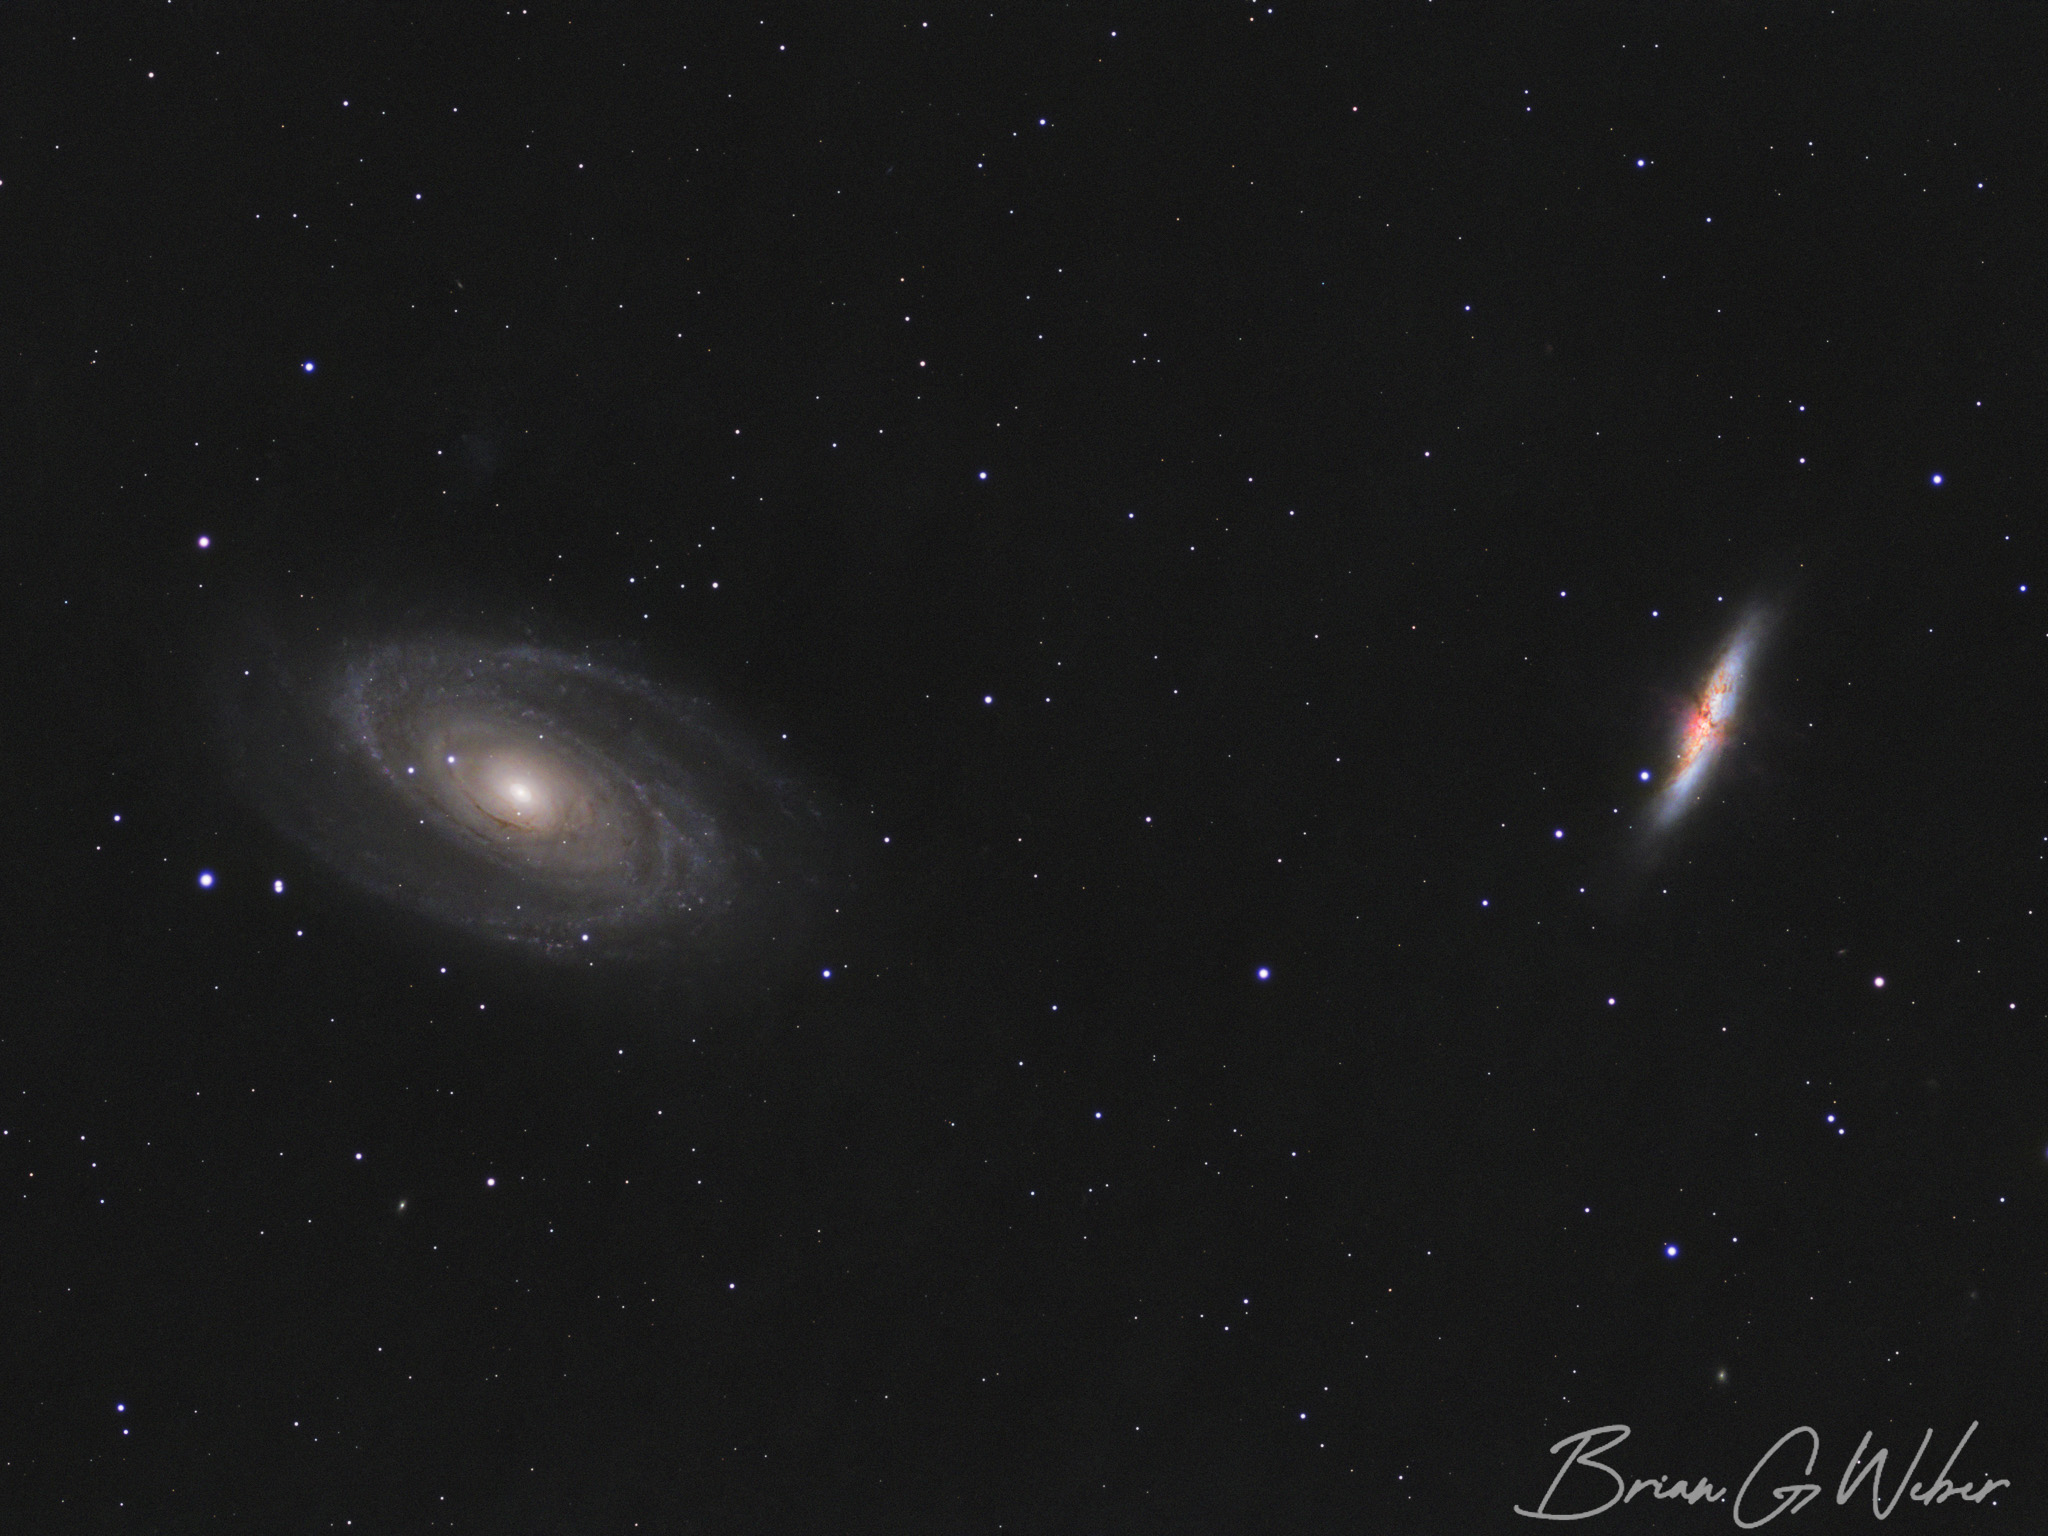
Since I can’t actually image due to awful weather and wildfire smoke, I might as well write about astrophotography! I recently purchased a ToupTek ATR585M with LRGBSHO filters and an electronic filter wheel. Monochrome is a different beast from one-shot color, but with a little work on the templates I wrote about previously, it was easy to get up and running. If you read that previous post, I will prominently highlight the differences as the templates are very similar.
N.I.N.A. is a free, open-source Windows-based application used to control your astrophotography imaging sessions. It is chock full of features, but is also incredibly simple to use once you have some initial setup taken care of. I won’t be starting from the beginning because there are already excellent setup tutorials on YouTube. Patriot Astro has a ton of good info - I started from his templates and made my own tweaks as described below.
Instructions:
- Templates are located here - click Download next to the ones you want to download
- Move them into Documents > N.I.N.A. > Templates on your computer
- You should see them when you open N.I.N.A. If you haven’t already, you can use the Advanced Sequencer exclusively by going to Options -> General -> Disable Legacy Sequencer and set it to “on”.
Plugins
In addition to the awesome base features of N.I.N.A, there is a large collection of plugins that add even more functionality. These can be installed directly in N.I.N.A. by clicking “Plugins” and selecting “Available”.
For these templates, we are going to use:
- Ground Station - not required, but you can hook in push notifications to your imaging session. (This page describes the plugin and the embedded video has setup instructions for the various sources)
- Three Point Polar Alignment - uses the main camera and plate solving for polar alignment
- Sequencer Powerups - allows the use of variables in templates
- Filter Offset Calculator - only used for initial setup, but makes offset computation super easy
Basics
There are a few ways to save information in N.I.N.A.
- Targets: used to save exact center location, rotation, and template associated with a target.
- Templates: used to save an instruction set for easy reuse. Once saved, you can drop them into your sequence.
- Sequences: you can save entire sequences to use across sessions. I mostly use an “Empty” sequence, which just contains the session start and session end instructions. Sometimes if I want to just repeat a session exactly in the future, I’ll save the whole sequence for quick and easy reuse.
Initial Setup - Compute Filter Offsets
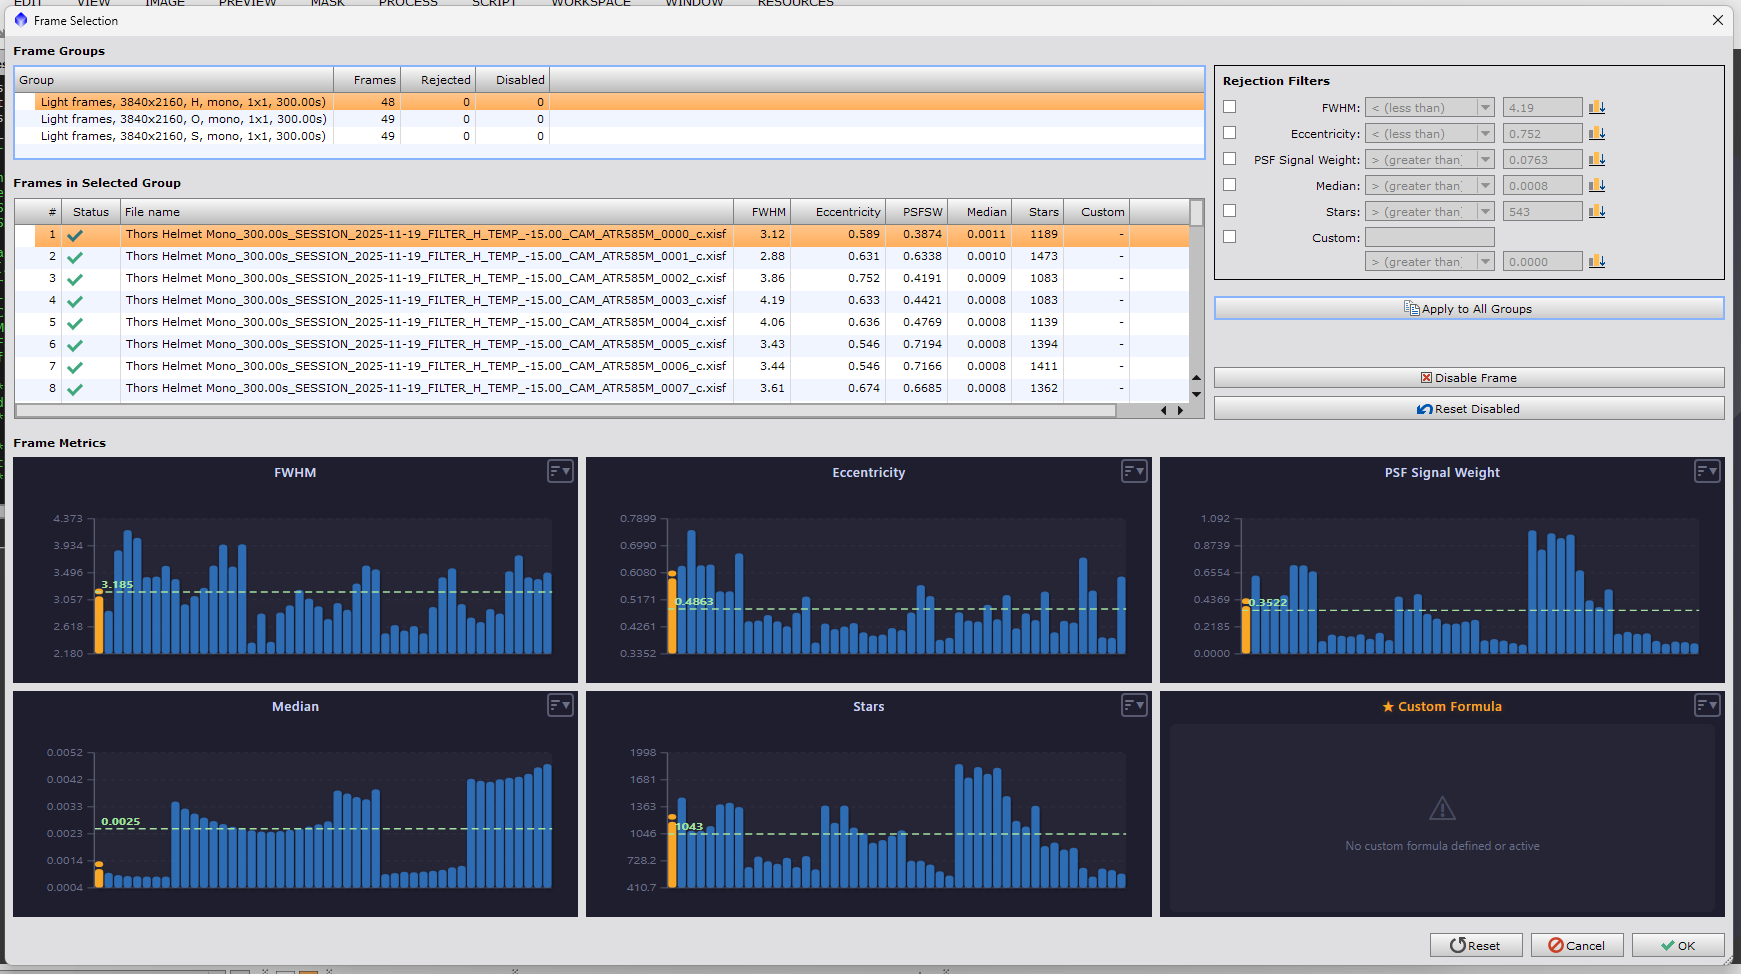
The templates I use will swap between filters frequently, which could be problematic if the filters are not parfocal (all do not have the same focus point). My set is not, but fortunately, N.I.N.A has the ability to set offsets for different filters and automatically shift focus when you switch. The easiest way to compute the offsets is to install the Filter Offset Calculator plugin and use the provided Filter Offset Calculator instruction. This instruction will run through the selected filters, run autofocus 3 times to confirm the focus and compute the offset from a given filter.
I believe once the step completes, it writes the offset values to the Options > Autofocus page. I set L as my autofocus filter since I can run very short exposures on that filter.
Now that we have this configured, we can freely swap filters during the session and retain focus throughout.
Sequence Start
Here’s the template I use to kick off a sequence:
Step by step:
- Failures to Pushover - any failures here will send a push notification to my phone
- Switch Filter - This step is probably not necessary since I set “L” as my autofocus filter during setup.
- Wait for Time - you can select from a number of times that adjust with the daylight or hardcode a particular time. In this case, I’m starting this portion of the sequence 10 minutes before Nautical Dusk. Nautical Dusk is earlier than Astronomical Dusk, so you may want to choose that instead.
- Unpark Scope - get the scope ready to move
- Slew to Alt/Az - this points the scope straight up. You can adjust this, but make sure not to point near local light sources or the western horizon.
- Set Tracking - we want to track while we’re autofocusing to ensure we don’t have trailing
- Run Autofocus - I have an Automatic Focuser, so this autofocuses the scope.
- Send to Pushover - send a push notification to notify me that we’re ready to start the session.
Session Settings
This is much simpler for mono - the only thing I configure here is the temperature to use for the session in the variable TEMP.
Here’s the block for settings:
Polar Alignment
You can use Three Point Polar alignment from the imaging tab, but it’s handy to have it in a template instead. I have one template for each imaging location I have in the yard - the first spot has north visibility, so I point near Polaris and rotate from there. The second is right up against some trees entirely blocking the north view, so I aim off to the east.
Here’s the polar alignment template:
Not much interesting in here other than:
- Set the filter to L so very short exposures can be used
- In the “Three Point Polar Alignment” instruction, we are specifying where we want to point the scope.
- The Message Box at the end pops up a message. When that box pops up, either push “Stop Sequence”, hit the “Refresh” icon on this block, and start the sequence again or hit “Continue” to move into imaging. I usually run this block two or three times to ensure proper alignment, especially when I have moved the scope and initial alignment is not very close.
Object Imaging
This is the complicated one, but for good reason. “Targets” let you save the associated imaging series, but I always drop in the LRGB or SHO template and drag the target into it to ensure I have the latest and greatest template. If I am imaging multiple objects in a session, I will add this block once for each object.
Overview
Here’s the imaging template overall and we’ll go into each of the collapsed sections individually:
- The “Target” section will get populated with what you actually want to image. You can go to the “Target” tab and drag your target into this section.
- Triggers: these are events that will happen globally across the sequence
- Meridian flip: When it is time, make sure to execute a meridian flip
- Failures to Pushover: Send push notifications on failures anywhere in this sequence
- Unpark Scope
- Wait for Time: Again, you may want to tweak if you’d rather wait for Astronomical Dusk
- Wait until Above Horizon: Waits until your target is a certain altitude above your horizon. I have configured a custom horizon for my imaging location, so it will wait until the object has cleared obstructions. Here’s a tutorial on how to do that (I use Dioptra on my Android phone).
- Send to Pushover: Tell me we’re starting the imaging sequence
Target Start
This block gets us pointed at the target, camera cooled, guiding underway, and sends a Pushover notification to let me know imaging is starting:
We’re using a parallel container so the camera cools while simultaneously getting aligned and kicking off guiding. We will not exit this block until both tasks have completed. Most of the time I leave my imaging train intact so I do not need to check rotation, but if you do, you can add the “Solve and Rotate” instruction. I do not have an auto rotator, but I do use the manual rotator (configuration steps below), which will provide instructions to ensure you are properly rotated.
Note the use of “Cool Camera+”, which is the Sequence Powerups version of the instruction. We are using the temperature we specified in the settings block.
The only difference with the OSC version is that I’m switching to the L filter for alignment and I pulled the Pushover notification out of the imaging loop.
Target Imaging Instructions
Here’s where the magic happens:
- Triggers will run while we are imaging in this block.
- Center After Drift: Periodically plate solve the image and make sure we’re still on target. This almost never actually re-aligns because my tracking and guiding keeps everything on target. It could drift if clouds roll through. You can adjust the precision of drift detection, but make sure not to make it too precise otherwise dithering (which intentionally drifts slightly) could trigger this.
- Restore Guiding: This will resume guiding if we have to correct for drift
- AF After HFR increase: HFR is a measure of star size. If the star size increases, it indicates that we’re losing focus. This commonly occurs when the temperature drops over the course of a session.
- Loop while Altitude Above Horizon: The counterpart to “Wait until Above Horizon.” Using that same custom horizon we talked about earlier, we’ll continue the instructions below until the target drops below the given altitude above the horizon.
- Loop Until Time: Again, you may want to adjust this to Astronomical Dawn. If either of the loop conditions are violated, this image block will be terminated. You can also set this to “Time” if you want to move onto the next target at a certain time.
- Smart Exposure+: This will swap the filter and take a set number of images. Note that we are using EXPTIME from the top of the imaging block to control our imaging and that “Dither” is set to 0 because we are dithering after we have run through the filters. I run the L filter shorter than the others, but take one more per loop to keep exposure time consistent.
- Dither: Nudge the framing randomly to allow stacking to remove hot pixels and prevent walking noise
My block for SHO is the same, just different filters. I aim for around 15 minutes of exposure time between dithers, so I’ll adjust image counts to hit that based on EXPTIME (typically 5 minutes).
Target End
Once we’re done with the target, stop guiding and send a push notification. The sequencer will move onto the next target if there is one or the end instructions.
All Done
Our session has come to an end, so let’s wrap up by sending a push notification, setting to the L filter (this may not be necessary, but it’s where I’m going to start next session anyway), warming the camera, syncing all of the files from the session (details on this script here), parking the scope.
Flats
I typically shoot flats in the morning, but you can use this block during the sequence as well. There are a number of ways to deal with flat exposure times, which are described below. This template assumes you know your flat duration for each filter.
- Unpark Scope
- Stop Guiding
- Cool Camera to the temperature we set for imaging (not strictly necessary)
- Slew to Alt/Az: point the scope straight up at the sky
- Set Tracking: Stop tracking since we won’t be following the stars
- Send to Pushover: Send me a notification to get off the couch and come outside
- Message Box: Pause to add light panel/tablet
- Take 20 exposures at the exposure time we found for each of the filters used during the session
- Message Box: Pause to remove light panel/tablet
I created a template for the SHO filters as well based on their optimal exposure time. And that’s it! Now you’ve got all the components to build a full monochrome imaging session with a few simple drag and drops. Happy imaging!
Extras
Configuring the Manual Rotator
- In N.I.N.A., go to Equipment > Rotator and select “Manual Rotator” from the dropdown.
- Now if you add an instruction like “Solve and Rotate” or “Slew, Center, and Rotate”, N.I.N.A. will measure your current rotation and give instructions on which way to rotate if it does not match the desired orientation.
Flats Duration
There are a number of ways to shoot flats and determine exposure time. My preferred method is to put my light source (Android tablet with “Flat Frame” app) on top of the vertical scope and take some manual exposures in N.I.N.A. I tried to get near 50% on the histogram, but mostly you just need to make sure you’re comfortably away from the upper and lower edge of the histogram. This is a one-time operation per filter unless I change my light source or muck around with gain/offsets too much.
There is also an “Auto Exposure Flat” instruction you will want to use if you shoot sky flats, but can also use as a one-time tool to find the exposure time for each filter. It will take images at various exposure times to narrow down to the appropriate exposure time and then shoot the desired number of flats.