· Underwater · 5 min read
My OM-1 Underwater Photography Rig
The Journey
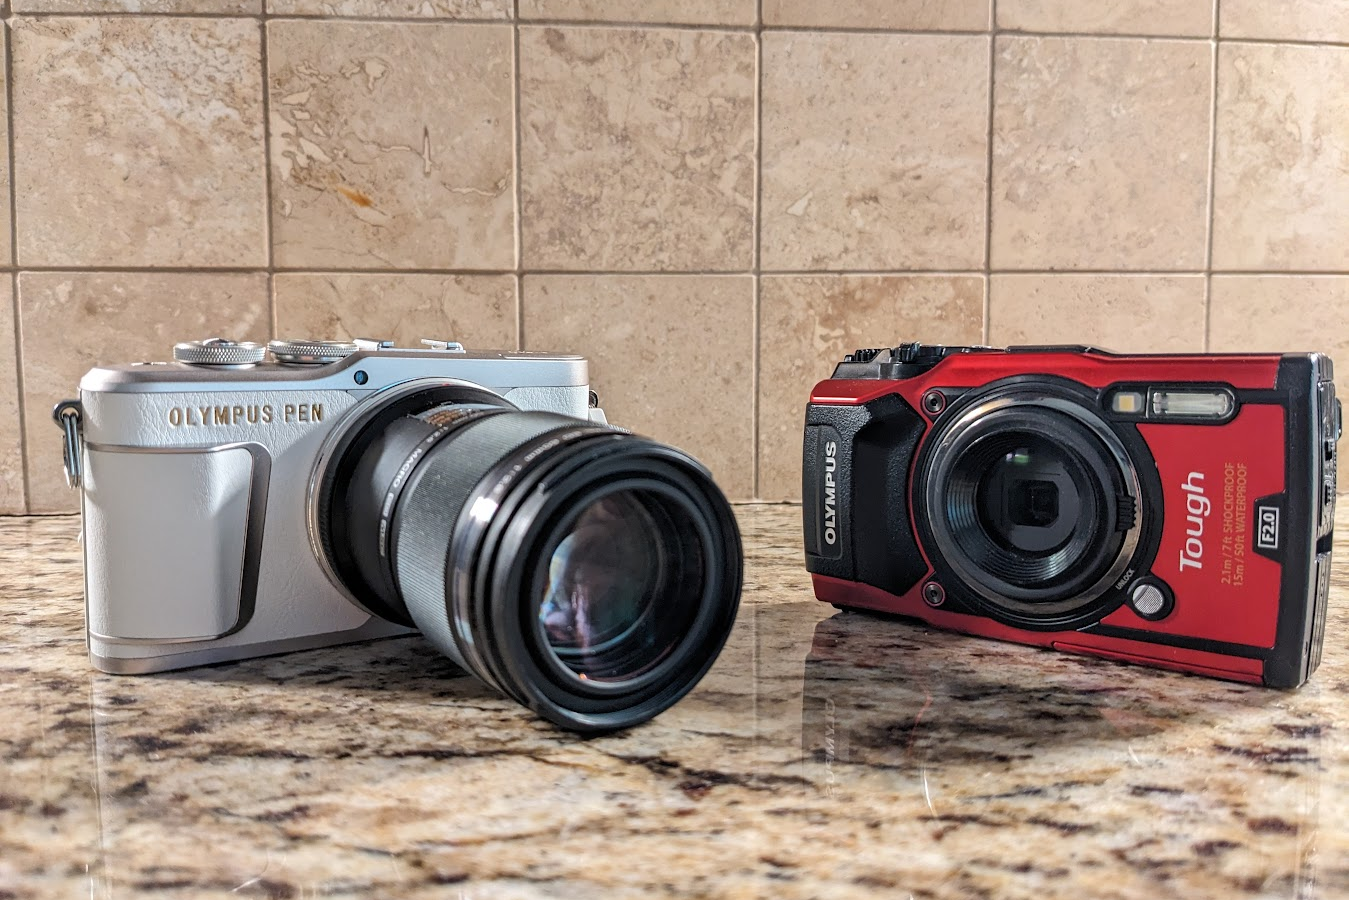
I’ve been taking pictures and video underwater since I got certified back in 2014, but I really stepped it up in 2018 when I went from a GoPro Hero 3 to a TG-5. The TG-5 was an awesome camera for me, but I wanted to take things to the next level with manual control so in 2023, I upgraded to an Olympus E-PL9 mirrorless.
After 2.5 years of shooting, I had a catastrophic housing flood (I’ll do a separate write-up of this) that killed the EPL-9, my 60mm lens, and housing electronics, so it was time to start over. I liked the compact size and weight of the Micro Four-Thirds ecosystem, so I knew I wanted to stay in there.
There are quite a few options with varying feature sets and price points, but I ultimately ended up with the OM-1 Mark I. The latest and greatest is the OM-1 Mark II, but it was significantly more expensive so I went with a used Mark I.
The Housing
After my experience with the electronics on the Backscatter Octo housing (made by AOI), I made the decision to go with the Nauticam housing. Everything is expensive about these housing, but they are super nice.
As soon as I lifted the housing out of its packaging, I was excited about the ergonomics and design. All of the controls I need are easily accessible with my right hand. My thumb has a lever for easy focus and a dial for shutter speed. My index finger has a lever for shutter release and a dial for aperture control.
This housing has several spots for accessories:
- An M14 bulkhead for the vacuum valve
- An M24 bulkhead for HDMI or USB-C port
- M10 threads for a mounting ball (25221)
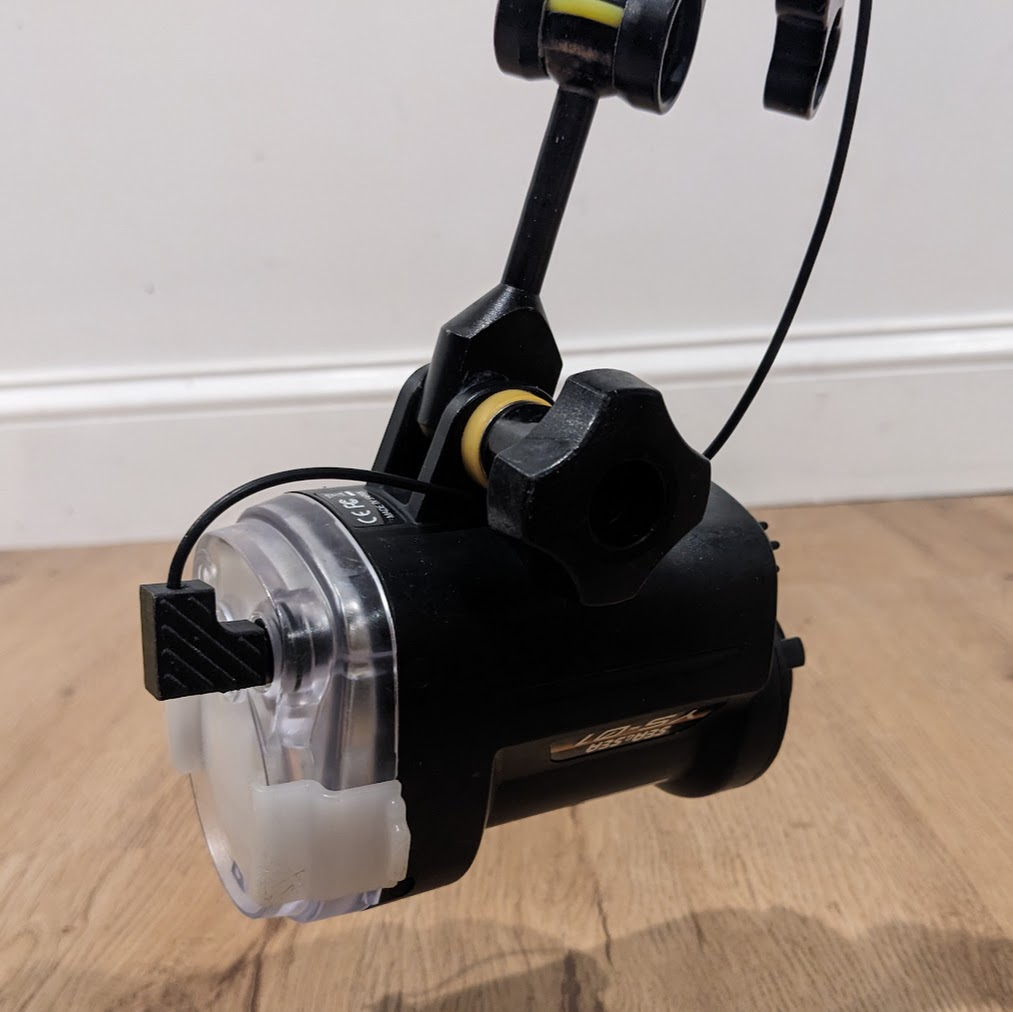
The housing has two ports for fiber optic cables on the front, but you will need something to send light to your strobes. I made sure to find a used camera that came with the small flash (FL-LM3) and I’m using that for now. At some point, I may upgrade to a fancier flash trigger but this one serves my needs for now.
Accessories
The housing comes with electronics for a vacuum sensor and leak sensor, but you need to purchase a valve to pull the vacuum. I went with Nauticam’s vacuum valve (25624), but Backscatter also makes one. In either case, you flip the switch on the inside of the housing, seal it up, and then use the pump to pull air out until the light goes green. Sealing it up well before the dive gives enough time for any leak to turn the sensor yellow or red before you splash.
I took advantage of the M24 bulkhead to add an external USB-C connection (26326, also needs 26325 to fit the M24 bulkhead). I had never heard of this accessory, but it’s actually a killer add-on! Rather than having to open my housing to charge the camera or download photos, I can simply remove the cap and plug into a power bank or laptop. This means I’ll only need to open the housing to swap lenses. Sweet!
Lenses
I’m well-versed in the M43 lenses, but I did make one noteworthy addition:
- Olympus 30mm f/3.5 Macro - excellent for all but the tiniest subjects with a minimum working distance of virtually zero and super snappy autofocus
- Olympus 60mm f/2.8 Macro - great for those tiny critters when you really need to get in tight
- Olympus 8mm f/1.8 PRO Fisheye - super wide with 180º field of view. This is great for close-focus wide angle or shots of the largest subjects. This one is new to me!
Ports
NOTE: Confirm your port selections with the Nauticam Port Chart to ensure you have the right pieces.
Nauticam has a robust port system that will support most popular lenses. Here are the ports I ended up with:
- Macro Port 45 (36135) for the 30mm
- Extension Ring 20 (36620) for the 60mm when attached to Macro Port 45
- N85 4.33” Acrylic Dome (31632) for the 8mm fisheye with Extension Ring 20
Macro Configuration 1
Lens: Olympus 30mm f/3.5 Macro
This setup isn’t quite enough reach for the tiniest creatures, but works well for getting nice close-ups of small critters and fish portraits. This lens is super snappy to focus and has a near-zero working distance so you can get in tight if you need to. I’ll also sometimes pair this setup with a flip diopter for more options.
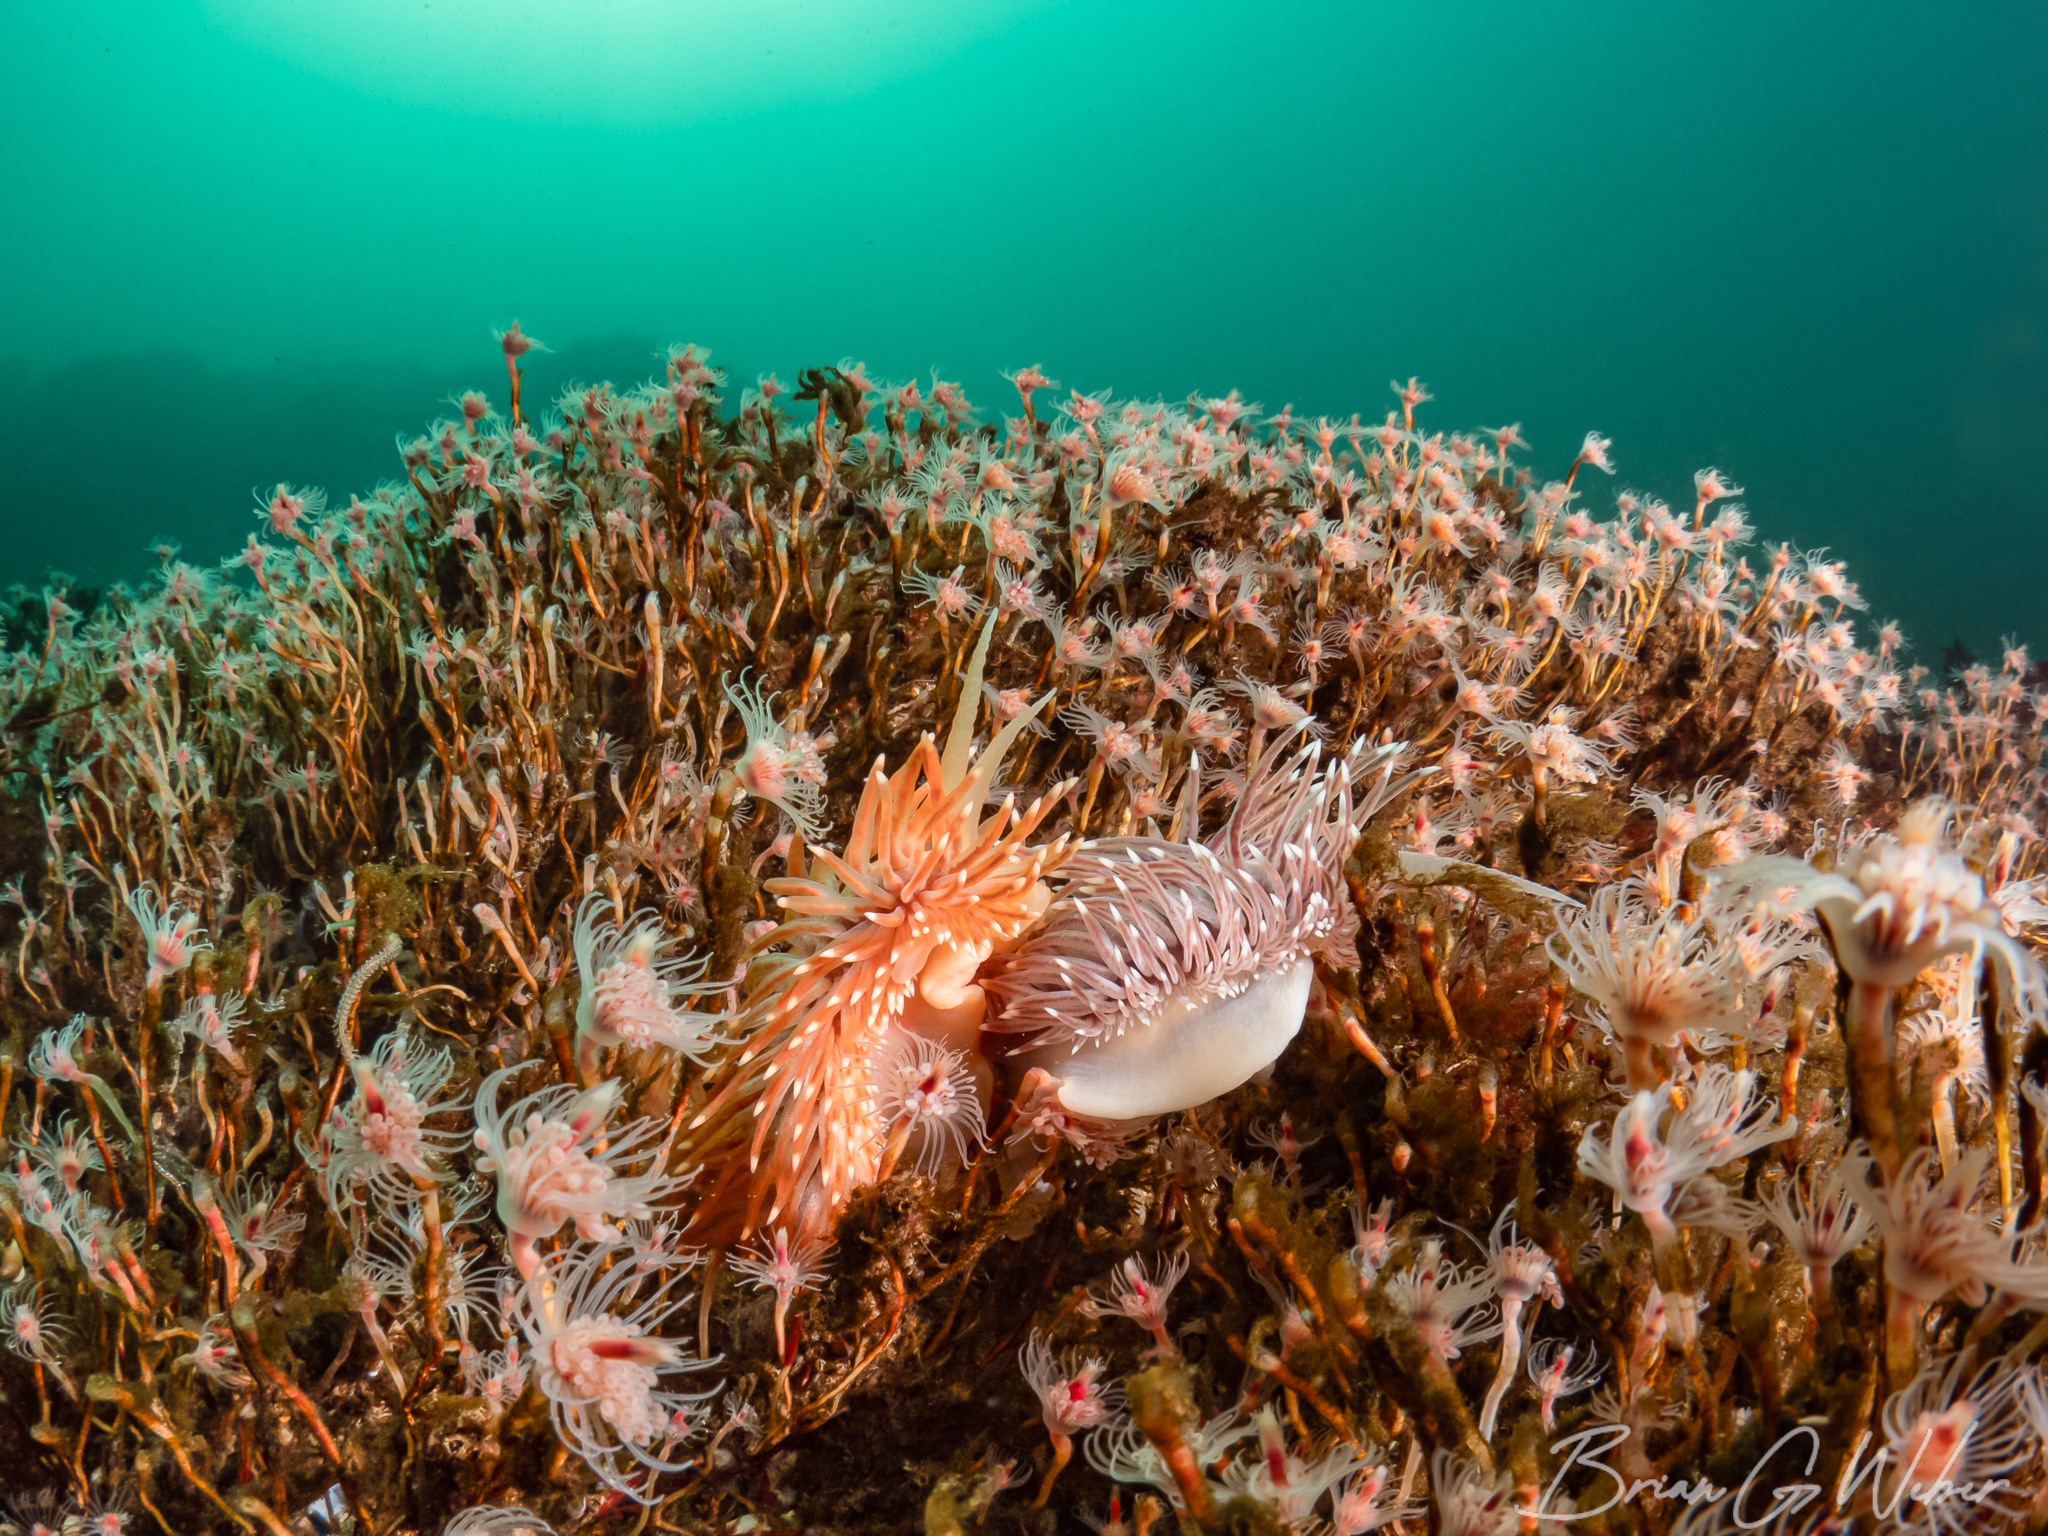
Macro Configuration 2
Lens: Olympus 60mm f/2.8 Macro
This setup is best for super tiny critters, but can be challenging to juggle the minimum working distance, focus, and actually locating the subject. I have also found this setup to be handy with some skittish larger subjects where you can fill the frame from a bit of distance.
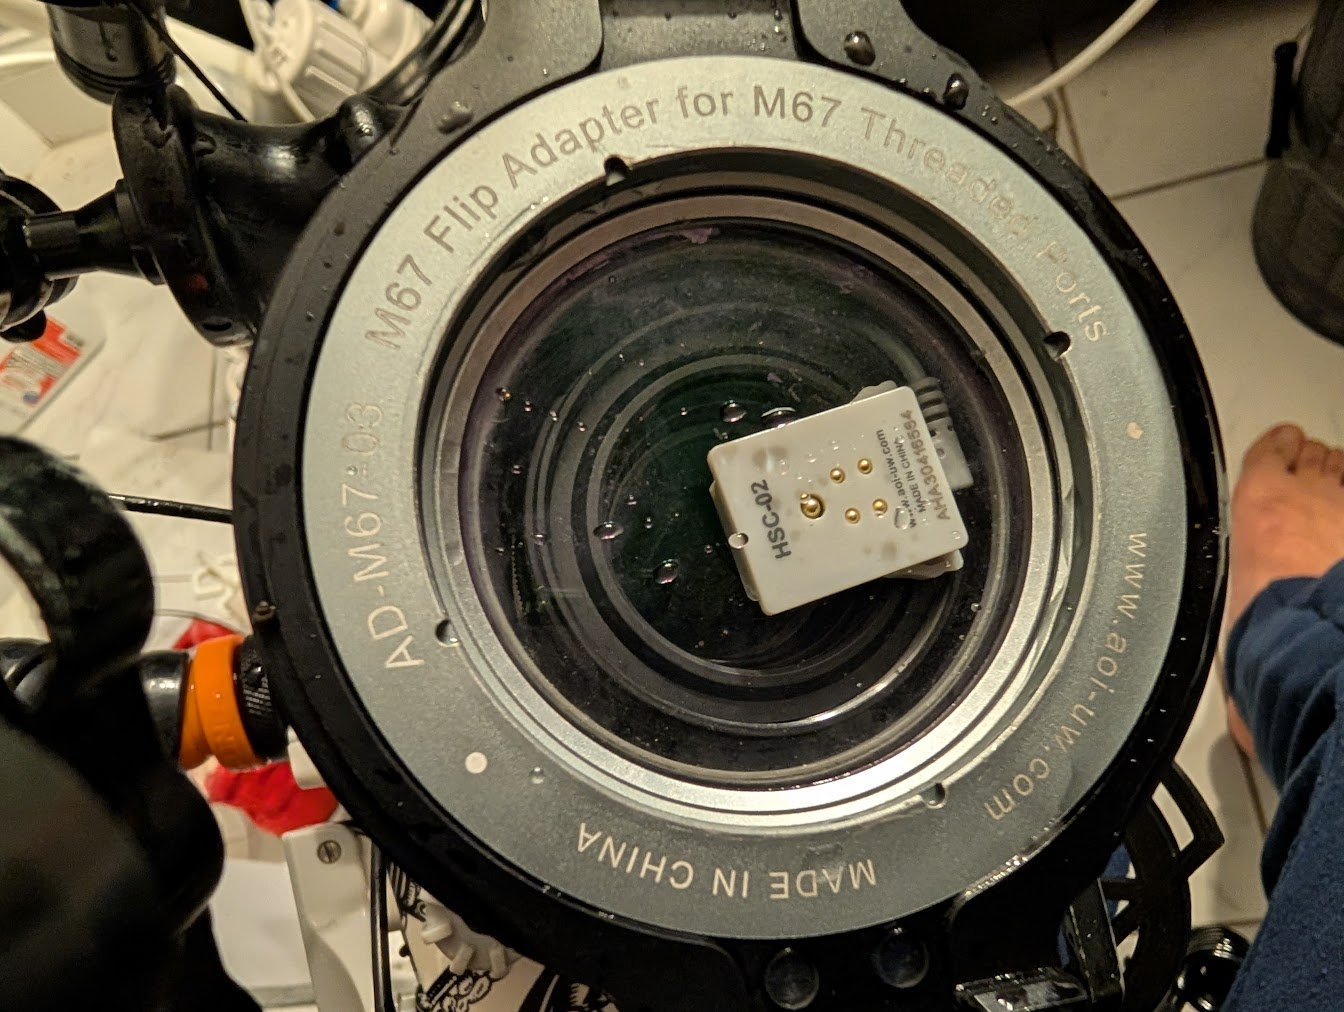
For those tiny subjects, I have a flip diopter I can add on to get in close and better fill the frame. This was captured with my AOI +20 diopter.
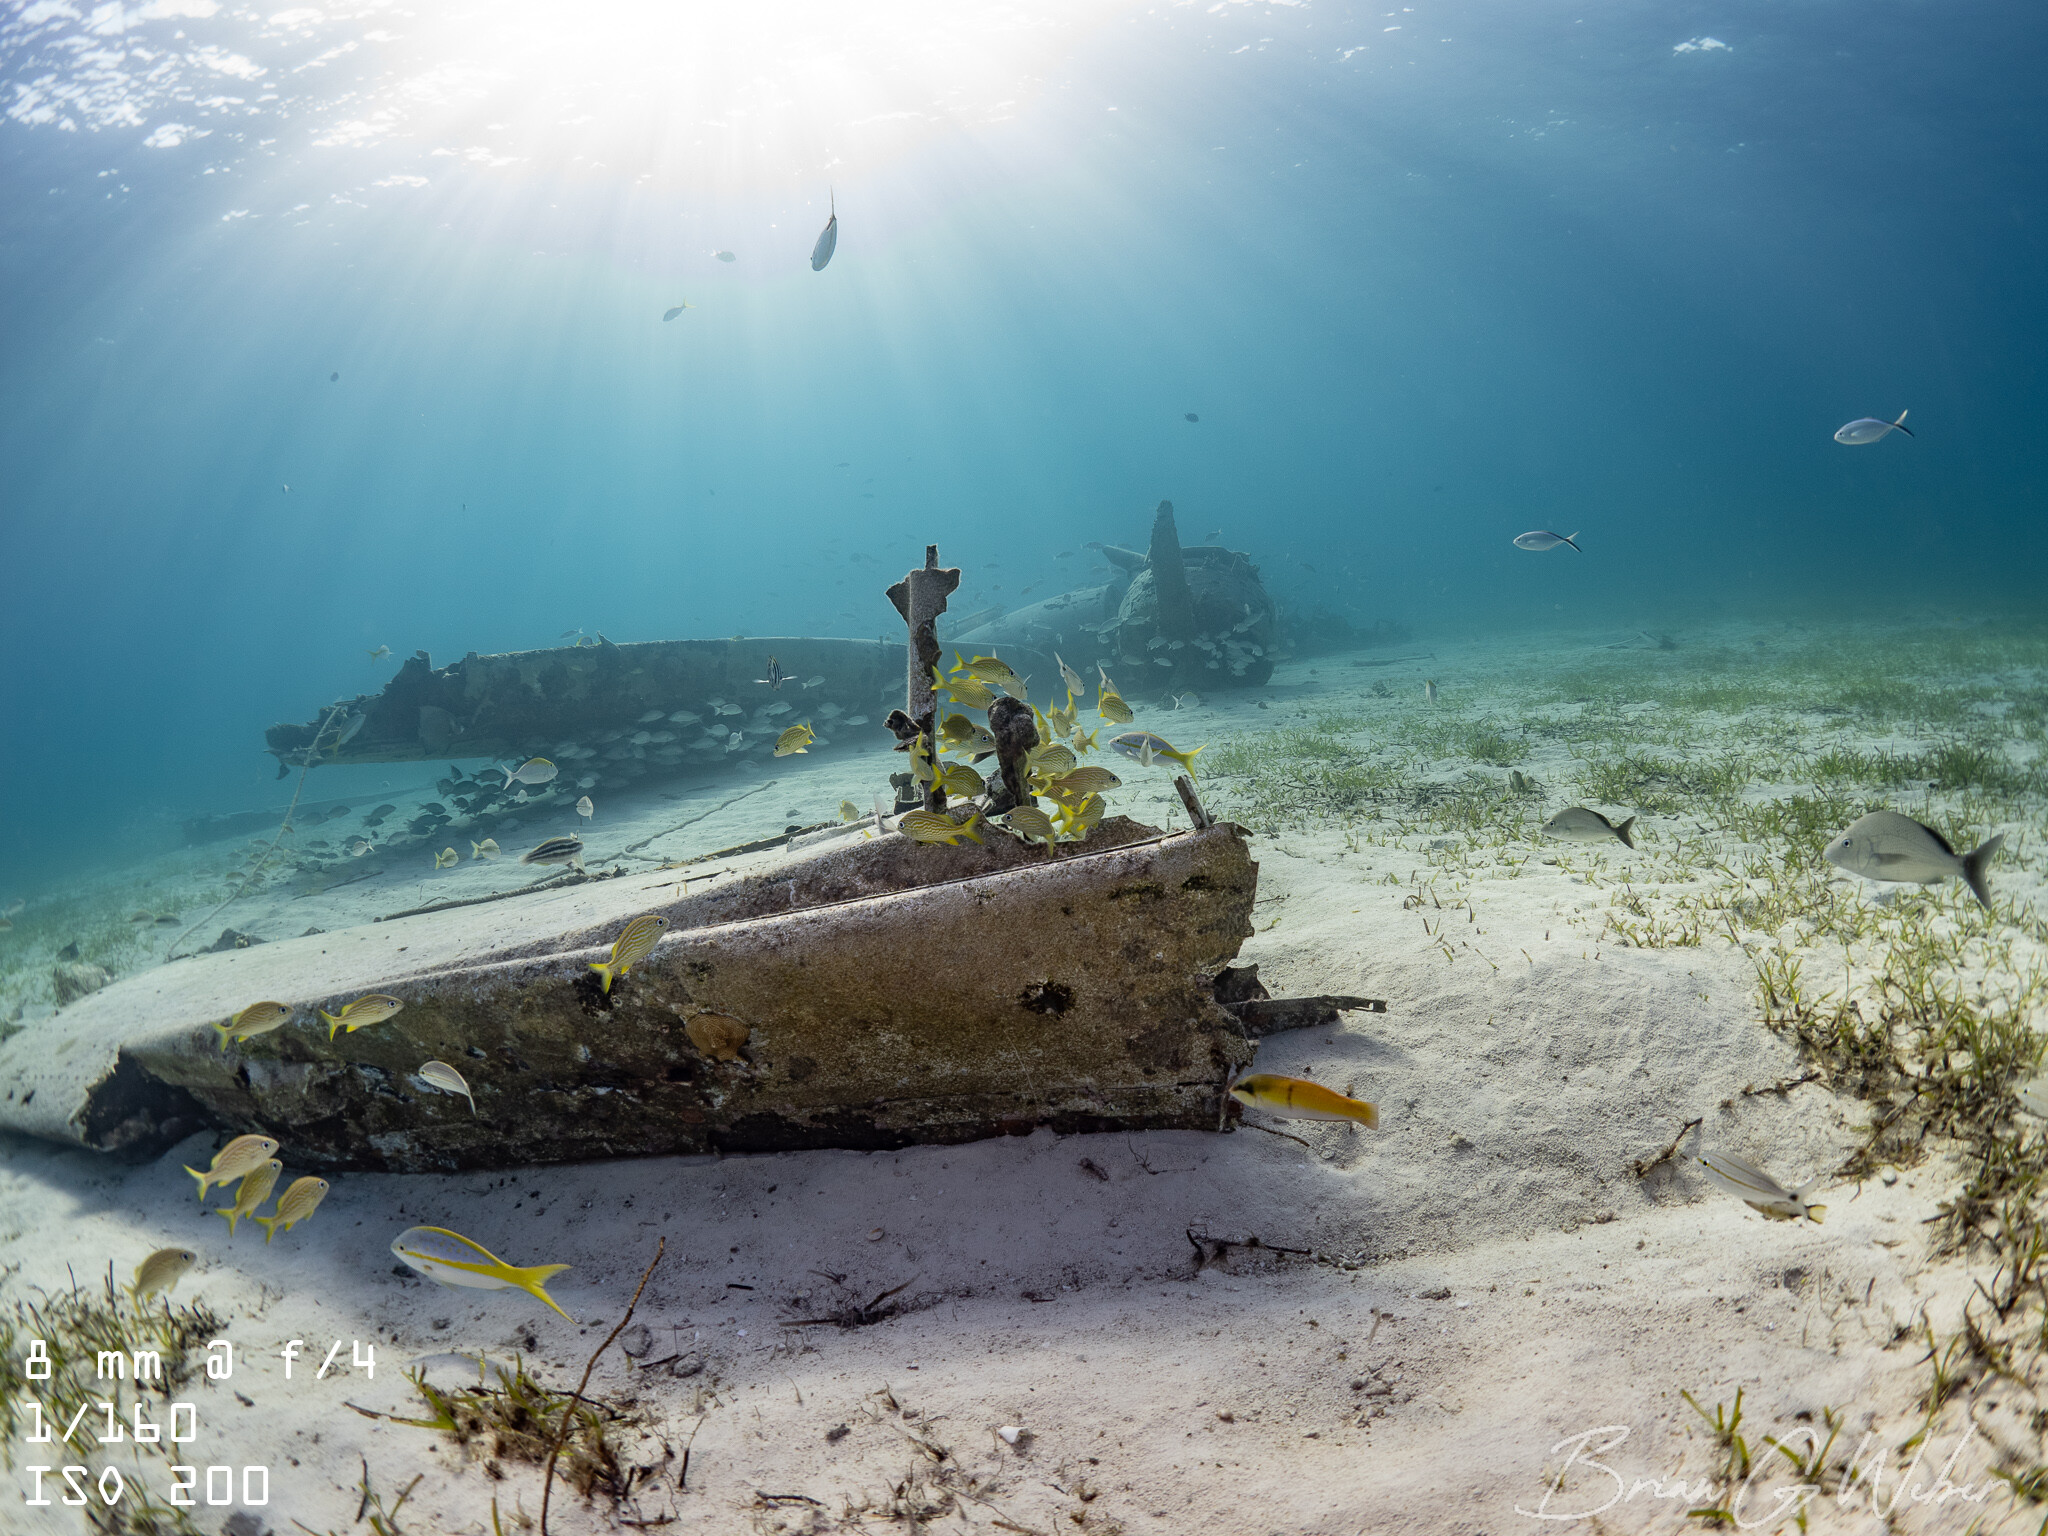
Wide Angle Configuration
Lens: Olympus 8mm f/1.8 PRO Fisheye lens.
I am still new to this setup, but it’s an interesting one! The fisheye lens is so wide that you have to get really close to your subjects and (as with all wide angle photography), you need to balance properly exposing the ambient light in the background and lighting the foreground with strobes. I’m planning to write a post about my fisheye wide angle journey, but it has been fun so far.
These lenses are great for the widest subjects, wrecks, and reefscapes. The distortion effect of the fisheye bends any straight lens, especially near the edges.
Conclusion
The OM-1 is an awesome camera and the Nauticam housing is like a plush luxury car. I’m really enjoying both and can’t wait to spend more time underwater with this setup.
Join the conversation: