· Underwater · 5 min read
Learning Fisheye Photography
With my recent upgrade to an Olympus OM-1, I also added an 8mm fisheye lens to my kit. I have shot some wide angle before, but fisheye is next level wide: you get a full 180 degree view in front of your lens. At initial writing, I have used this lens on four dives - three times in the warm water of the Bahamas and once in the cold water of New Hampshire. I’m planning to update this page as I take more images and learn more.
To be clear, I’m not bringing anything new or innovative to this style of imaging - this is just a place to document the things I’ve learned in the hopes that it will help me and possibly someone else down the road.
The Gear
I’ve outlined my whole rig here, but this is the fisheye setup.
- Olympus OM-1 Mark 1
- Olympus 8mm f/1.8 PRO Fisheye
- Two Sea & Sea strobes
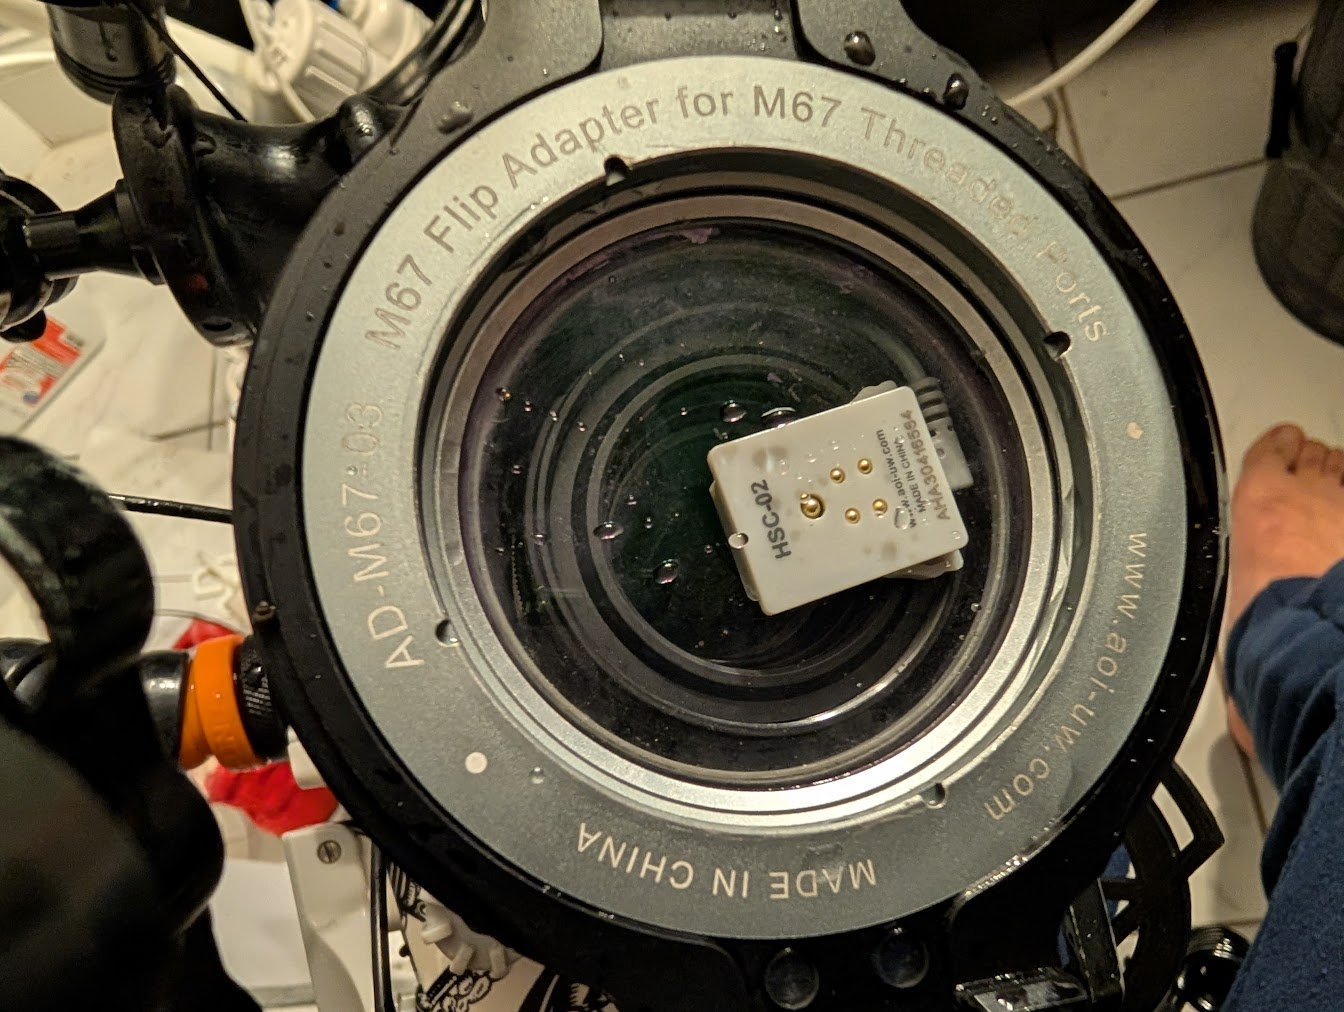
- Nauticam Extension Ring 20 (36620)
- N85 4.33” Acrylic Dome (31632)
Tips
Here is what I’ve learned so far. I’m writing them down here to (hopefully) reinforce them in my mind so I remember underwater.
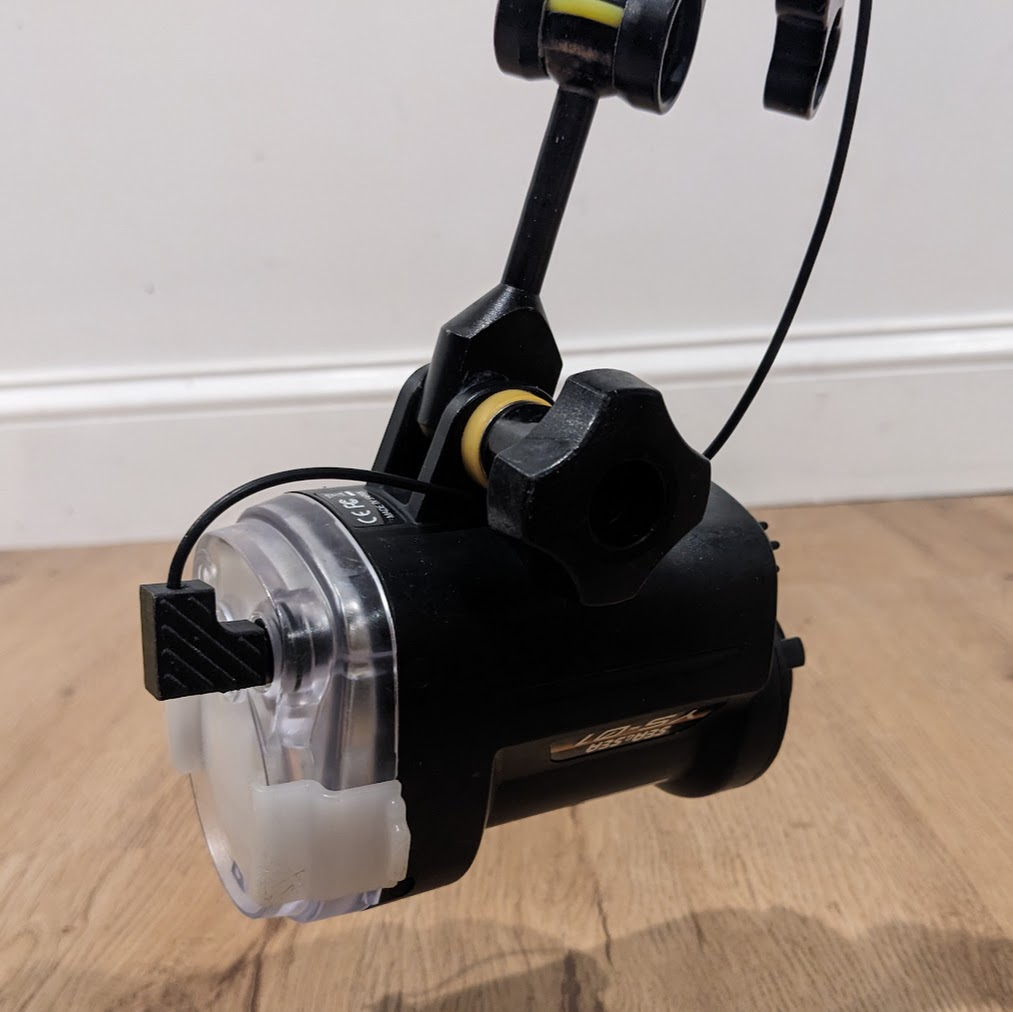
Pull the strobes back
The super wide field of view means that the strobes need to be pulled back behind the housing. If you don’t do this, you will get hotspots and odd reflections from the strobe light directly hitting the dome. I have a million examples of this because I keep forgetting.
The good news is you have some tools what can help you recover an image like this if you otherwise really like it but didn’t catch the strobe flare.
- Cropping: If you have enough space, you can just crop off the problematic area.
- Lightroom Removal: I’ve found this tool to be excellent at removing the reflections especially in empty areas.
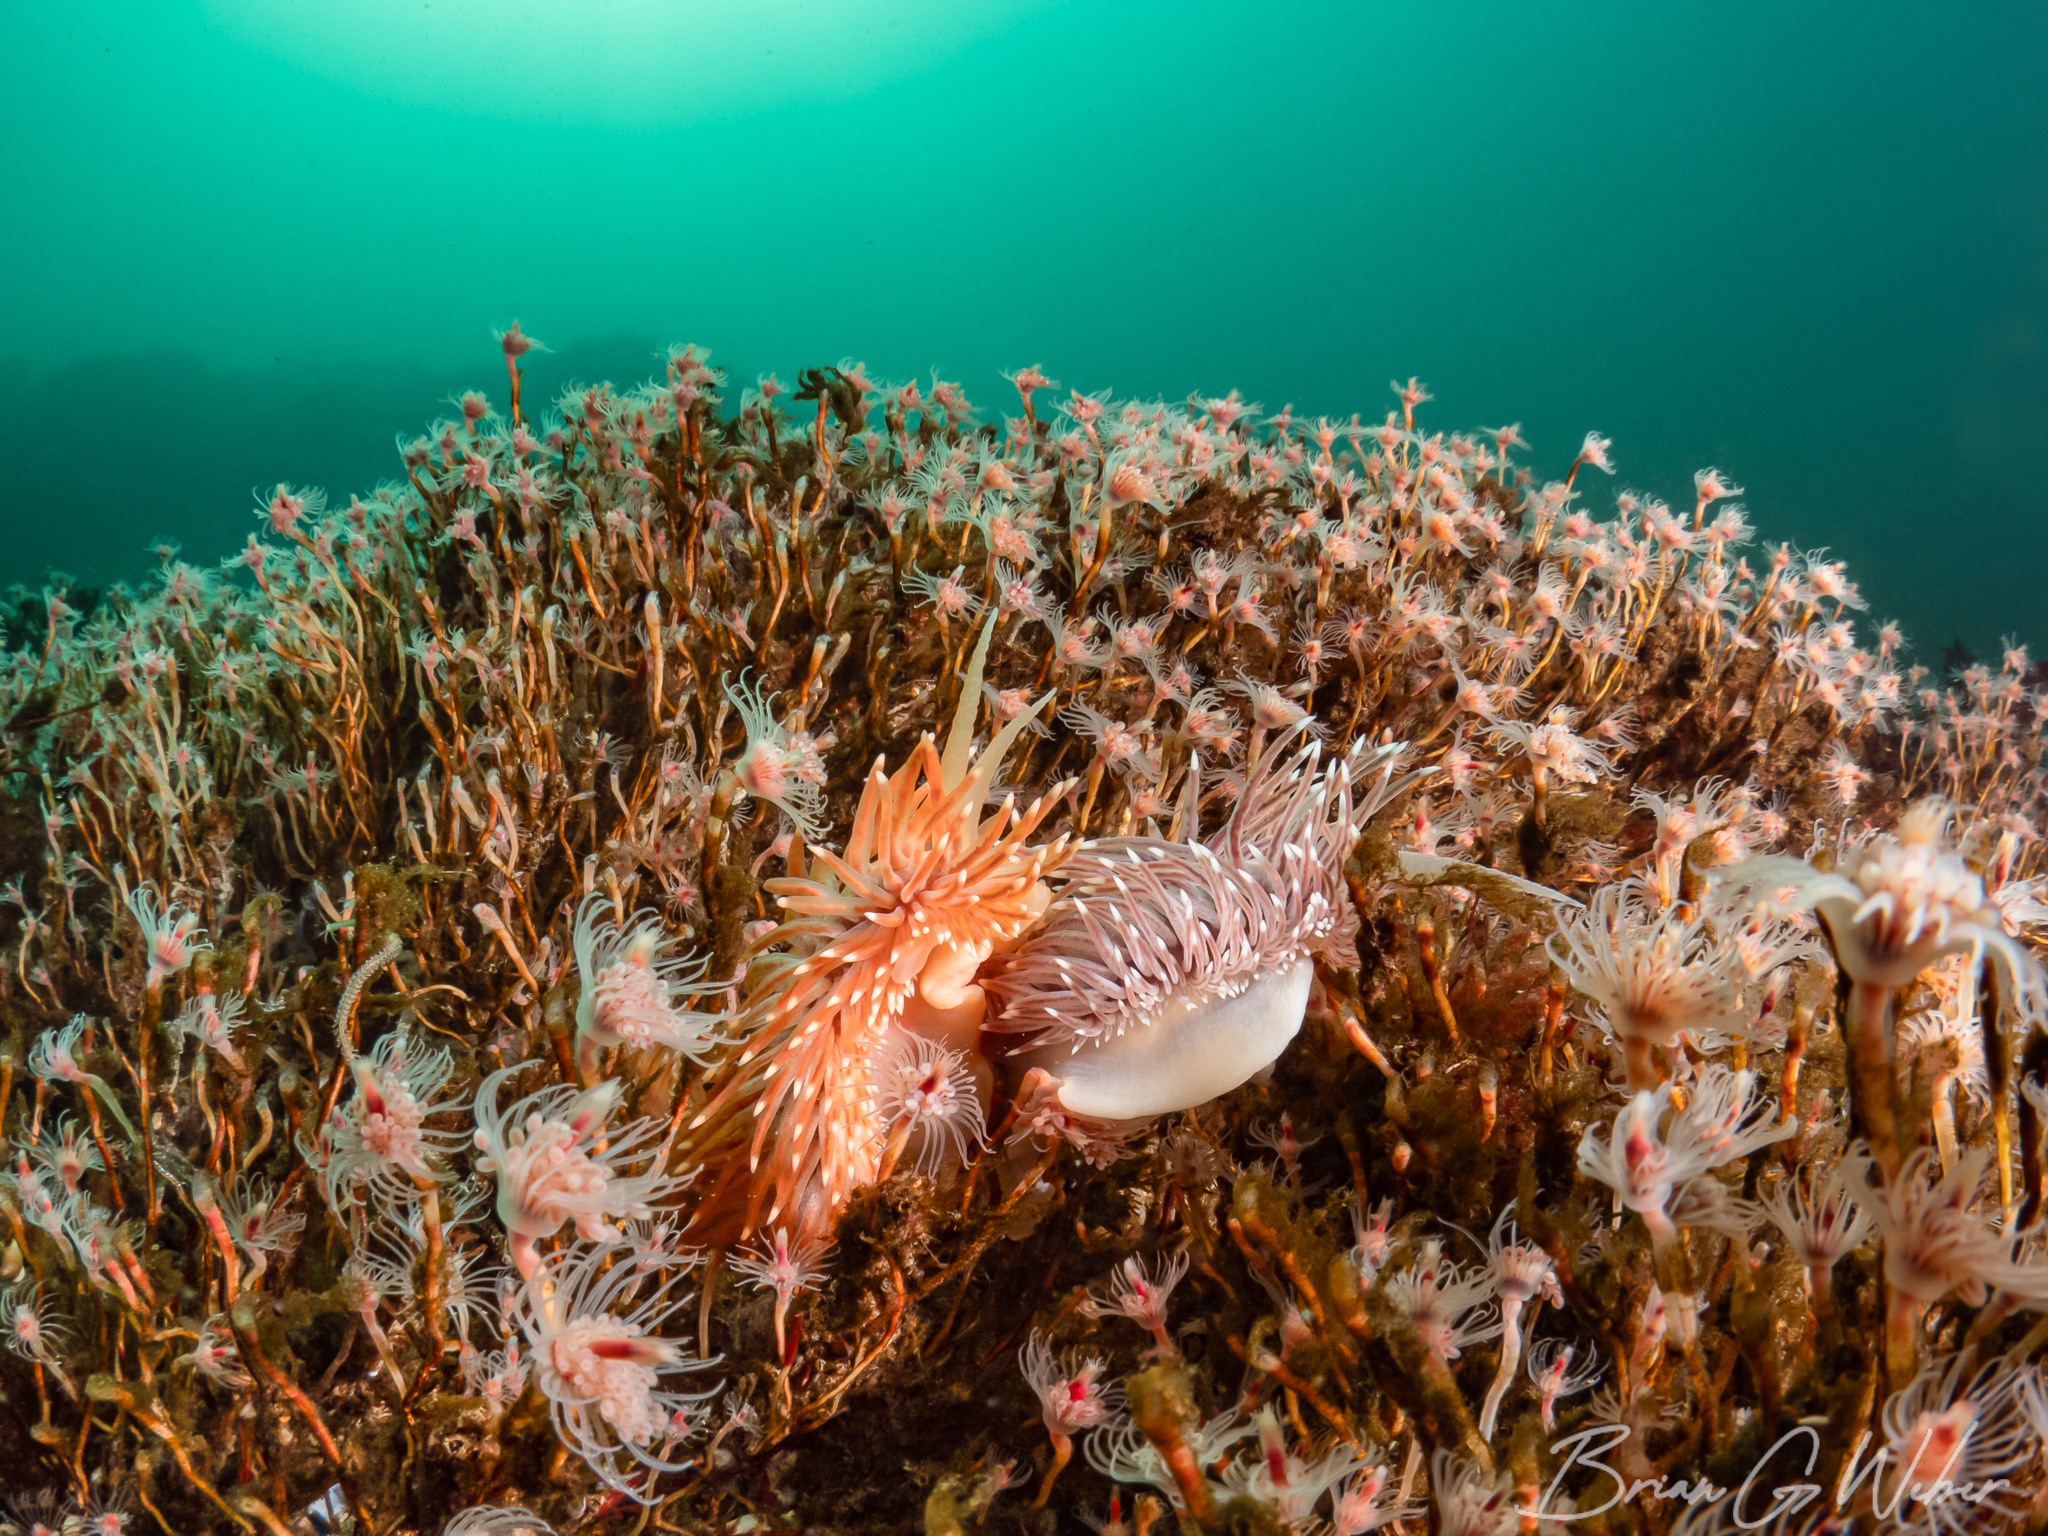
If you drag the slider below to the right, you’ll see the image straight out of the camera. The top corners are rough. If you drag left, you’ll the image with Lightroom’s Remove tool with “Generative AI” enabled (I feel OK about this because it is just generating open water).

So the overall tip here is to make sure to pull the strobes back and then confirm by looking at the edges of the first image captured after moving the strobes.
Exposure Preview
For wide angle photography, you are really composing two photos: the foreground which can be lit with strobes and the background which will use ambient light. The OM-1 has two modes for the viewfinder. These settings can be found at Menu > ⚙️ > 3. Live View > LV Mode:
- Standard: approximately shows the image with your applied aperture, shutter, and ISO settings. Notably, this does not factor in strobe light.
- S-OVF: attempts to mimic an optical viewfinder to show what you would see with your eyes.
When shooting macro, I will just use S-OVF because the strobes are going to do nearly all of the lighting and the camera can’t estimate that at all. For wide angle, both are useful:
- Standard: I tend to do this first. Useful for checking background exposure and color. The strobes won’t reach the background, so the camera settings do all the work.
- S-OVF: useful for composition of the foreground, especially when shooting into the sun or in bright light.
Slow down, capture fewer scenes
I tend to move slowly while diving, but for macro shooting, you can mostly get away with “set and forget” with minor tweaks for lighting and settings. This is not at all the case with wide angle shooting. I found that I was constantly adjusting settings, moving strobes, swearing a fair amount, carefully reviewing the images, and then starting virtually from scratch with the next scene. Some of this will undoubtedly improve with practice, but I will definitely be better served by being picky about the scenes I want to shoot and starting over fewer times per dive.
Don’t be afraid of some auto settings
I’m still figuring out the exact execution on this idea, but I did a baited shark dive with the fisheye and it was a mess. I kept changing my shooting angle as the sharks were swimming around, so sometimes I was shooting into the sun, others out into the blue, and it was too much settings fiddling in a dynamic environment. I could certainly have done auto ISO at least, but perhaps even shutter priority? I’ll be back with more ideas on this after some more dynamic diving.
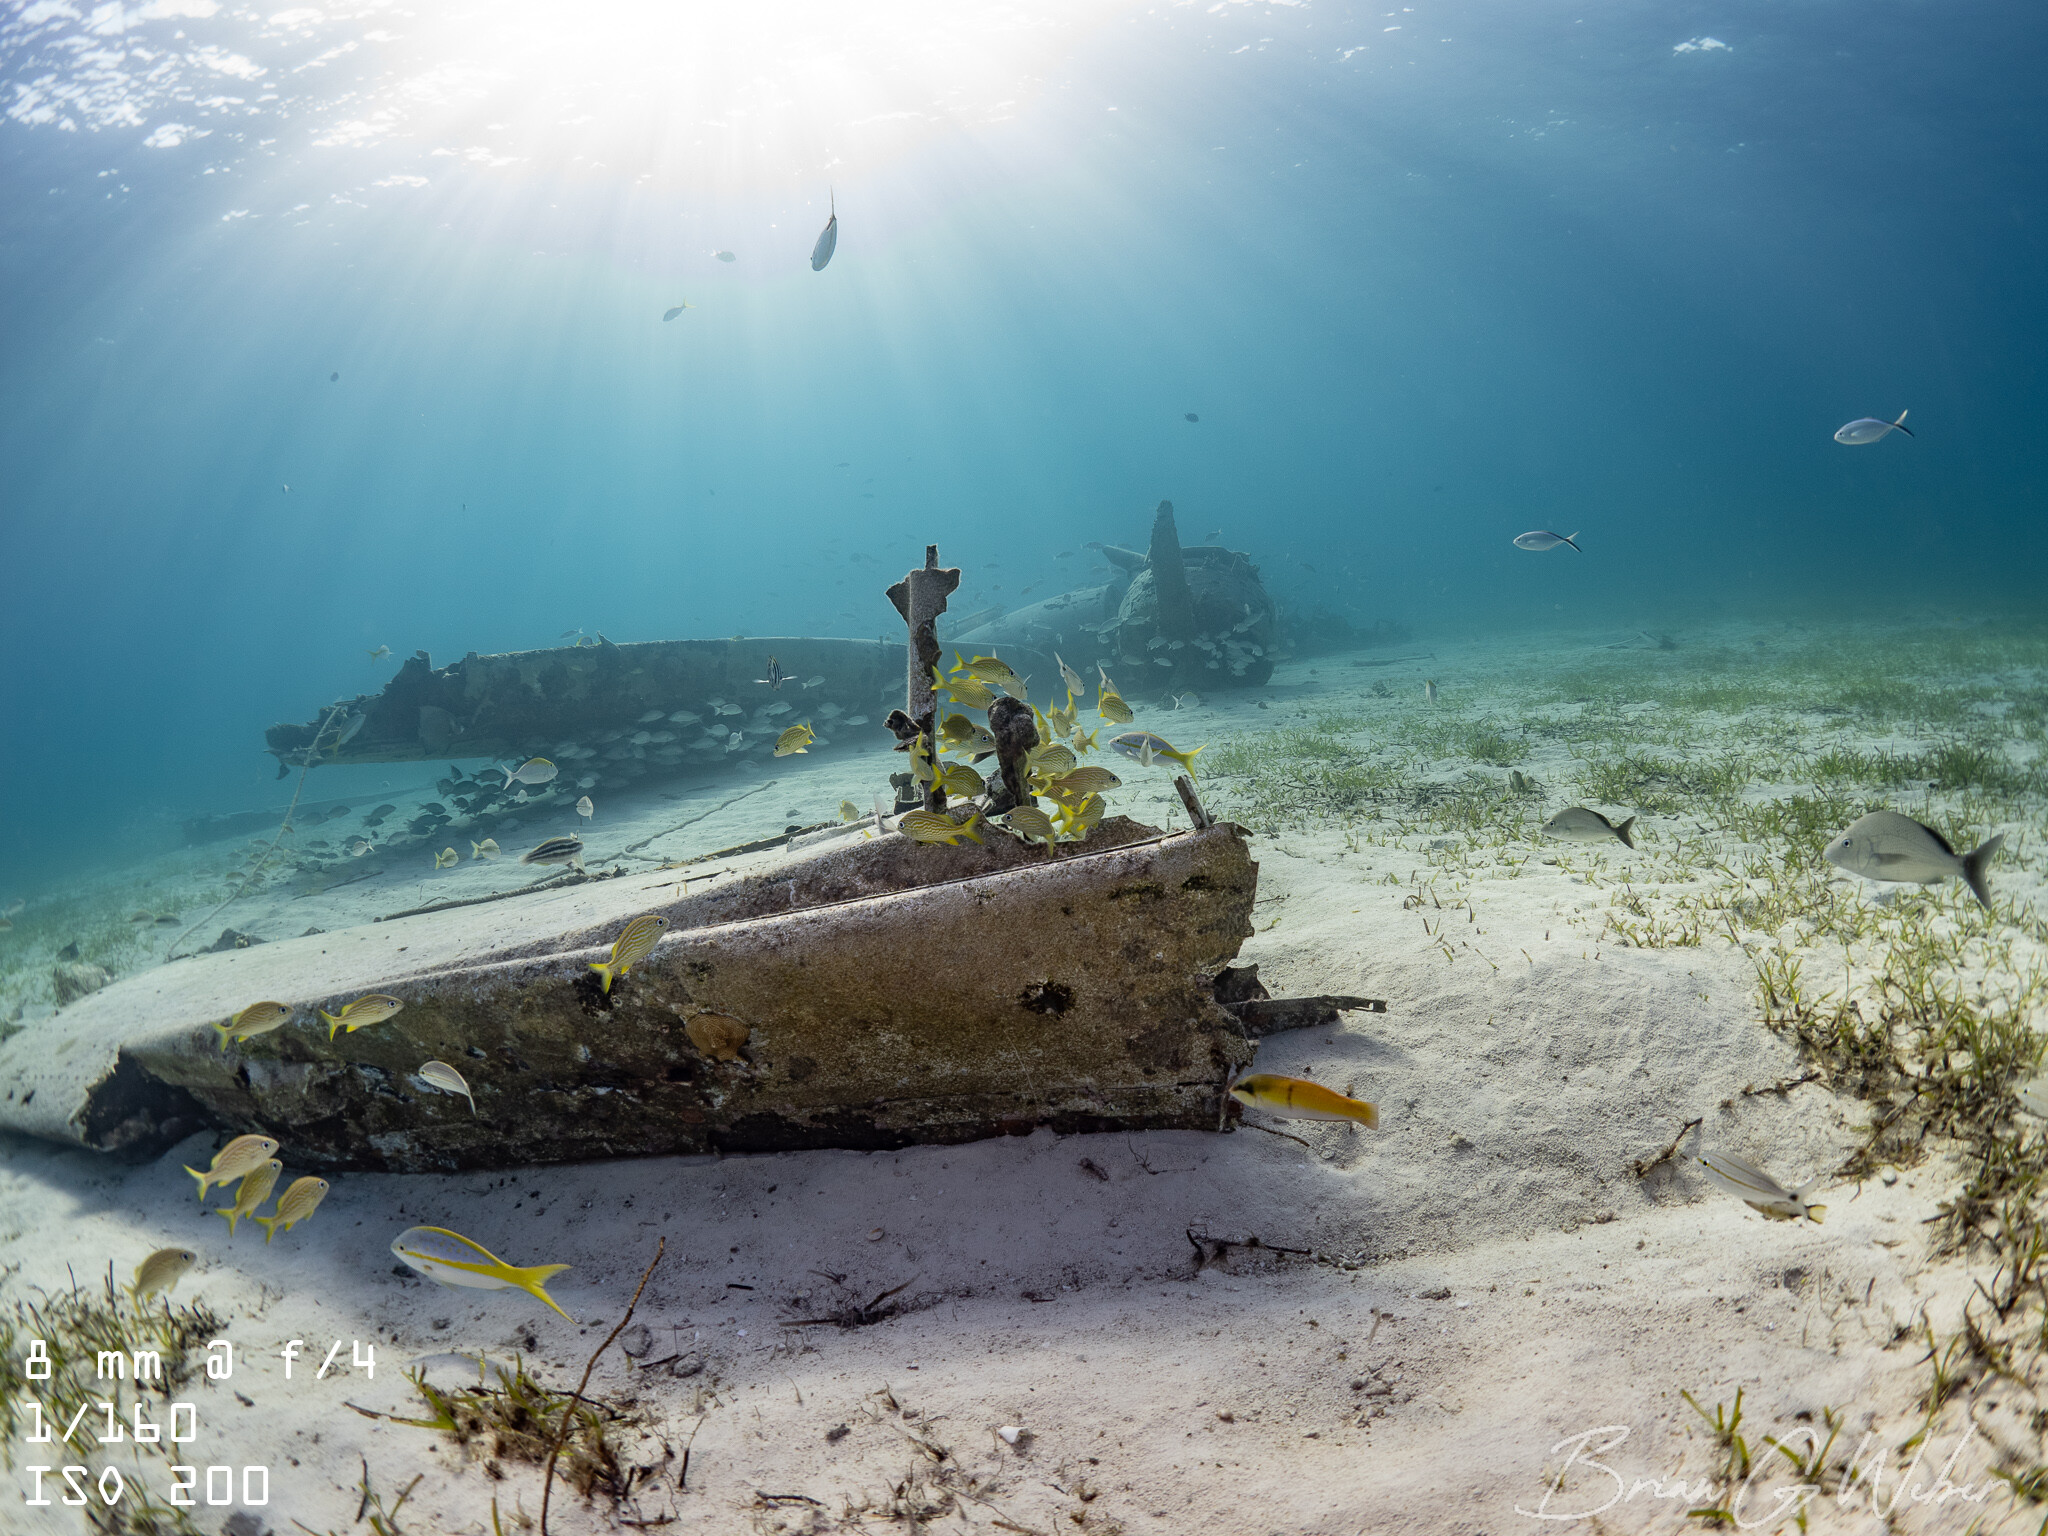
Be first on the scene
On the plane wreck dive in Bahamas, I hit the water first and kicked hard to get to the wreck. I knew that once everyone showed up, there was no real chance for me to get clean, wide shots of the wreck. It’s best to avoid large groups or win the race for clean images (making sure to clear it with the boat crew, of course). You can also use other divers as models, but that can be tricky/luck-based without explicit cooperation.
Editing is more involved
I tend to use a relatively light touch with editing macro shots, but I’ve found I need to do more with the wide angle images. There’s so much in the image that I’m not able to catch everything underwater, so I end up with uneven lighting. There’s also a bigger risk of backscatter across the image - fortunately, there are tools to help (stay tuned for a blog post on this!).
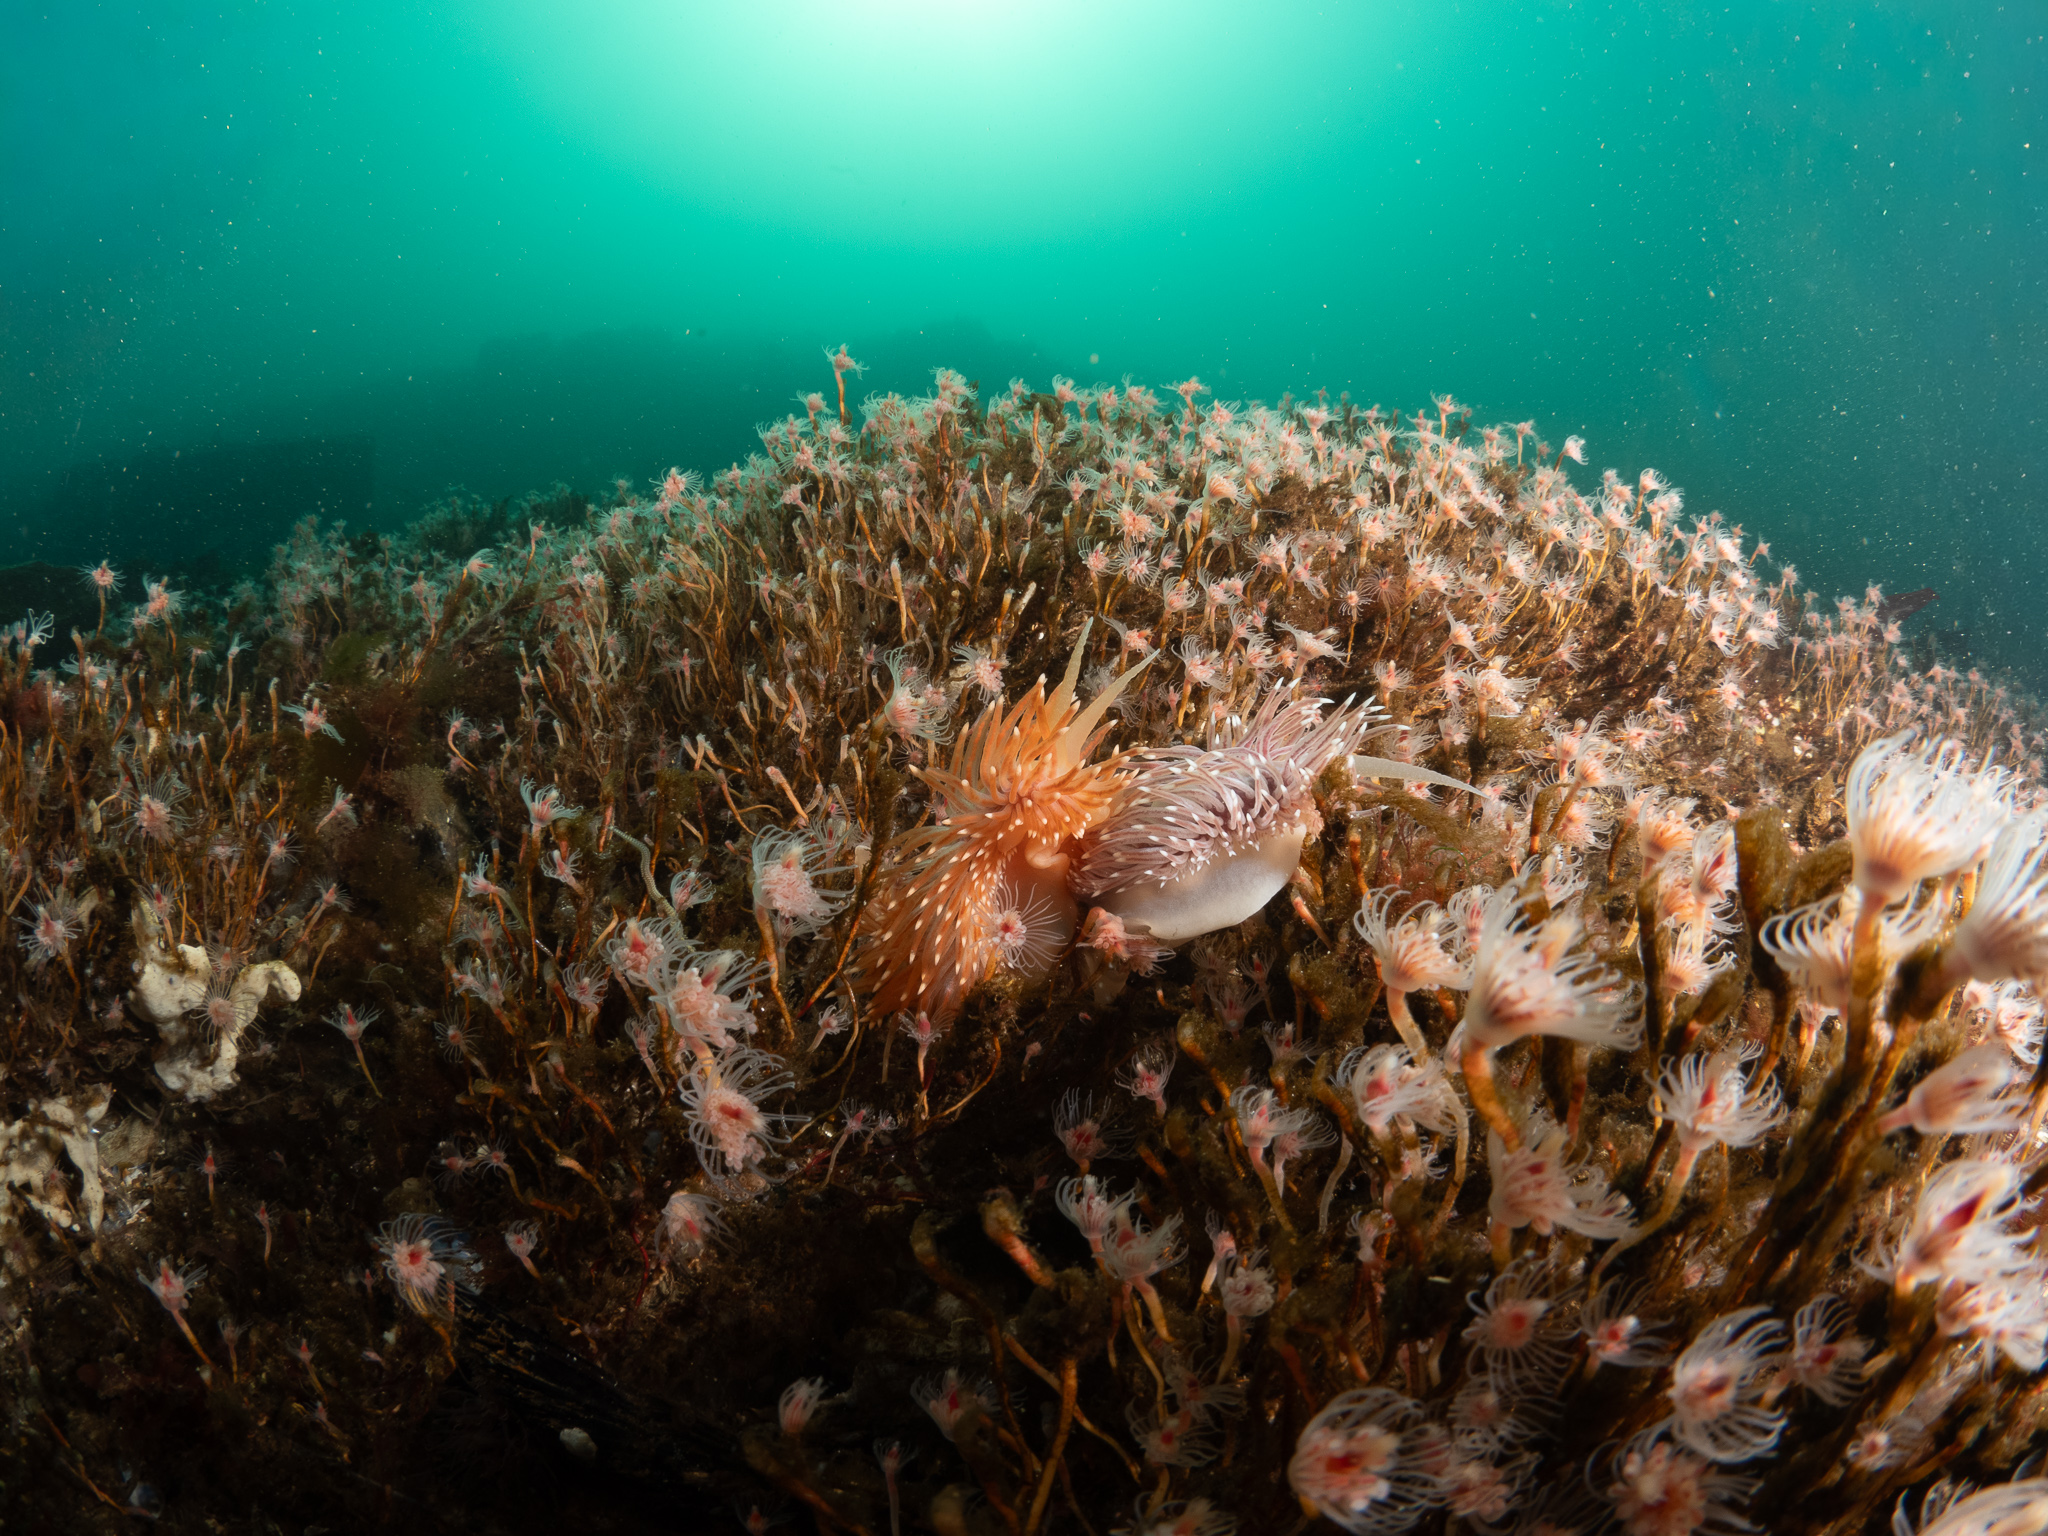
Here’s the before/after of the cover image:
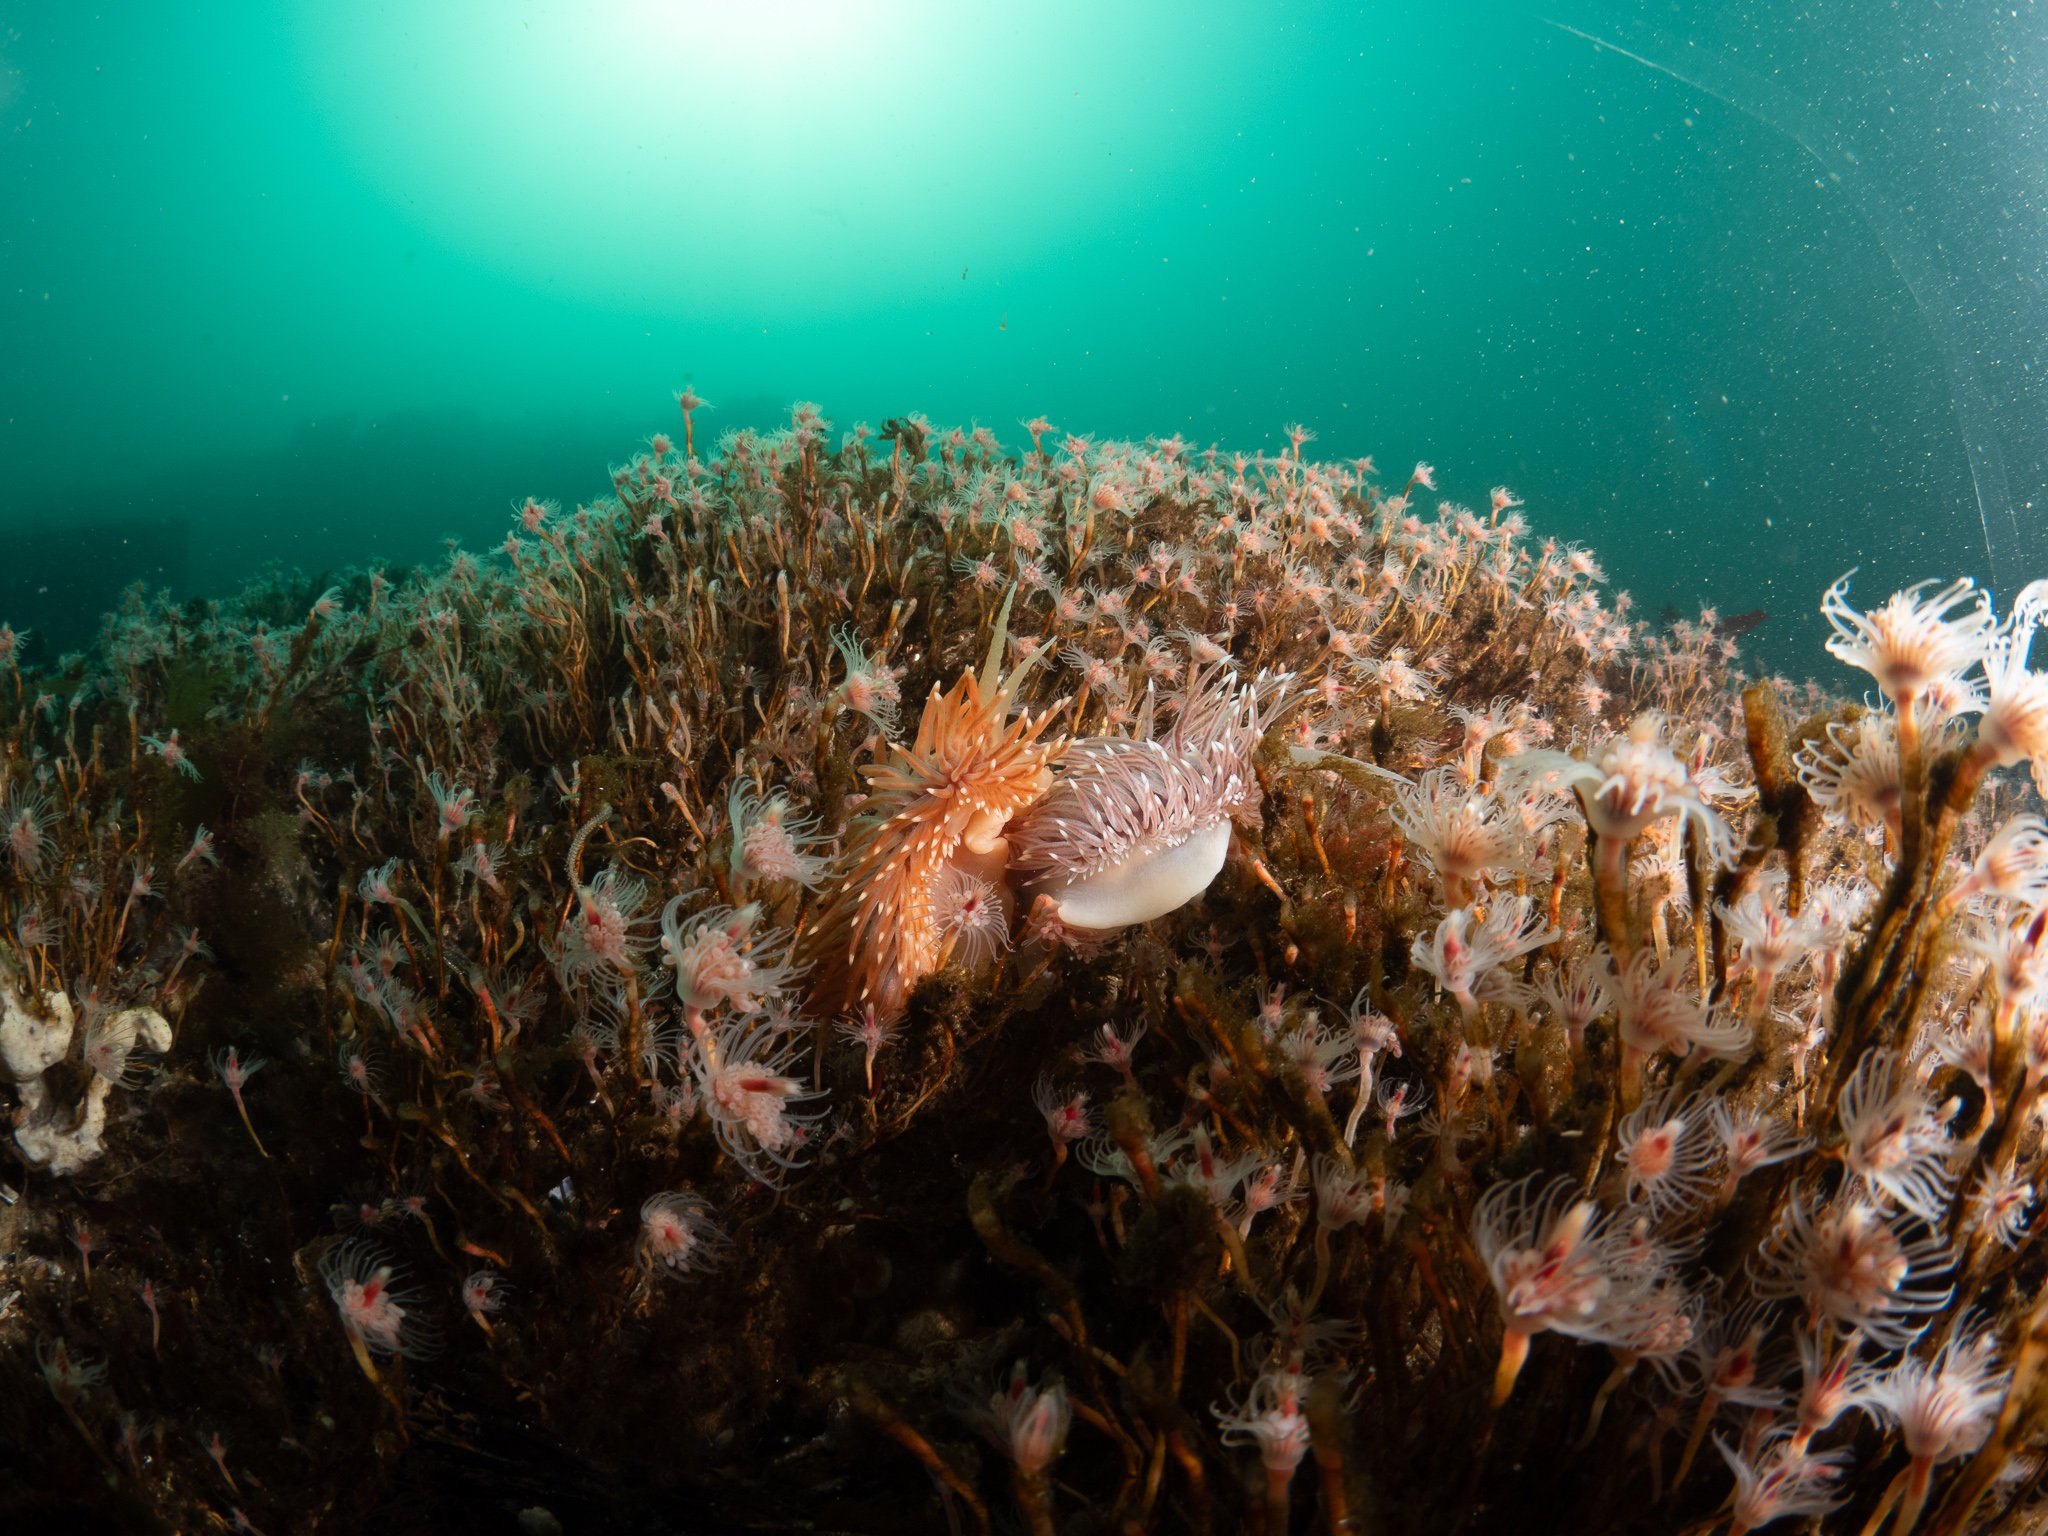
Some edits of note:
- Cropping: I had strobe flare/reflections and the hydroids on the right side were blown out, so I cropped in.
- Masked brightening: The bottom of the frame was pretty dark, so I selectively brightened it for more even lighting and to pop the nudibranchs more
- Backscatter removal: More on this in the next post.
Conclusion
This is what I’ve learned so far and I will continue to add more as I gain more experience with this setup. Happy imaging!
Join the conversation: