· Astrophotography · 6 min read
Astro processing example
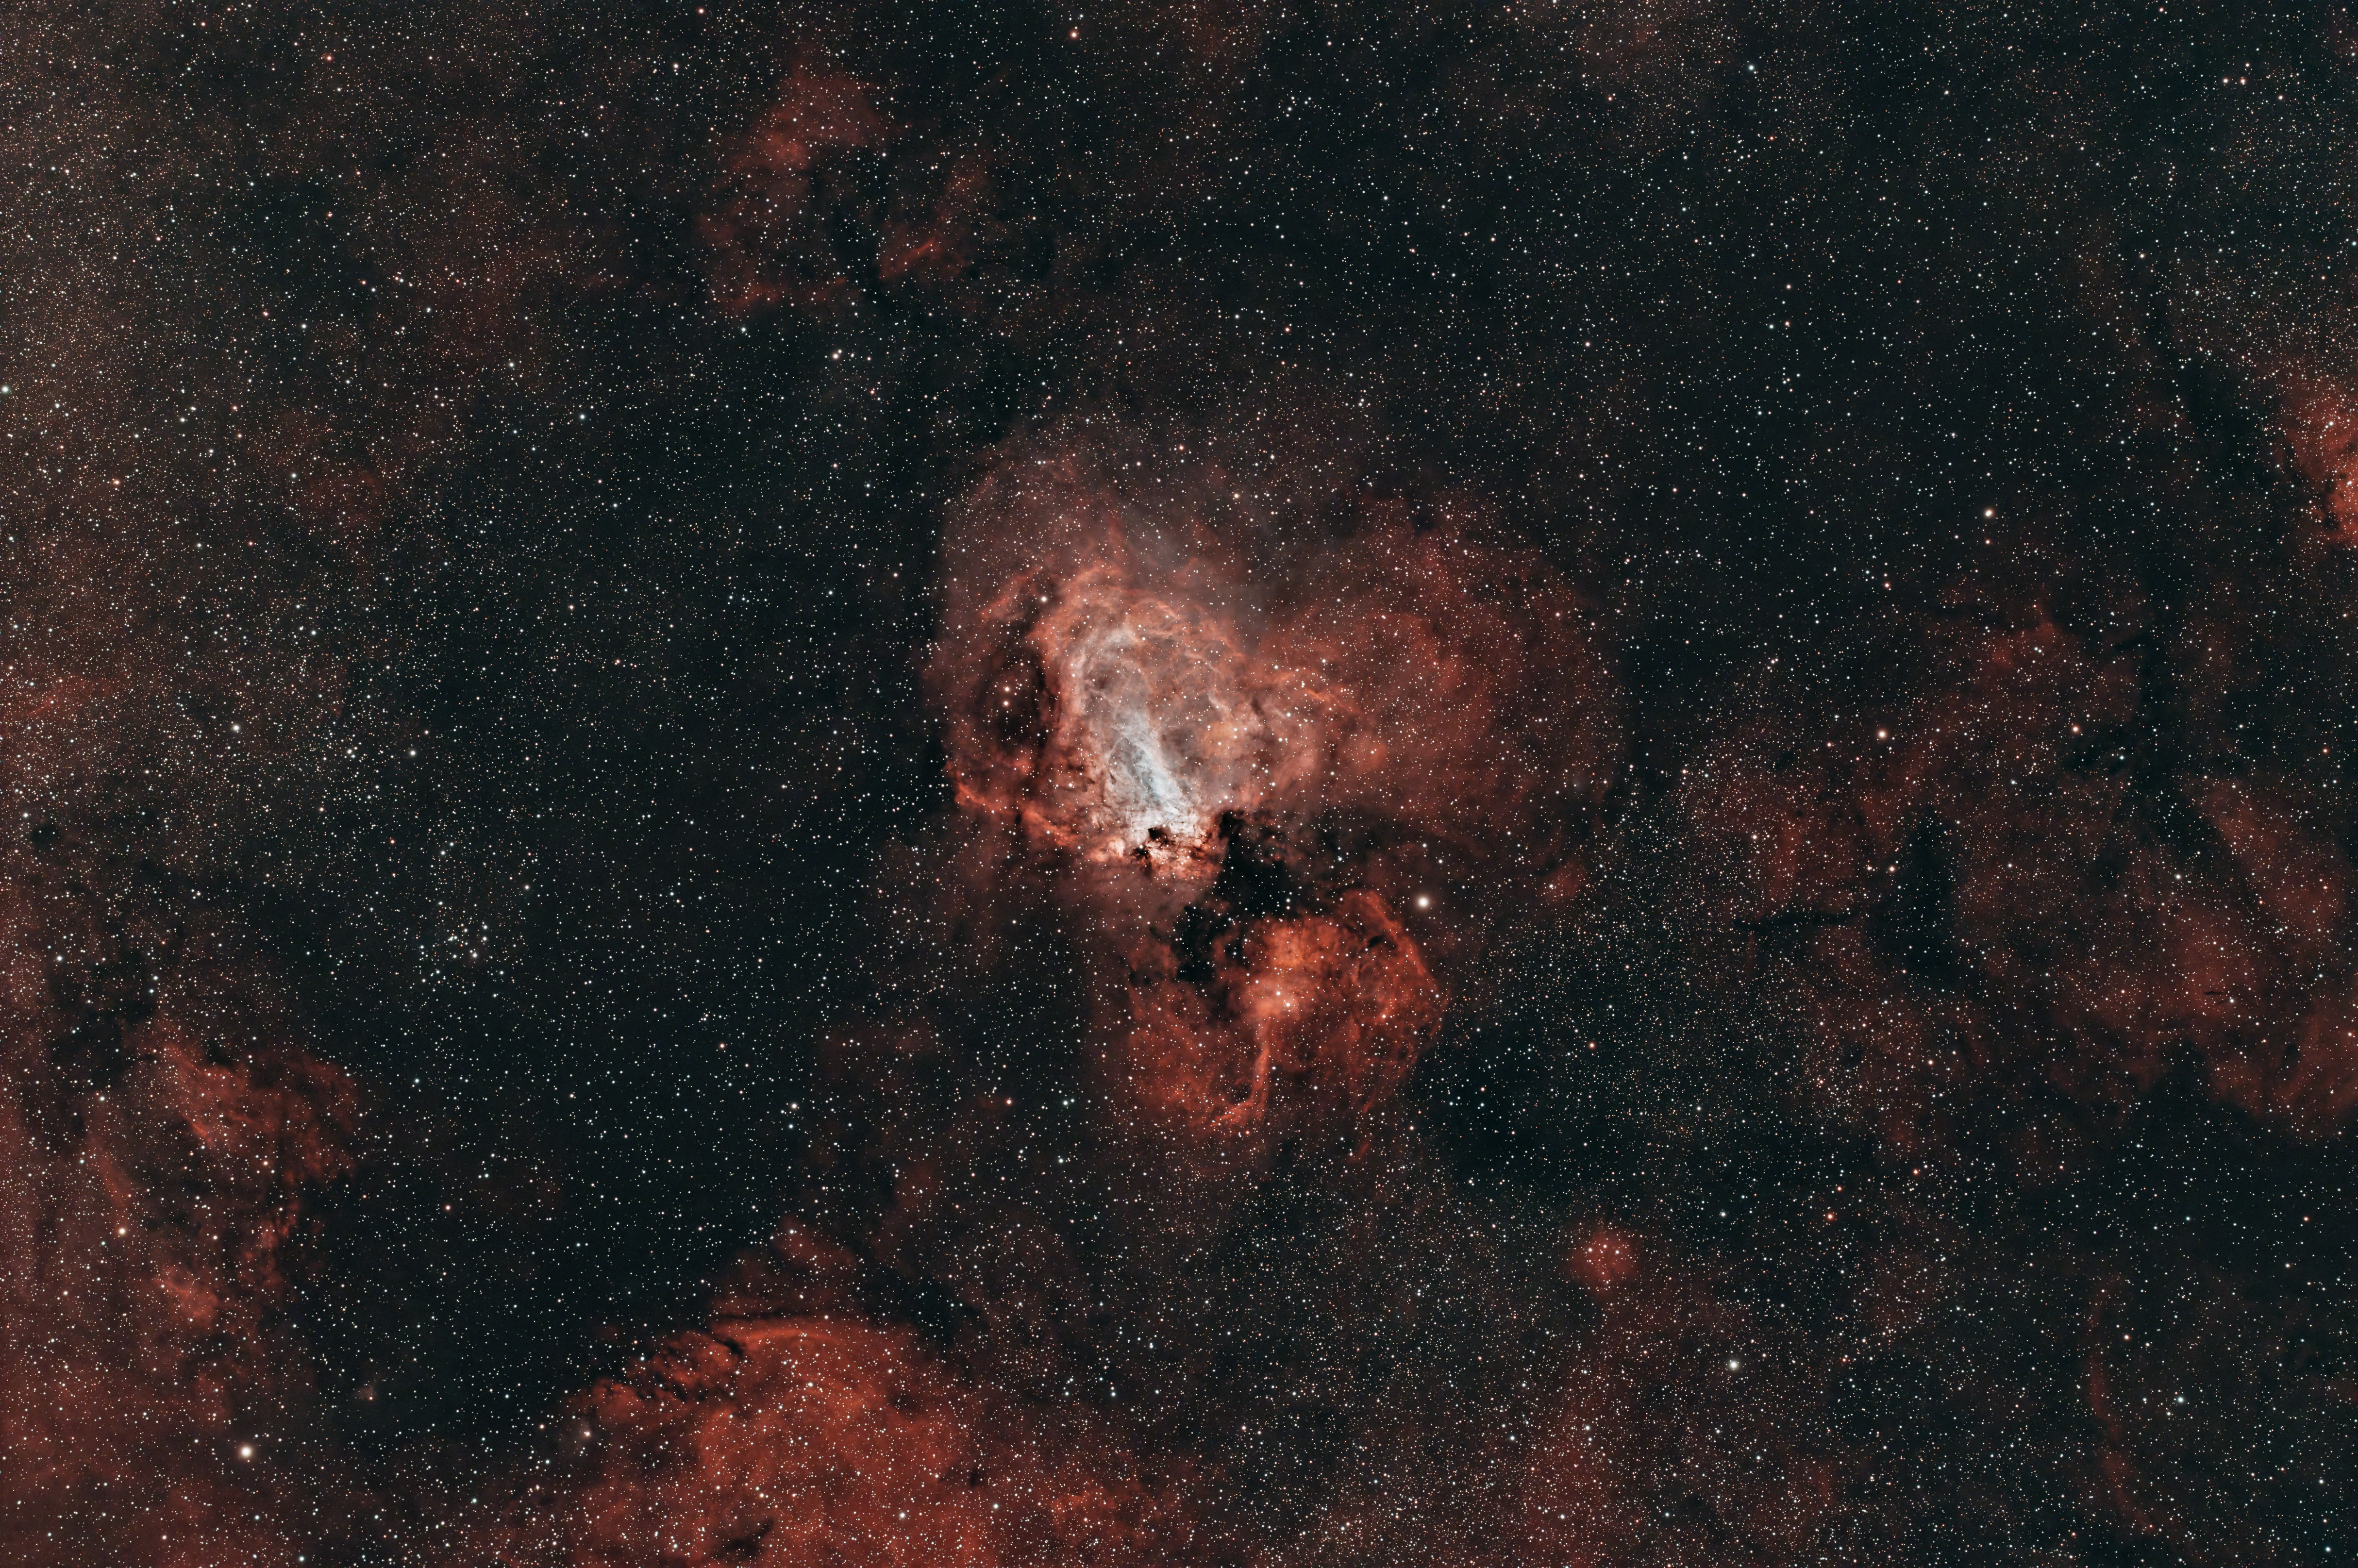
There are a lot of challenges to astrophotography, but post-processing is one of the big ones. There are so many options for stacking and processing, but PixInsight is widely considered to be the gold standard. It is pricey, but is one of the best investments you can make on your astrophotography journey.
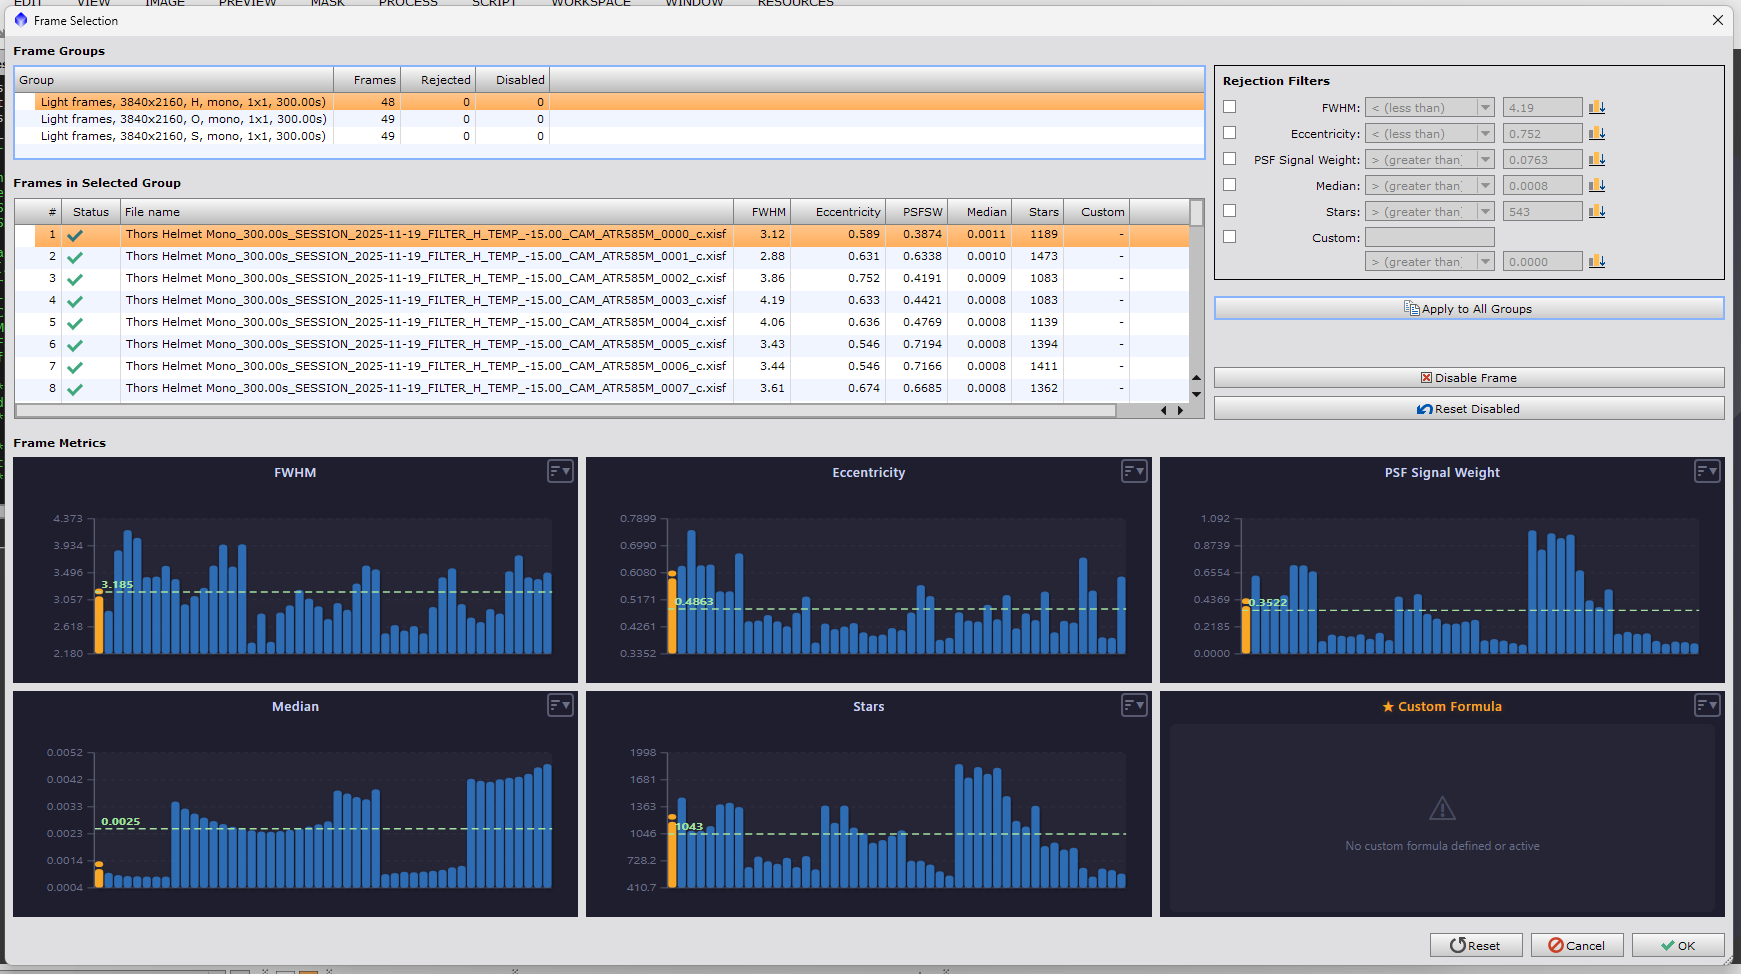
I stack using PixInsights WeightedBatchPreprocessing script - I won’t discuss here this step here, but it may end up in a future blog post. After stacking, I use PixInsight for 99% of my processing and then I’ll save the image over to Lightroom for final tweaks and watermarking. Mostly I stick to the steps here, but sometimes I’ll have to deviate a bit to get the desired result.
For capture, I used my IDAS NBZ dual narrowband filter, which isolates the H-alpha and Oxygen III emissions to highlight the reds and blues of deep space objects. I combined 205 x 5 minute exposures for this image. The result is 17 hours 5 minutes of exposure time.
Print: https://briangweber.com/featured/messier-17-in-narrowband-brian-weber.html
Full Acquistion details: https://www.astrobin.com/ocx4v9/
Stacked Image
This was the result right after stacking - at this stage, images are in what is called the “linear” state and are very dark. I applied an autostretch so you can see what it looks like. If I saved the linear result, it would be pretty much black.
GradientCorrection
Images captured in light polluted areas tend to have a gradient across the image. For images on the my southern horizon like this one, the background tends to be lighter on the bottom of the image. GradientCorrection smooths out these patterns.
Color Calibration
Spectophotometric Color Calibration uses catalogued data about star colors to calibrate colors in an image. Prior to this stage, the autostretch applied to the image was an unlinked stretch, meaning the software would stretch each color channel (Red, Green, and Blue) separately. After this step, the colors are balanced so we can apply a linked stretch.
BlurXterminator
BlurXterminator is a paid plugin for PixInsight that is absolutely phenomenal for fixing minor imaging imperfections like misshapen stars and sharpening small details. It is pricey, but really does a nice job enhancing images. In this case, it reduced the star size and made the structure in the center of the nebula a bit crisper.
NoiseXterminator
NoiseXterminator is another paid plugin that is used to smooth out the pixely noise in images. There are many solutions for this, but I have found NoiseXterminator to do an excellent job. The effects are a bit tough to see without zooming in on the image, but it provides a much smoother image without sacrificing much detail.
GeneralizedHyperbolicStretch
In order to produce an image that is sufficiently bright to see any detail, we need to stretch the image. There are many options for doing this, but I have landed on GeneralizedHyperbolicStretch for most instances. This is a free add-on to PixInsight and gives you a nice UI to perform stretching. Images from this point forward are not auto-stretched because they are now in a non-linear state.
HistogramTransformation
After the first GHS stretch, the image could use a bit more stretching. You can perform all of your stretching using a series of histogram transformations, but I’m just using it for final stretching adjustments. In this case, I needed to stretch the image a bit more to bring out the fainter nebula details while also shifting the background to a darker black.
Star Removal/Reduction
StarReduction is an excellent free add-on provided by Bill Blanshan and Mike Cranfield. You provide the starless and starry version of the image and you can configure how much you want to reduce the stars and whether or not to protect small stars from disappearing. This is super powerful and is a great addition to any workflow. I don’t typically perform star removal before this step as the script allows you to generate the starless version of the image. Once you have got the stars just the way you like them, you have the option to save them off to a separate image to add back later.
Here’s the reduced, stars only image:
HDRMultiscaleTransform
This process is used to bring out details in very bright areas of the image. The core of the nebula appears blown out, so look at the detail in this area this step was applied.
LocalHistogramEqualization
LocalHistogramEqualization is a way to increase contrast in a very localized way to make details pop out a bit more. You control the size of structure to affect and how much contrast to add. Sometimes if I use this on the whole image, it can produce some weird artifacts in the background, particularly if it is noisy. For this reason, I often RangeSelection to create a mask that protects the dimmer background area while allow the change to affect the brighter nebula. Masking wasn’t necessary for this image since the background was pretty smooth. I ran it twice, once with Kernel Radius 50 and once with Kernel Radius 100
CurvesTransform
There is a lot of subjective adjustments I make during processing, but Curves are perhaps the most variable. CurvesTransform allows you to manipulate contrast, brightness, saturation, color levels, basically anything. This CurvesTransform slightly increased contrast and slightly increased lightness. It’s very easy to go overboard, so I try to use a light touch.
DarkStructureEnhance
This script comes with PixInsight can darken some of the dark lines through your objects. The effect is pretty limited on this image, but it made a bit of a difference so I used it.
CurvesTransform
I decided I wanted a bit more pop to the red in the image, so I ran another CurvesTransform for more saturation.
ScreenStars
This is another free add-on provided by Bill Blanshan and Mike Cranfield to put the stars back into your image. You can accomplish this with PixelMath, but it’s so much easier to just select a few dropdowns in a UI.
Lightroom Tweaks
At this point, I saved the image to a PNG from PixInsight and opened it in Lightroom. For my astro photos, I tend to use increse Dehaze, Clarity, and Exposure, while dropping the Shadows just a bit. Again, I tend to favor lighter adjustments. And that’s it! That’s the journey of one of my images from stacked image to final product.
Bonus
As I was screening my subexposures from one session, I noticed an odd plane trail. Being not far from Boston, plane trails are quite frequent in my images but they stack out in pre-processing. This is the first time I have ever seen a curved path of a turning plane in a sub. Neat!
Resources
- PixInsight - absolutely awesome for all things astro processing
- BlurXterminator
- NoiseXterminator
- StarXterminator
- GeneralizedHyperbolicStretch
- StarReduction
- ScreenStars
- My Process Icons - save and you can open in PixInsight
