· Astrophotography · 5 min read
New Gradient Correction!
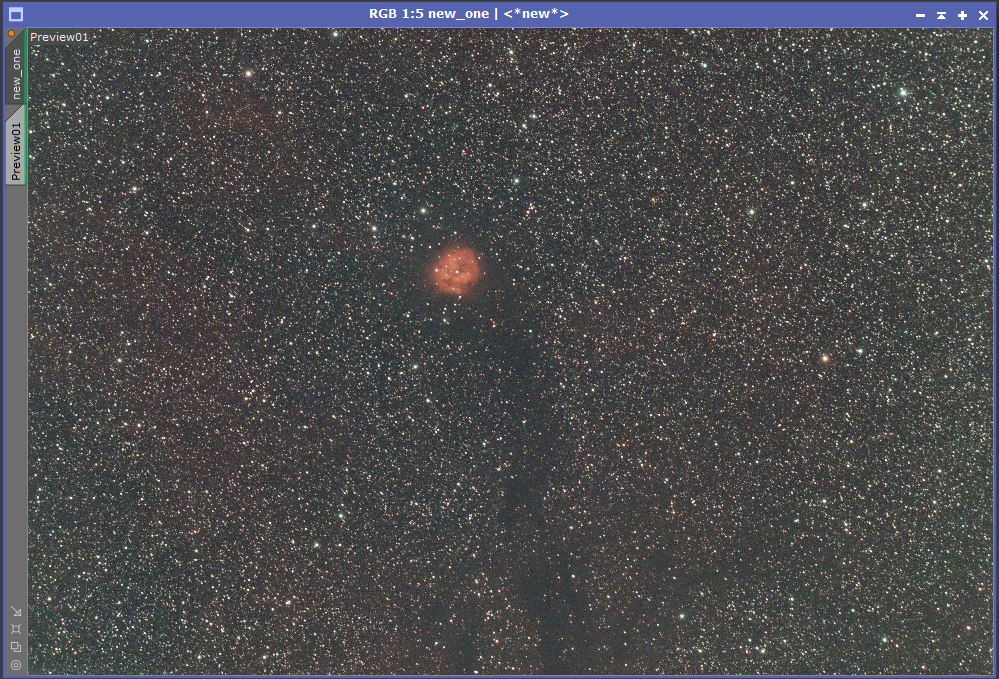
PixInsight is absolutely awesome for processing astrophotography images and the team is constantly improving the tools. This latest release is a great example. You can read the full change announcement, but the thing that first caught my eye was the new MultiscaleGradientCorrection tool. Rather than guessing at what is actual signal and what is gradient, this new tool uses reference images to assist. They are still building out the database, but it has pretty good coverage already. I did notice it did not have any OIII filter data for Cocoon Nebula region, but that’s not typically a filter you would use in this area.
Installation
The installation of the latest update is just like prior versions with the additional step of downloading the MARS database. Here are the steps:
- Log in and download the main install file for your operating system under “1.9.0” at the bottom of the page: https://pixinsight.com/dist/browser.php
- Download the MARS-DR1 file under XMARS Database files (the “u” file contains user-contributed images to expand the coverage)
- Once installed, open PixInsight and let it install the updates for documentation and repositories you have added
- Restart PixInsight
- Open MultiscaleGradientCorrection
- Click the wrench icon in the bottom right and locate the MARS file you downloaded
- Whenever you want to use these files, just hit “Default Files”
Now you’re ready to go!
Methods
I recently attempted to process Cocoon Nebula in dual narrowband and I got very little H-alpha highlighting, so this seemed like a good test. This object has some obvious H-alpha in its bright core, but the surrounding background also has some relatively faint H-alpha emissions.
Methods Tested:
- Regular, fully distributed DynamicBackgroundExtraction - uses sample points distributed across the full image.
- Edge only DynamicBackgroundExtraction - this one seems to work well on many objects, but I think it can get tripped up if you have nebulosity or objects near the edge of the frame.
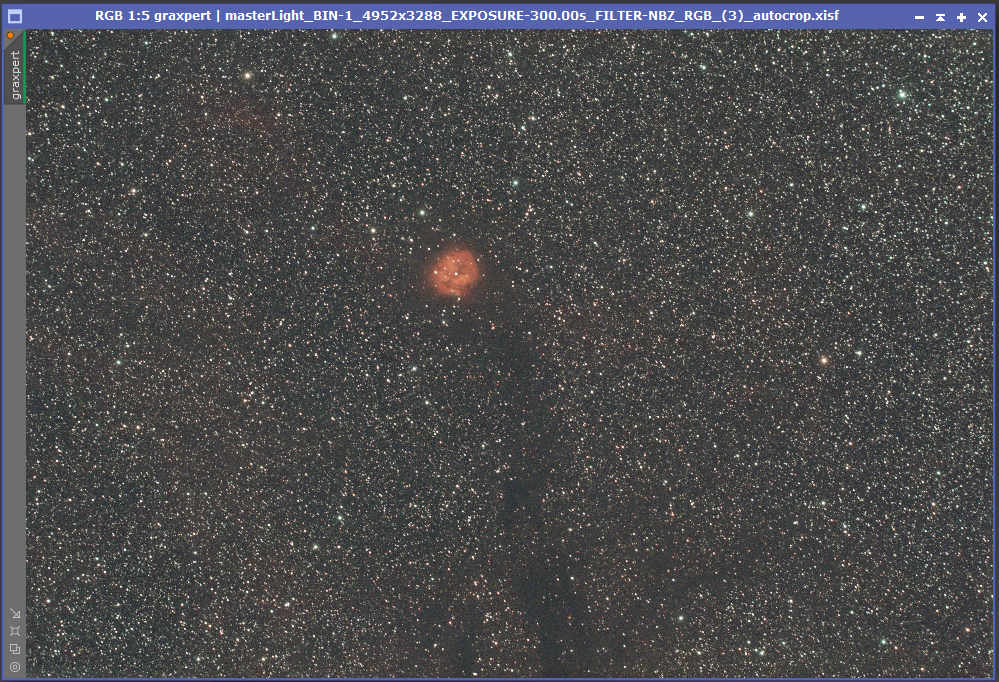
- Graxpert - AI-driven background extraction. I’ve only used this a couple times, but it seems solid.
- MultiscaleGradientCorrection (the new one)
Fully Distributed DBE
This was the first background extraction technique I used with PixInsight.
Edge Only DBE
I believe I first saw this technique in a video from VisibleDark (Shawn Nielsen). It is very simple and effective, especially for targets like galaxies where there is not going on outside the center of the frame.
Graxpert
I just use the default settings for Graxpert, so no special settings are required after installation (instructions here).
MultiscaleGradientCorrection
If you just run MGC on an image, you will get the following error: *** Error: The target image lacks flux calibration metadata (PCL:SPFC:ScaleFactors). You will need to run SpectophotometricFluxCalibration first. This tool is configured like SpectophotometricColorCalibration - I saved a configuration for my narrowband filter and for broadband and simply copied over my narrowband configuration. My IDAS NBZ is 10nm, so that’s what I entered.
Comparison
I ran each of the methods above, re-applied an autostretch, and compared the results.
Some observations:
- Regular DBE did a good job removing the gradient across the frame, but appears to have also removed most of the red nebulosity from the background.
- Edge DBE left more red, but did an unsatisfactory job with the middle of the image
- Graxpert did a solid job removing the gradient while leaving most of the red nebulosity
- MultiscaleGradientCorrection shined in its ability to preserve the red nebulosity, but did seem to leave or maybe even amplify the right side gradient
To my eye, Graxpert and MultiscaleGradientCorrection did best, so here is an interactive comparison of the two. If you drag the slider to the left, you can see how much brighter the nebulosity is in the MGC image on the left side of the image. If you drag the slider to the right, you can see how much flatter the gradient is and how much brighter the nebulosity on the right side of the Graxpert image.
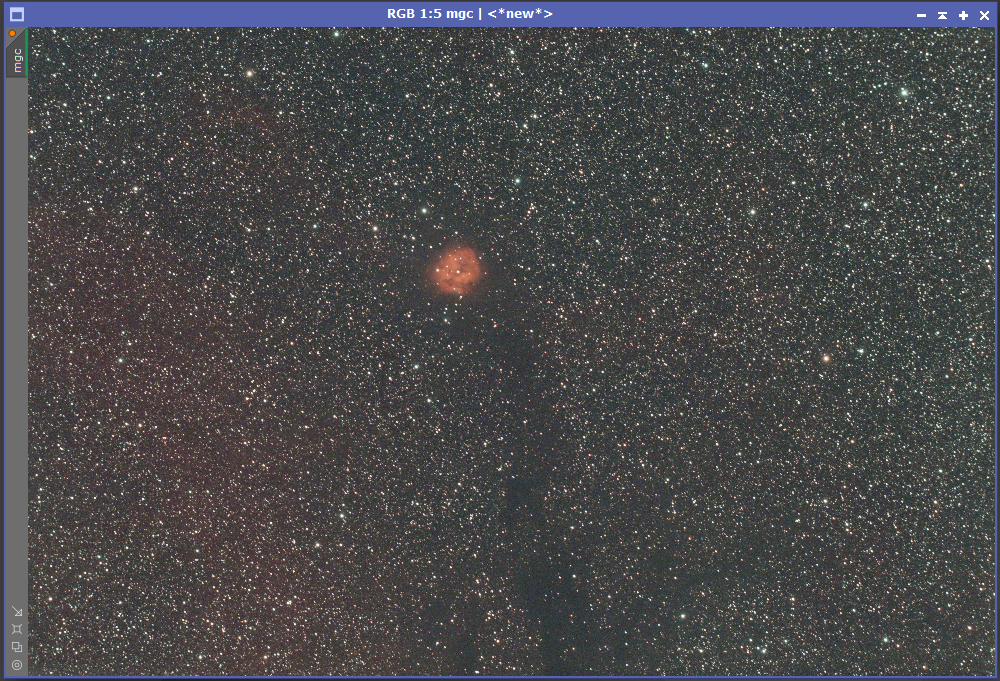
The good news is, there are some settings to play with to potentially improve the output from MGC. Let’s give that a go! I had initially run the correction using Ha for the red channel, but re-running with R for the red channel (i.e. a generic red filter) gave a better overall red color while popping the lower left corner less. I like the new result better, but you can see for yourself.


And now the improved MultiscaleGradientCorrection against Graxpert:


Conclusion
Graxpert does an admirable job based on the data it has, so it is a great tool to have in the bag. I really like the PixInsight team’s line of thinking on utilizing real reference images as a tool for gradient correction. I found this exercise useful as way of comparing the extraction methods and exploring the new MultiscaleGradientCorrection process. I will definitely be integrating MultiscaleGradientCorrection into my processing flow and using regular DBE less.
Related Links
I found the PixInsight team’s tutorial videos very useful!
- https://youtu.be/BHE3J069NCo?si=4mzNsQjbJXA4g0Ps - introduction and demo of the new process
- https://youtu.be/g-gTzoTls48?si=UZJGERCG0DWlTiUq - tips for optimizing results with MGC
