· Astrophotography · 4 min read
Frame Selection in WBPP!
I use WeightedBatchPreProcessing (WBPP) in PixInsight for stacking my astro images and they just added a new optional step to let you reject frames during the stacking process. I’ve wanted this forever and I’m so glad they added it!
Integrating new sessions into my library
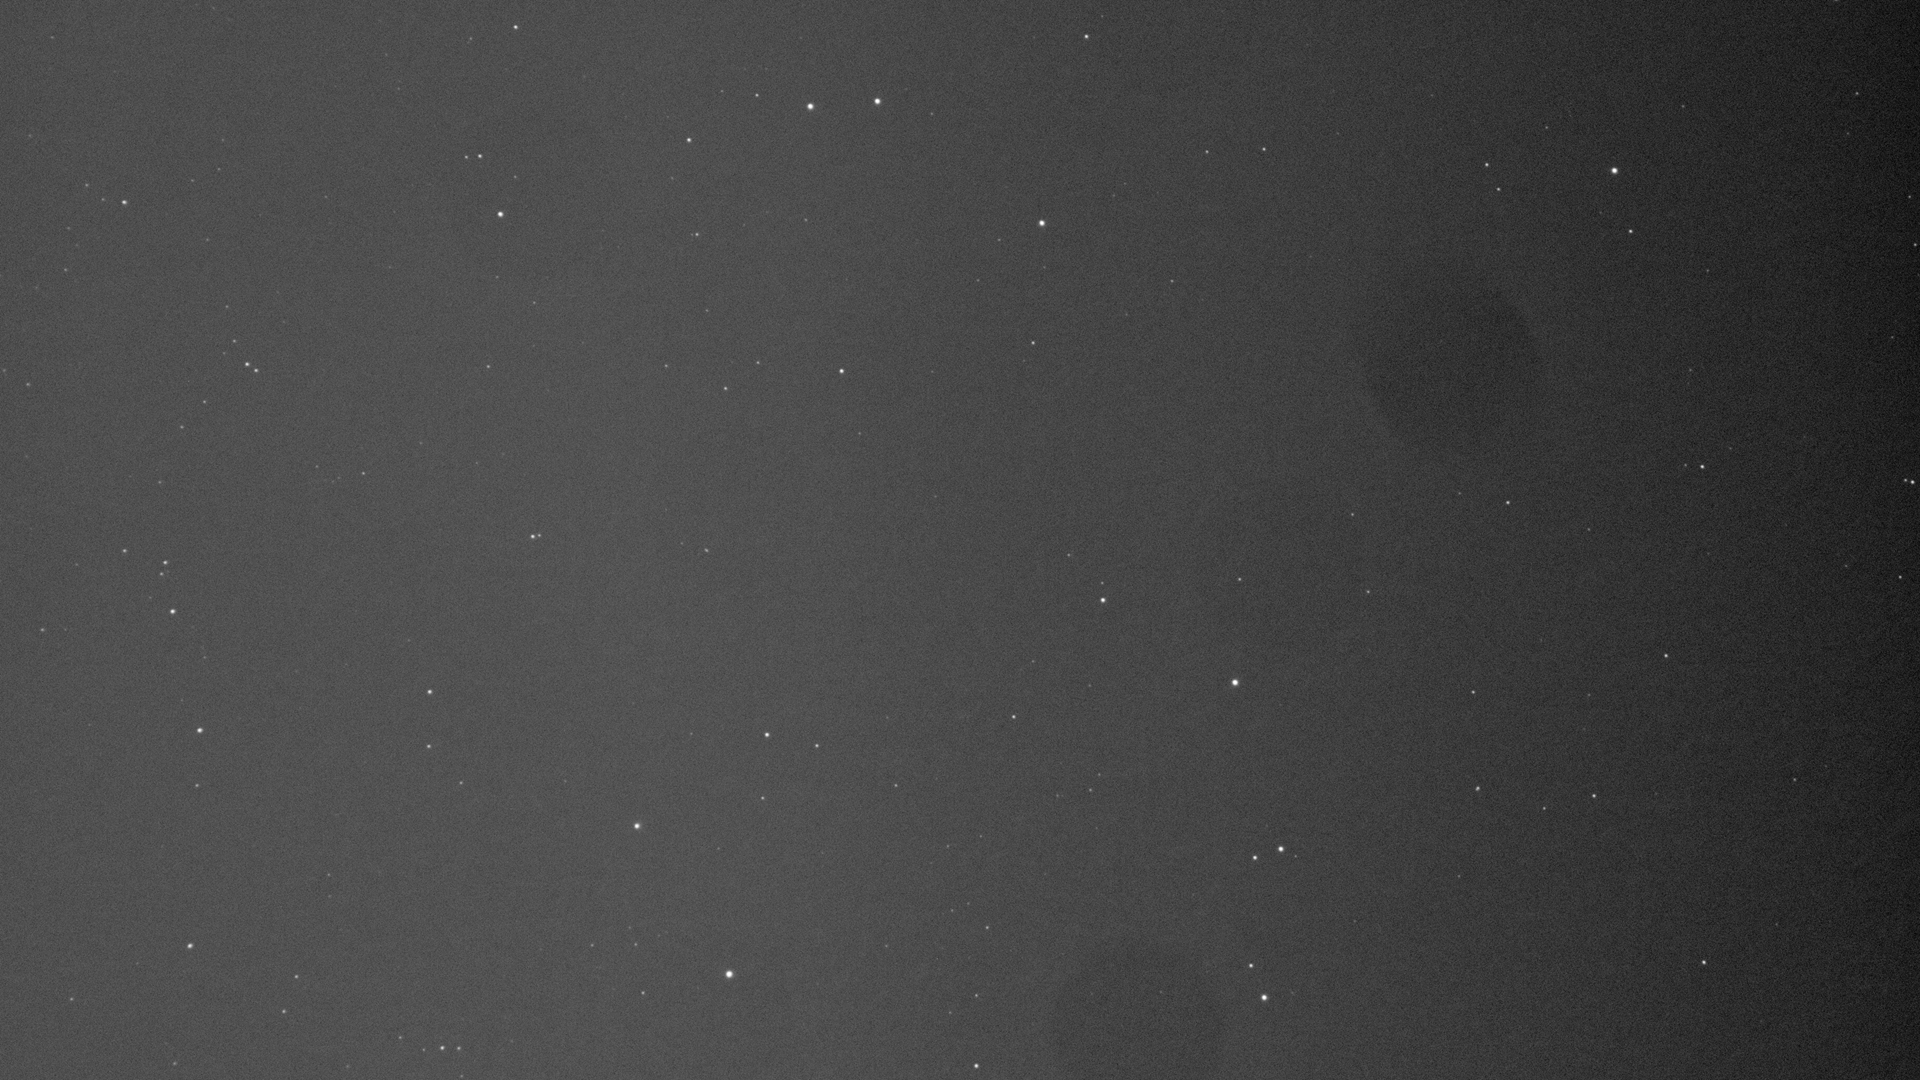
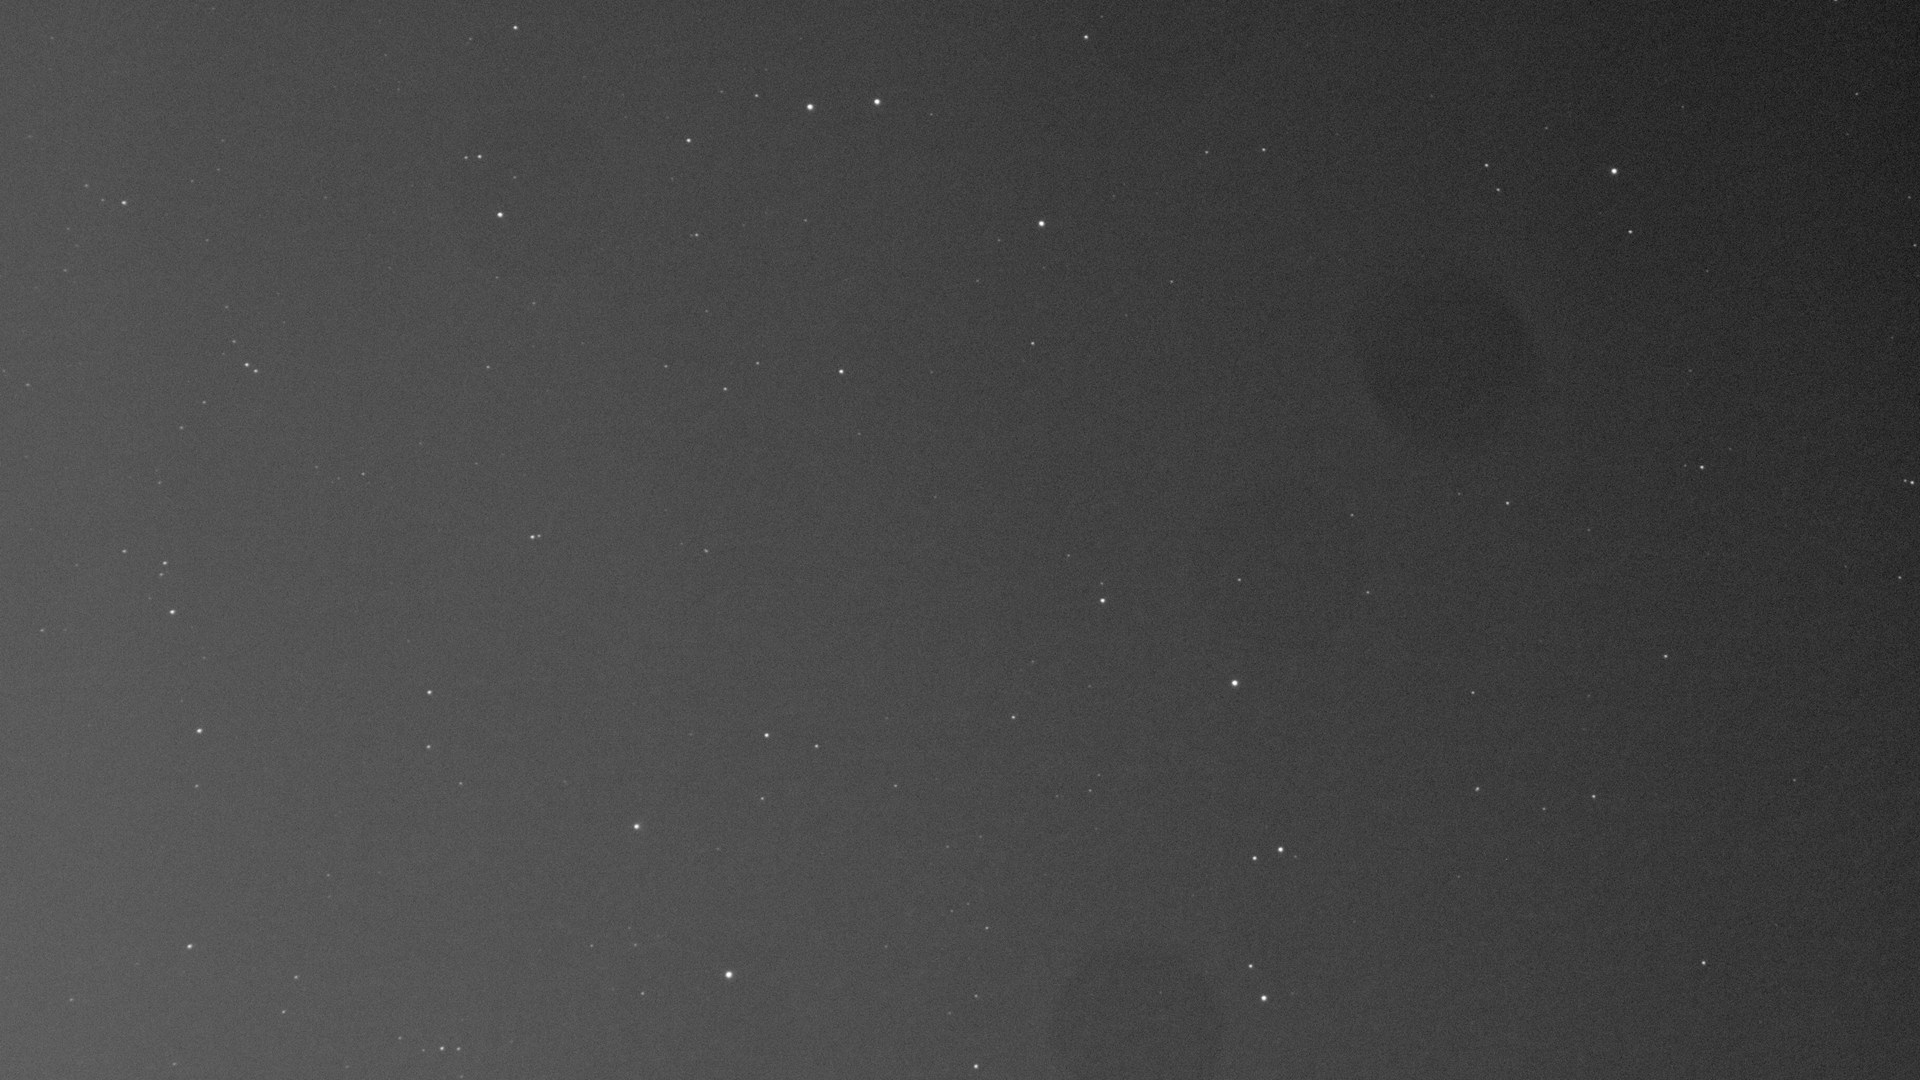
So you just captured a night of images while you slept. My rig automatically syncs them over to my NAS in a folder called _staging (see my NAS post for more details), but now I want to integrate them into my library for later processing, only including the ones that don’t have clouds or tracking issues. I’ve gone through a few iterations of this, but have now settled on using Blink in PixInsight. This process loads up the selected frames and lets you quickly flip through them for comparison. If I’m looking for clouds, I’ll click the upper button which stretches them all equally. I will flip through all of them and look for varying gradients (indicating clouds) or star trails and move the offenders to a folder for deletion.
Both of these subs contain clouds, but you can see the difference in brightness gradient, especially on the right side:
When the mount fails to properly track, things get weird. This rarely happens with guiding.
This triage method isn’t perfect or data driven, but it should catch the most obvious issues and is quick to do. But how could I catch more subtle issues?
WBPP Frame Selection
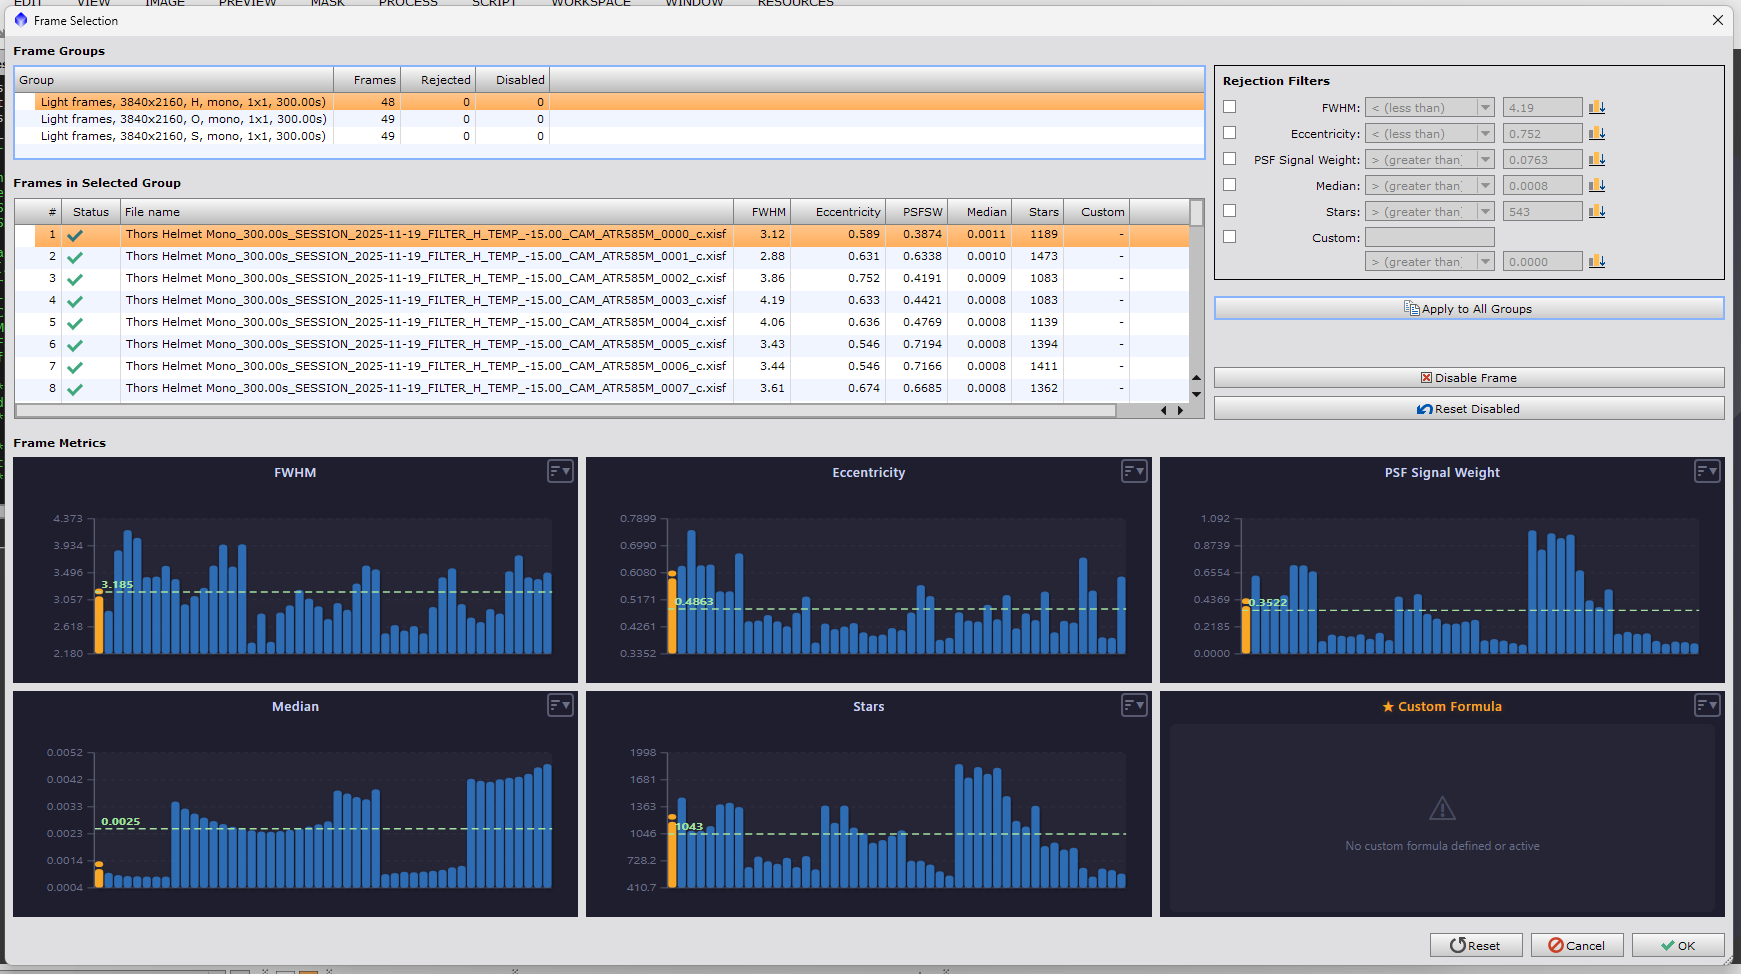
PixInsight added a step in WBPP to let you interactively or automatically reject frames during the stacking process. This is great because WBPP already measures the subs to find the best reference, so it can just display that data. This is enabled under the “Lights” tab.
If you have specific criteria you want to use, you could make it non-interactive and configure formulas the way you would in SubframeSelector by clicking the gear icon in that block.
I don’t have my selection criteria tuned, so I left it interactive and kicked off the stacking process. It runs through calibration, debayering (if using a color camera) and frame measurement as normal, and then it pops up a screen to take action.
There’s a lot going on here, so let’s dive into some of the useful bits. First, the metrics:
- FWHM = Full Width at Half Maximum. This is a precise way of measuring star size, which indicates focus.
- Eccentricity measures star roundness. Oddly shaped stars are typically indicative of tracking issues
- PSF Signal Weight is a measure of star sharpness - I’ll be honest, I don’t fully understand the technical details on this one.
- Median shows the median brightness across the frame - can suggest clouds, but a bright moon or other light pollution can also cause high values
- Stars is the count of stars in the frame
For this stack, my eye was immediately drawn to the Median graph - I checked and the spike upwards falls on the barrier between sessions. Sure enough: three of my sessions were within a day or two of the full moon, causing a brighter overall frame and reducing the contrast and definition of the nebula itself. This was visually apparent by double clicking on an entry from each bucket in the list. Unfortunately, the full moon sessions represent most of my data on this target so I’m going to try processing with the bright subs in there. If I don’t like the level of detail, I’ll grab some more integration time when the moon is lower and omit the full moon subs from the stack. I’ll share those results if I end up going that route.
If you want to reject frames, you can select criteria in the top right and/or enter your own formula. You can also manually pick the frames you wish to reject and click “Disable frame.” When you are done, click OK and your stacking will continue to run based on your selection.
Conclusion
So there it is. Literally the first time I used this new feature, it revealed something interesting. I could have discovered this by running through SubframeSelector and using scripts to move files around based on the results, but it’s so much more convenient to have it in the stacking process. I like that they provided the interactive and automatic versions depending on users’ workflows and preferences. Nicely done, PixInsight team!
Links
Here is the official announcement on the PixInsight forum for all of the details and documentation.